

Overview
In this section, you can handle API calls and return results as you wish. However most custom connectors will follow this general pattern. For each report:
-
Compose the https URL, request parameters, and request header as required for the report by your API endpoint. Call the API endpoint, and retrieve the data.
- You can access the data from the authentication process (like your username and password or access token) in the metadata.account object.
- Because the IDE is built using the Java 8.0 Nashorn engine, you need to write your code using JavaScript compatible with ECMAScript 5 (ES5). This means you cannot use XMLHttpRequest. To build the header and add parameters, you can use the built-in http request functions.
- You can access the data from the authentication process (like your username and password or access token) in the metadata.account object.
-
Parse the data. You will need to know how the data from your endpoint will be returned.
- Websites frequently return data in .json, .xml, and .csv formats.
- If you need to examine the data returned from your API endpoint, try making the call in a tool like Postman. You can also print the response in your browser’s console by using the console.log function.
- Websites frequently return data in .json, .xml, and .csv formats.
-
Store the data in Domo.
- If your website is returning data in a compatible format, you may be able to use one of the built-in magic Parse functions which will parse and store the data in one simple call.
- If magicParse is not an option, first define the columns with a column name and data type, then add the data, one row at a time, one cell at a time. See Examples.
- When adding a row, remember to call datagrid.endRow() when the row is complete.
- Dates inserted into the table need to be formatted yyyy-MM-dd’T’HH:mm:ss.
- If your endpoint paginates its data, you may need to make multiple API calls to get all the data.
- If your website is returning data in a compatible format, you may be able to use one of the built-in magic Parse functions which will parse and store the data in one simple call.
- Ensure the script runs inECMA Strict Modeto avoid any unexpected behavior.
- Click Run Script anytime you want to test your code.
- Print large amounts of data in your browser’s console by using theconsole.logfunction.
- You can use DOMO.log(), console.log(), andto help you debug your JavaScript and examine variables. Just remove what you don’t need before you submit your custom connector.
Send Data to Domo
After you have defined how the data will be processed, you can verify if the data is correctly represented in Domo by sending your generated data to Domo.
- Check Create/Update Dataset.
- Click Run Script. A success or error message about the process will appear next to the Run Script button.
- If successful, the dataset will be published in your Domo instance. A pop-up window will provide a link directly to the dataset (this may be blocked by a pop-up blocker).
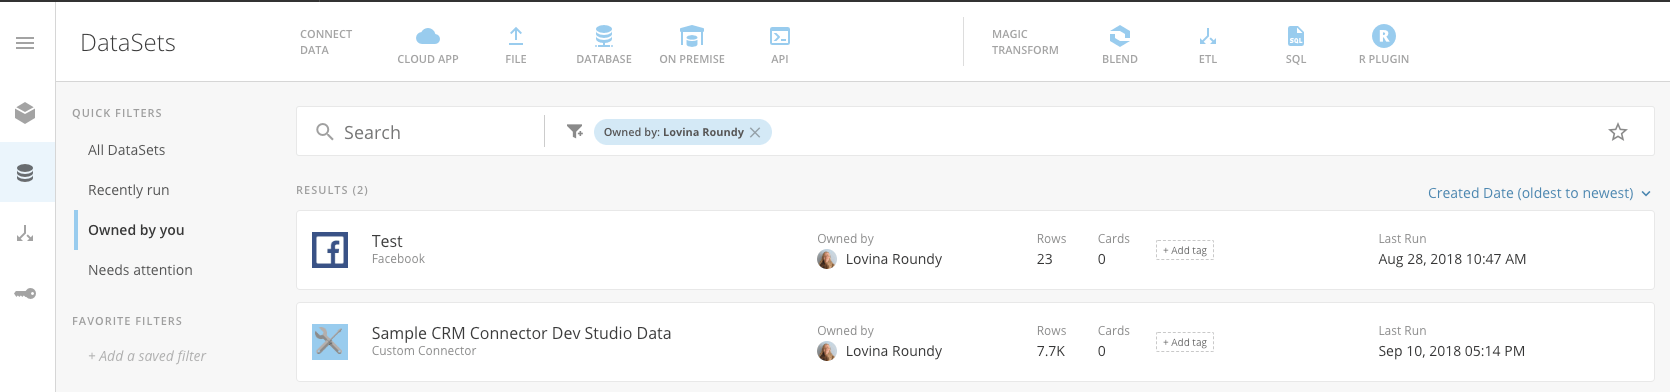
Examples
The Connector Dev Studio has a couple of example connectors provided to you: Sample CRM and USGS.
- The Sample CRM connector pulls fake data from an API endpoint provided by Domo.
- The USGS connector pulls data available from theUnited States Geological Survey.
SampleCRM
Authentication type: Username and password Reports: Opportunities Parameters: None Endpoint data return format: CSVSampleCRM using datagrid.magicParseCSV
- Authentication type: Username and password
- Reports: Opportunities
- Parameters: None
- Endpoint data return format: CSV
USGS
- Authentication type: None
- Reports: Past Hour, Past Day, Past 7 Days, Past 30 Days, Pull data from the last X day(s)
- Parameters: None
- Endpoint data return format: JSON