Key steps and learning objectives
- Downloading a Domo Brick Template
- Connecting to Data in a Domo Brick
- Importing Tabulator (an amazing third party table library)
- Creating a basic table
- Customizing our table
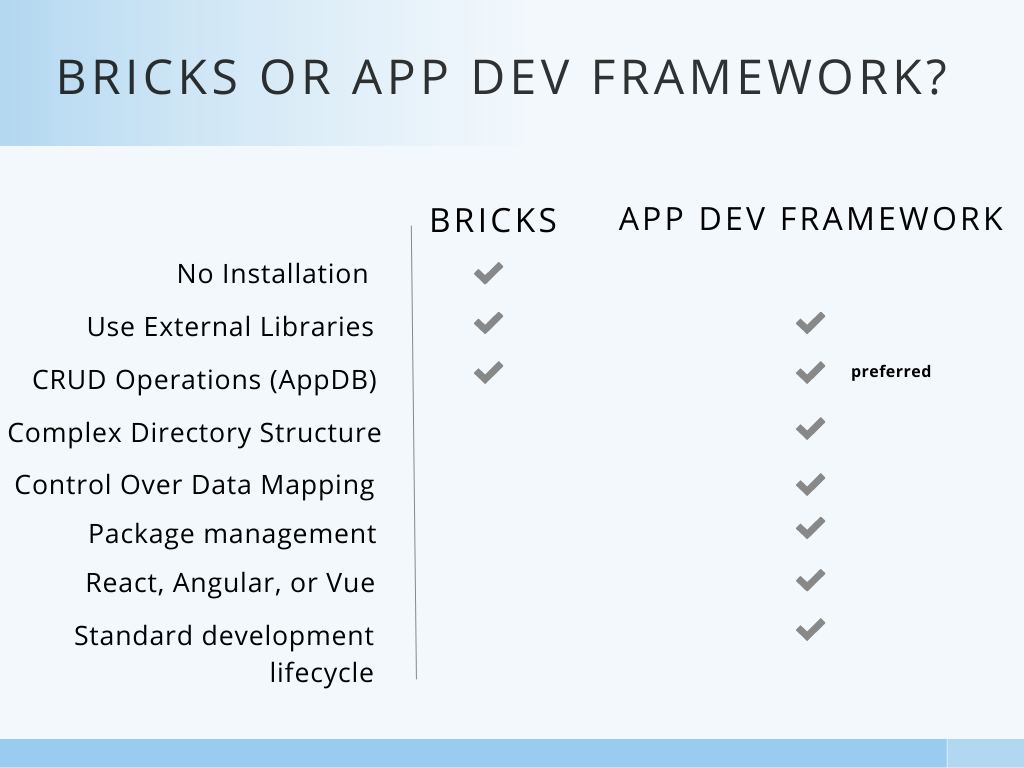
- Review limitations of bricks relative to custom apps
Downloading a Domo Brick Template
To get started let’s add a blank Domo Brick template to a Dashboard or App Studio canvas.
-
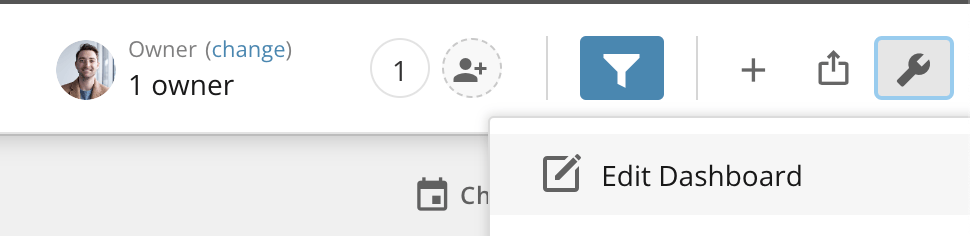
Edit your Dashboard.
-
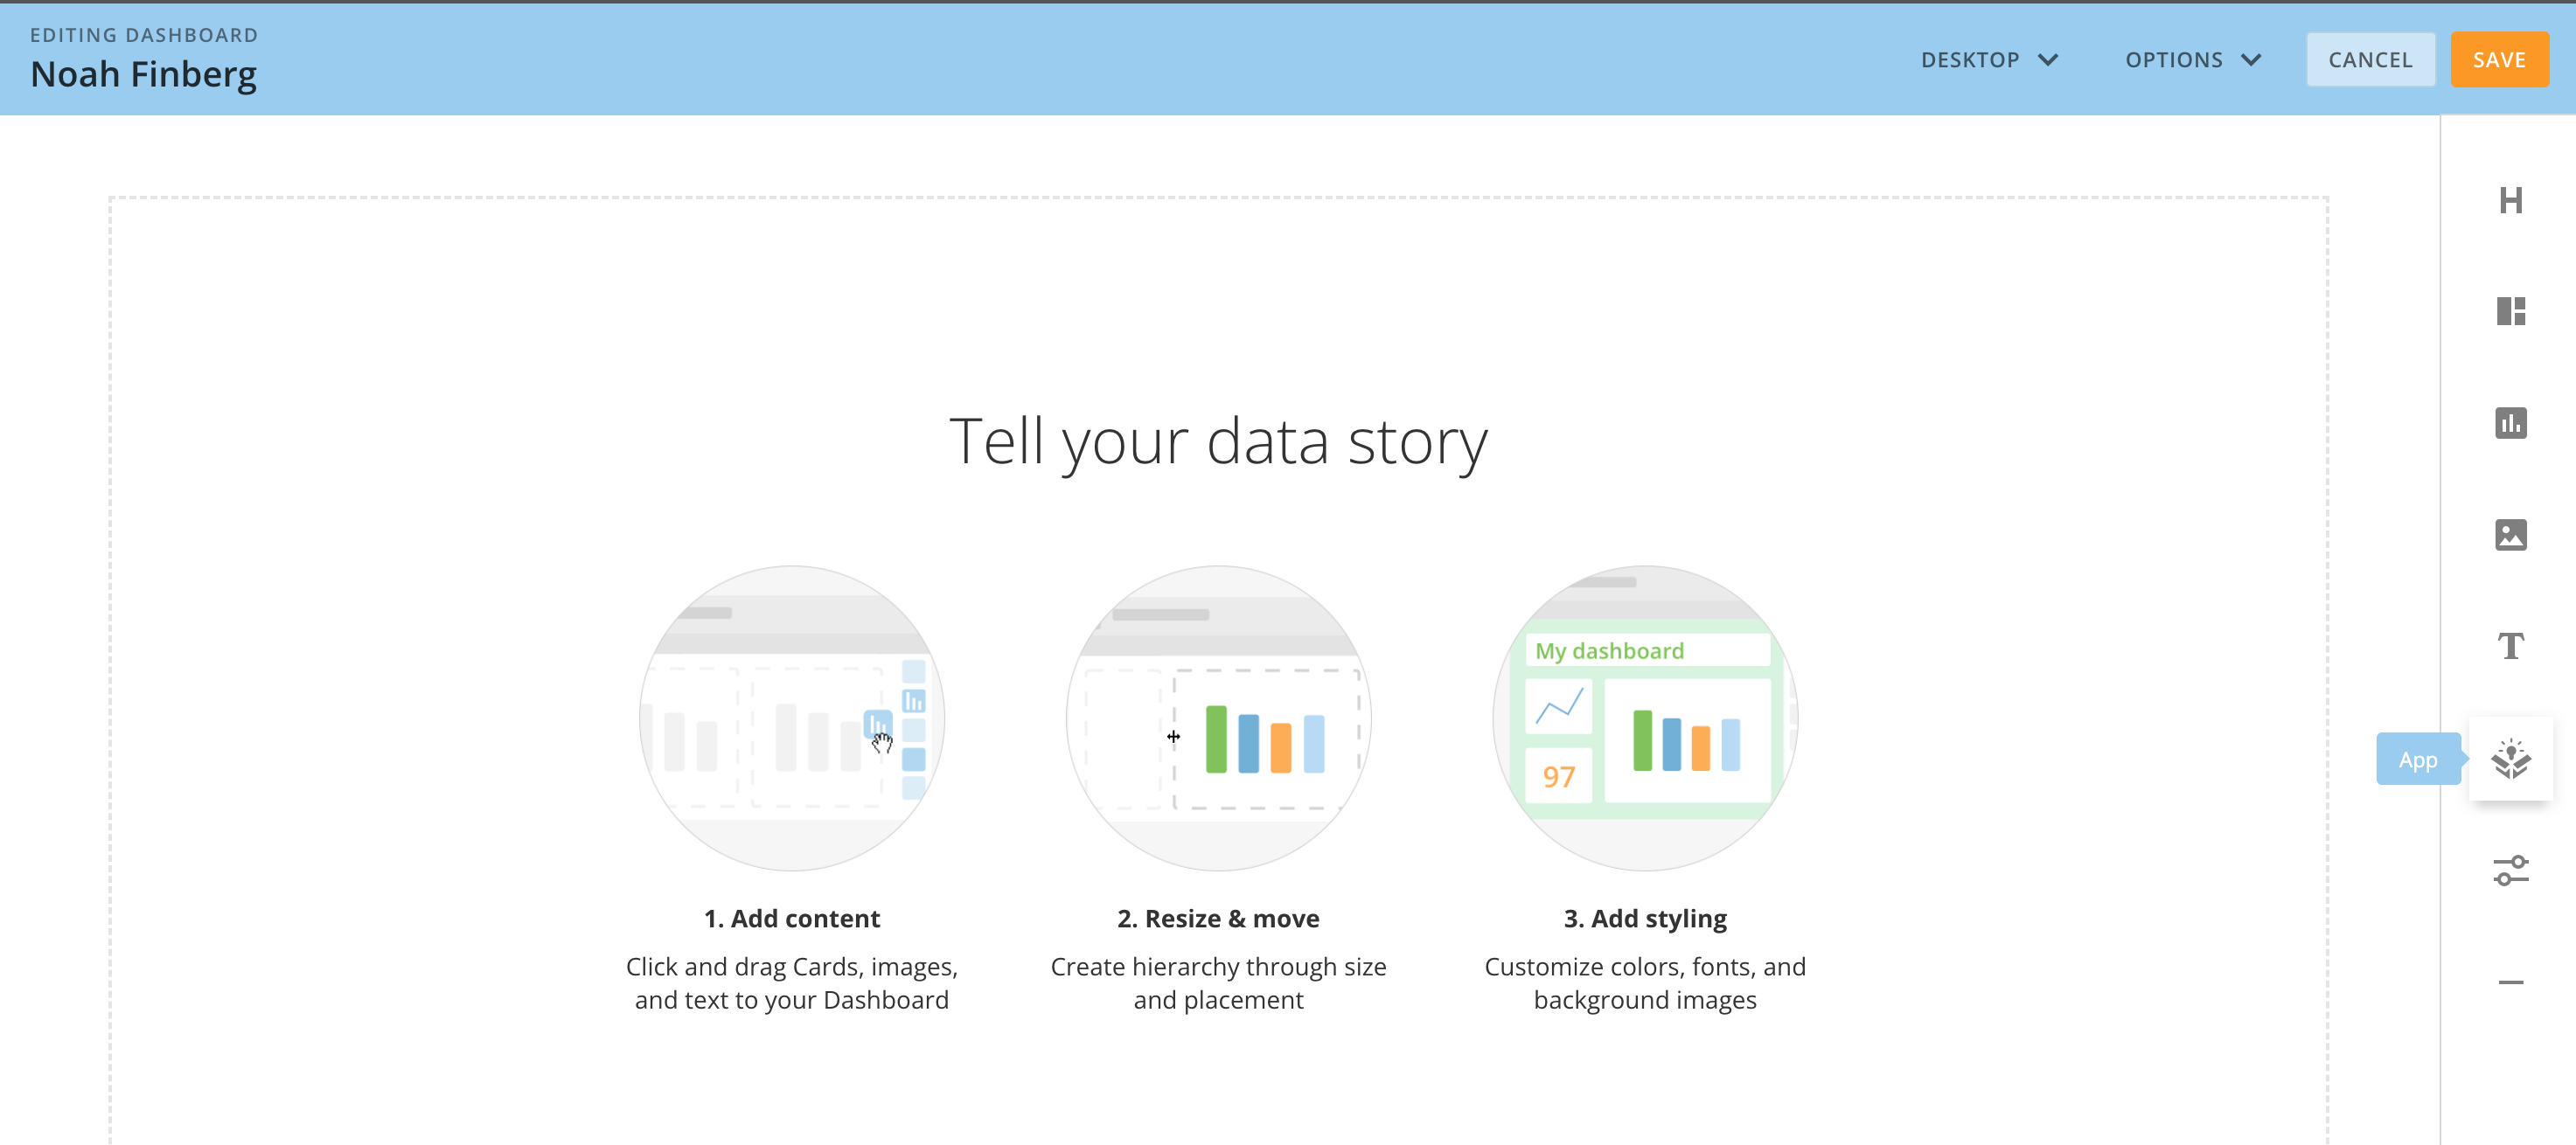
Drag the “App” Icon on to your Dashboard.
-
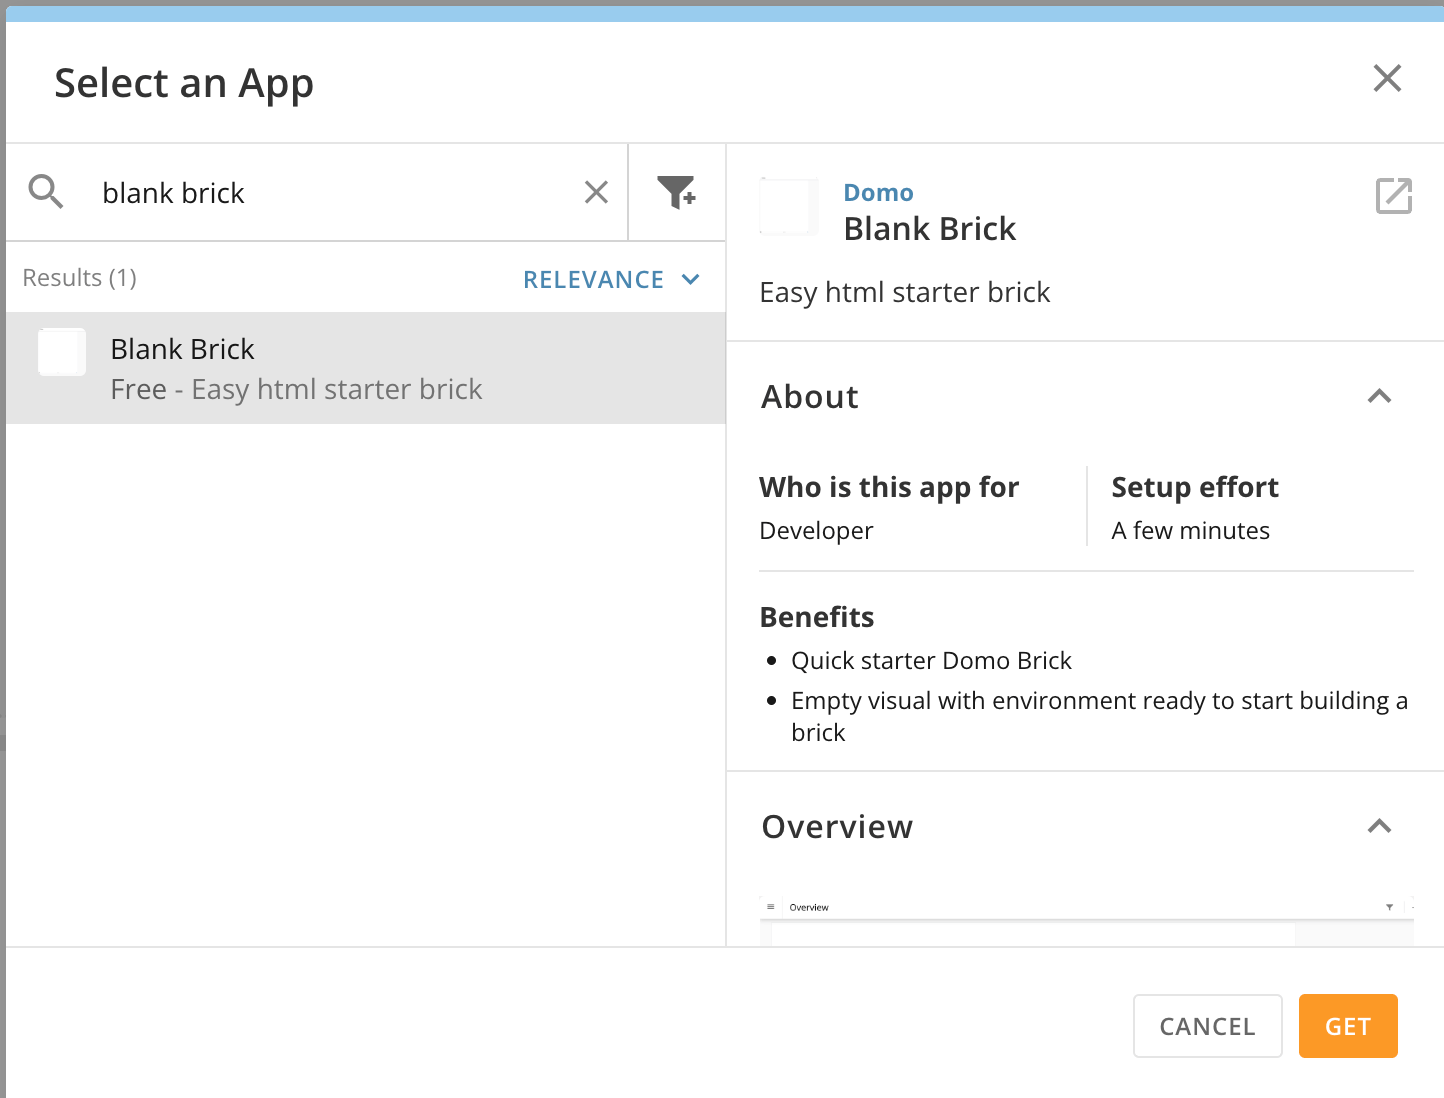
Search for the “Blank Brick” template to use and click “GET”.
-
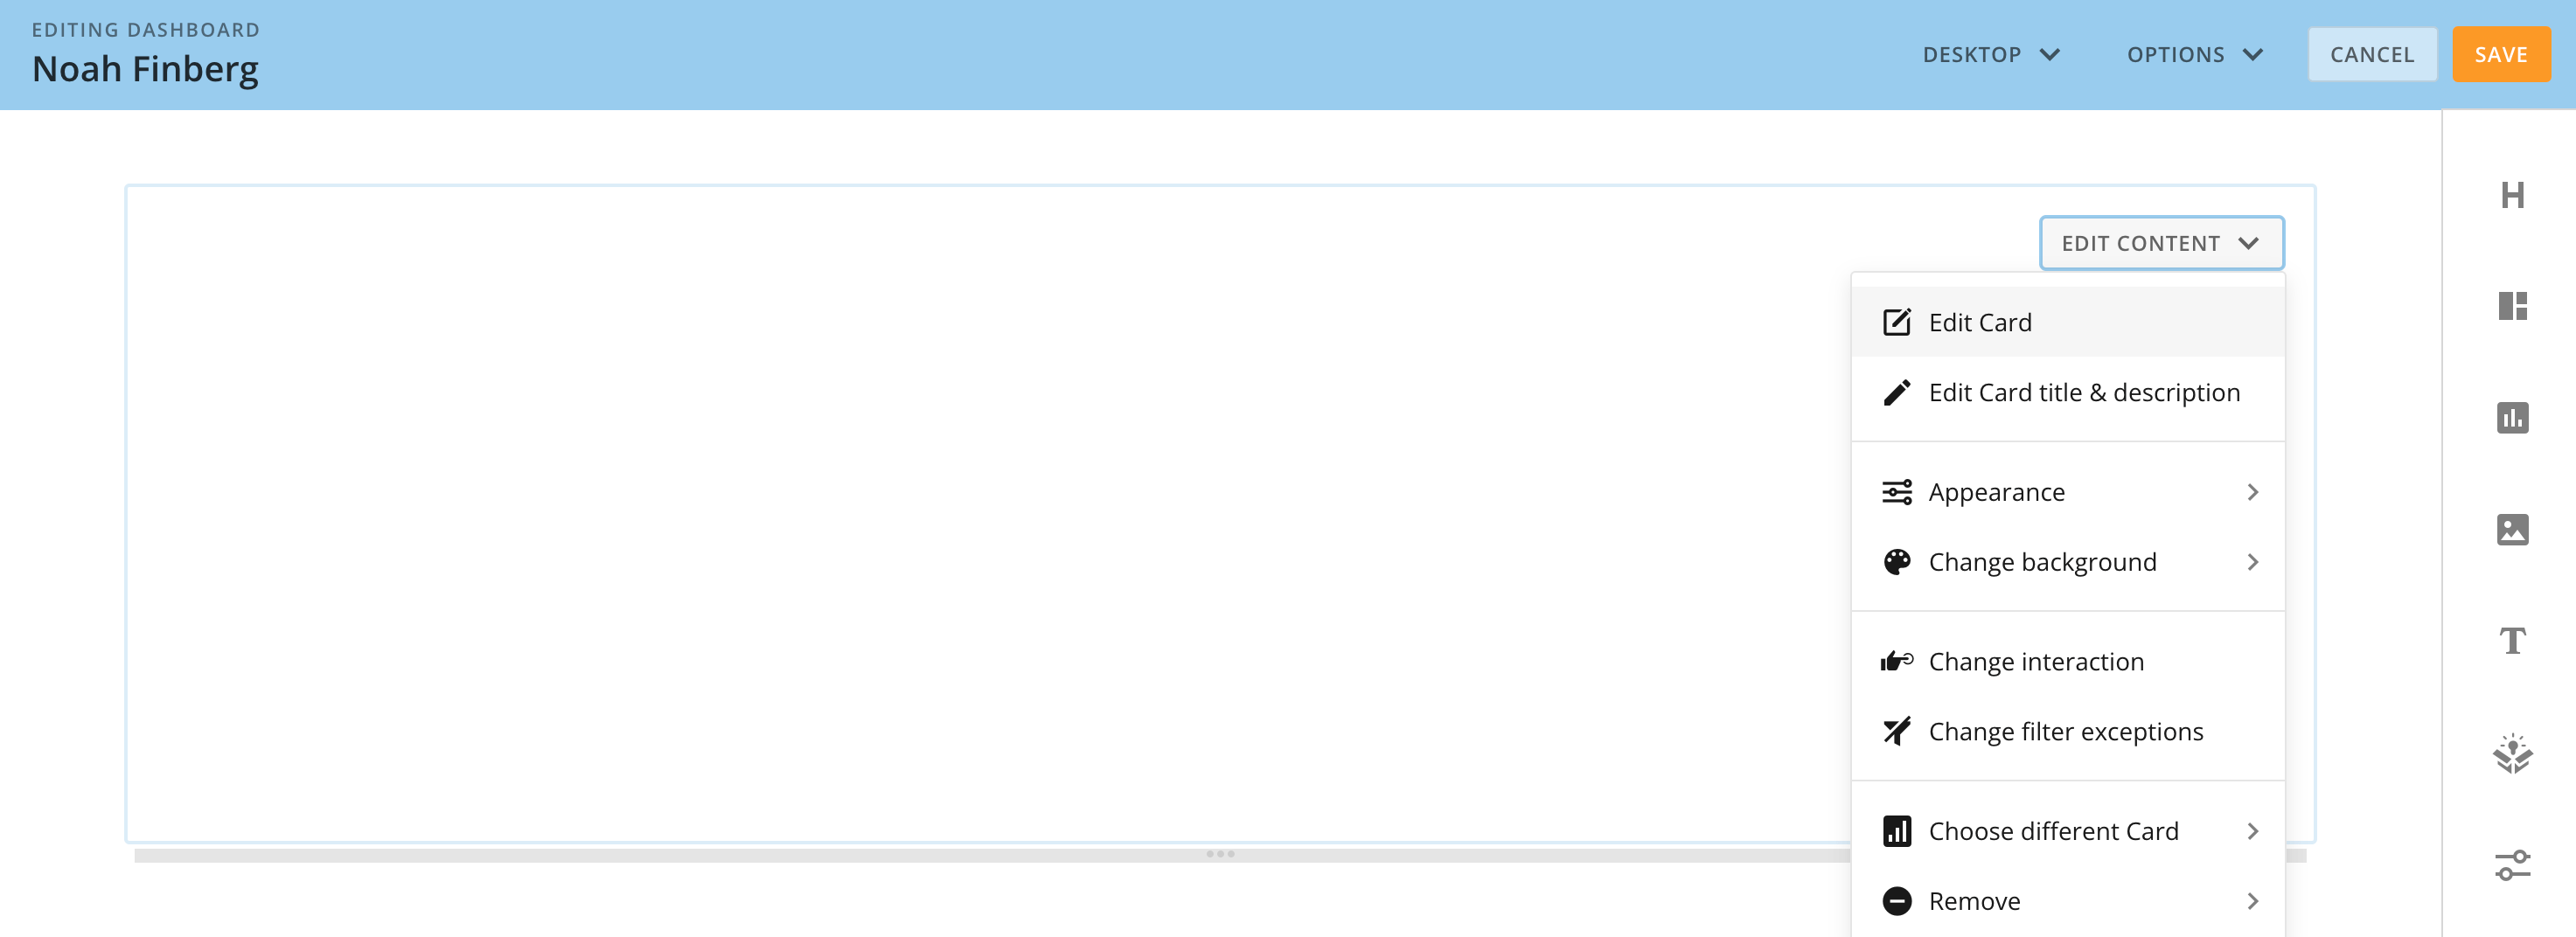
You should now see your blank brick on the Dashboard. Next you’ll want to click “Edit Card” to enter the Brick Code Editor.
-
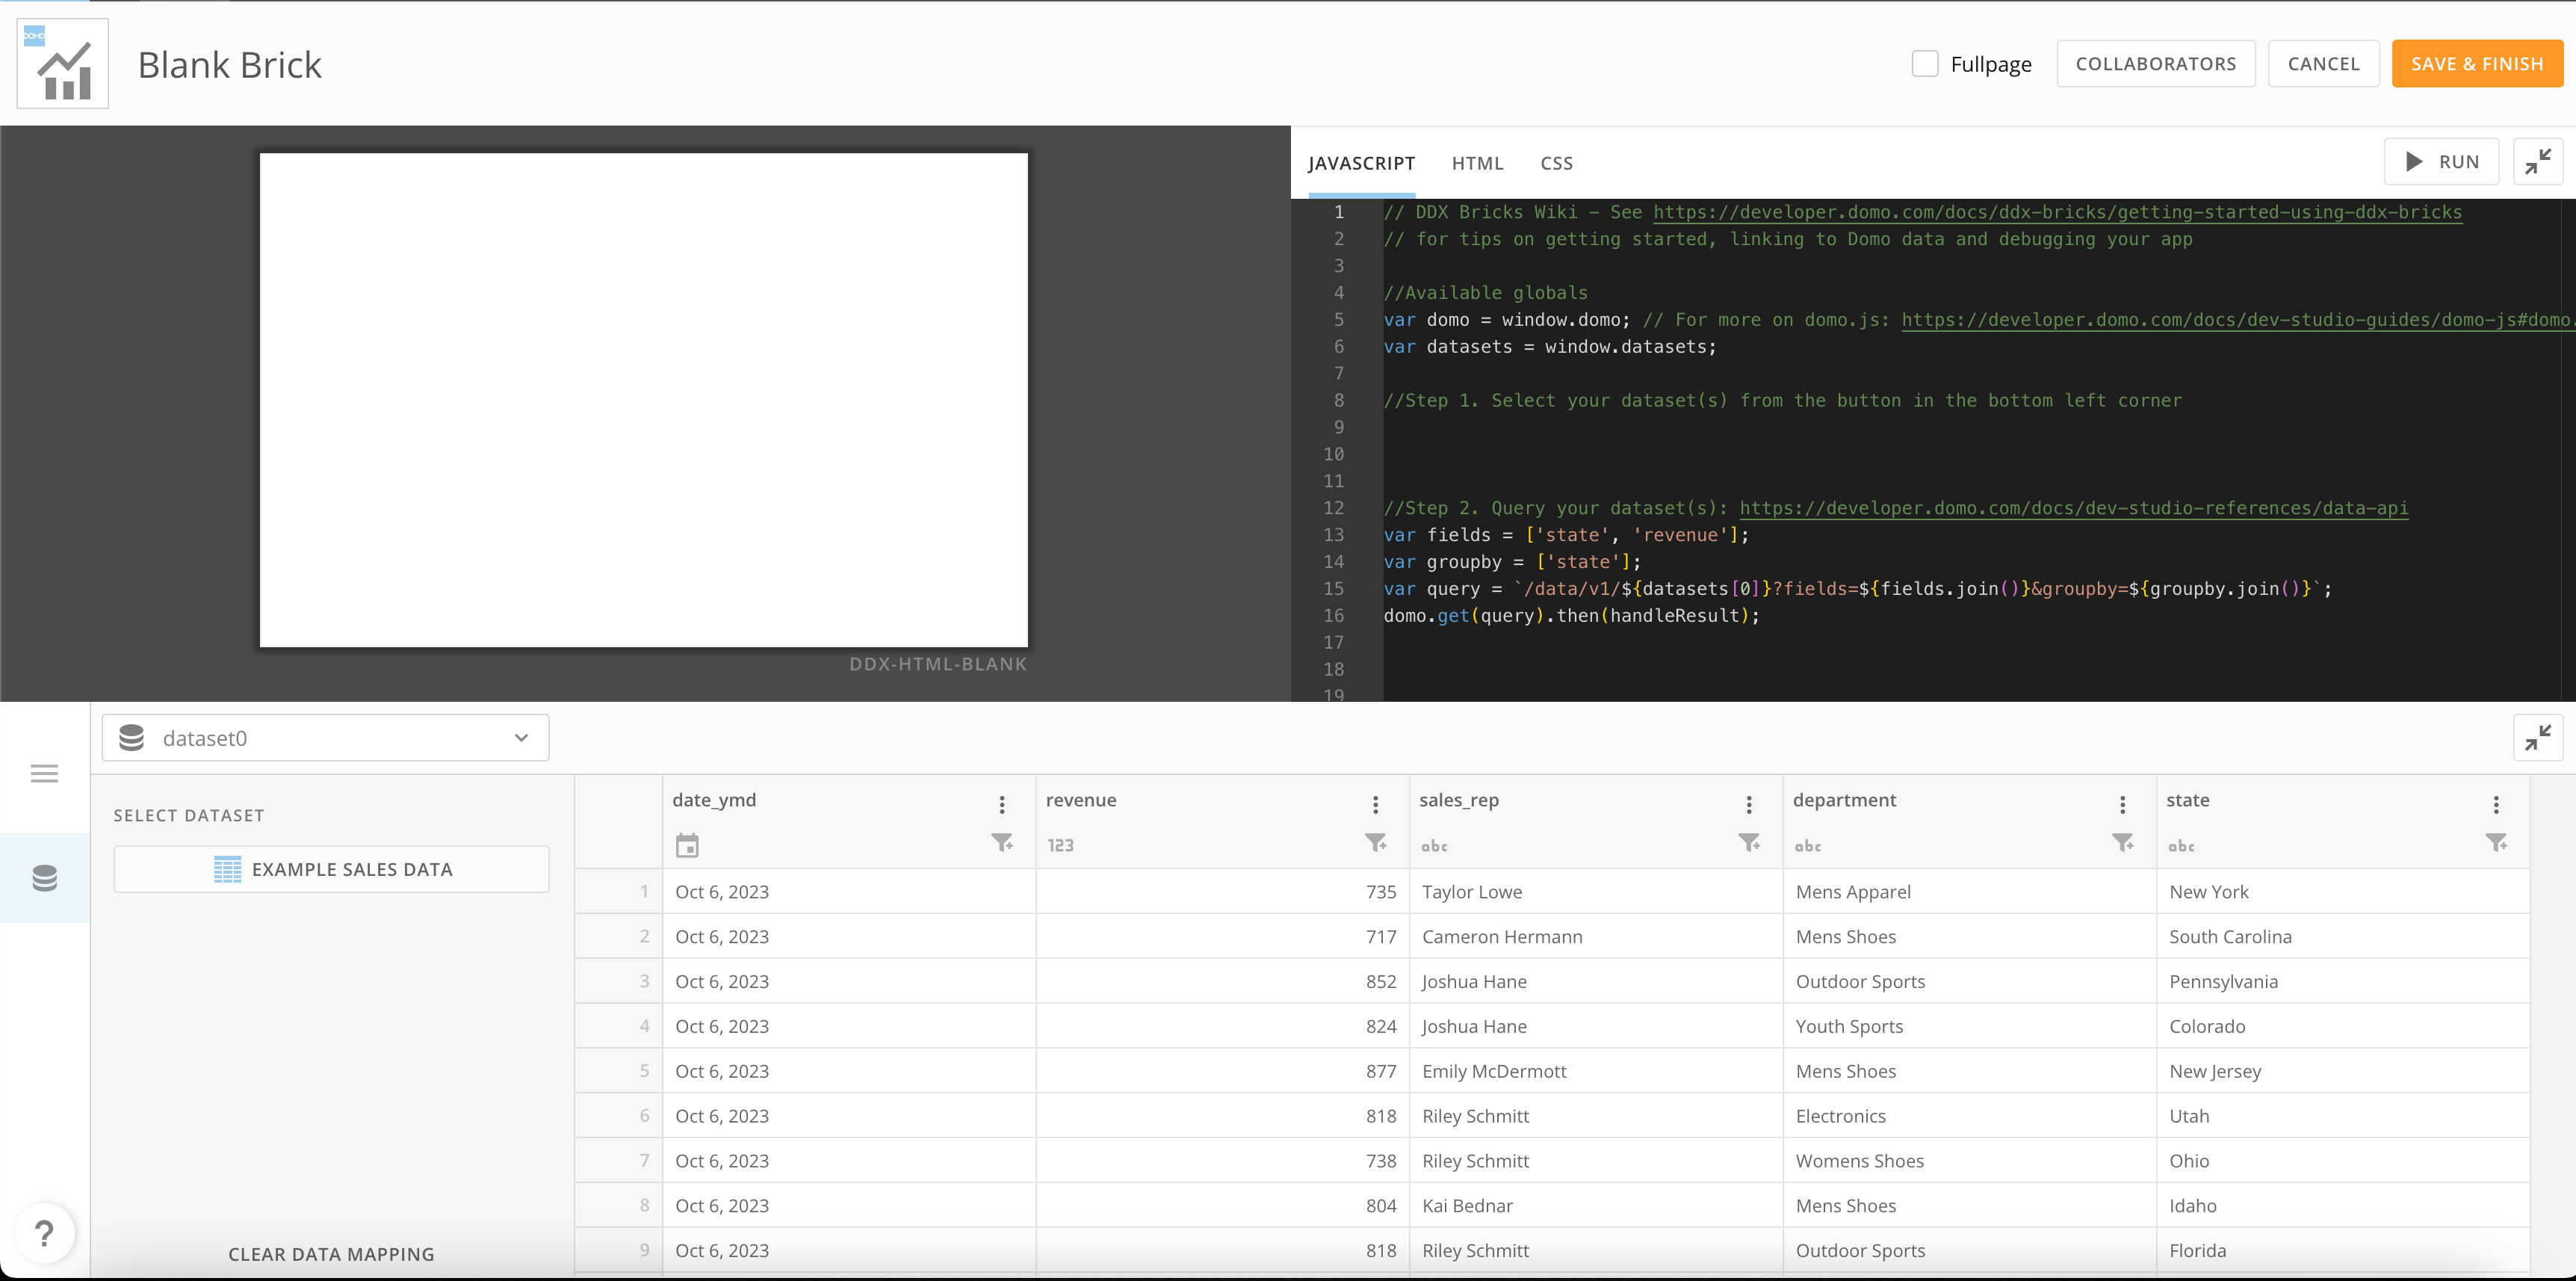
Explore the Bricks Editor and “Wiring Screen”
Note
You can only write code in the three provided files: JAVASCRIPT, HTML, CSS. This can be restrictive as the length and complexity of your code grows.
Connecting to Data in a Domo Brick
- Review provided sample code
dataset0.
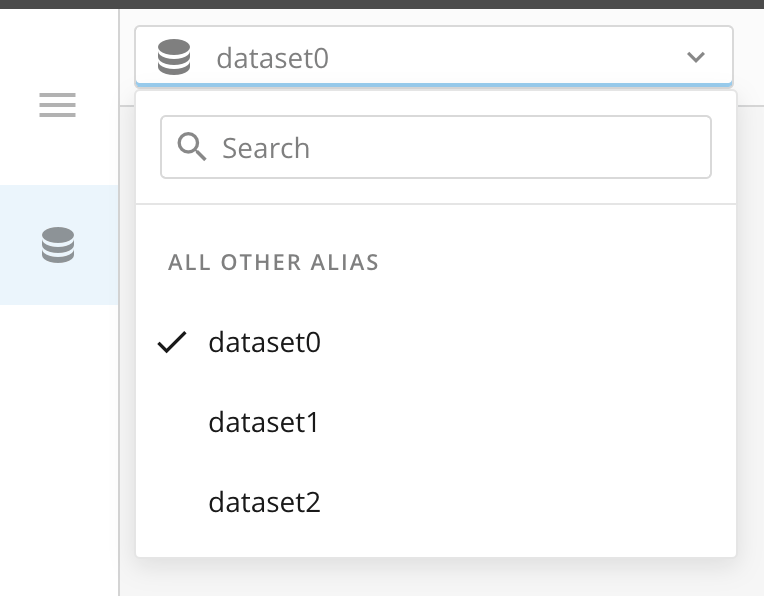
alias used to refer to a particular wired Dataset. This is the name you’ll use in your code when connecting to data.
Note
Each brick has its own template that defines how many Datasets you can connect and what the aliases are named. You don’t have control over this template for Domo Bricks, but do with Custom Apps.
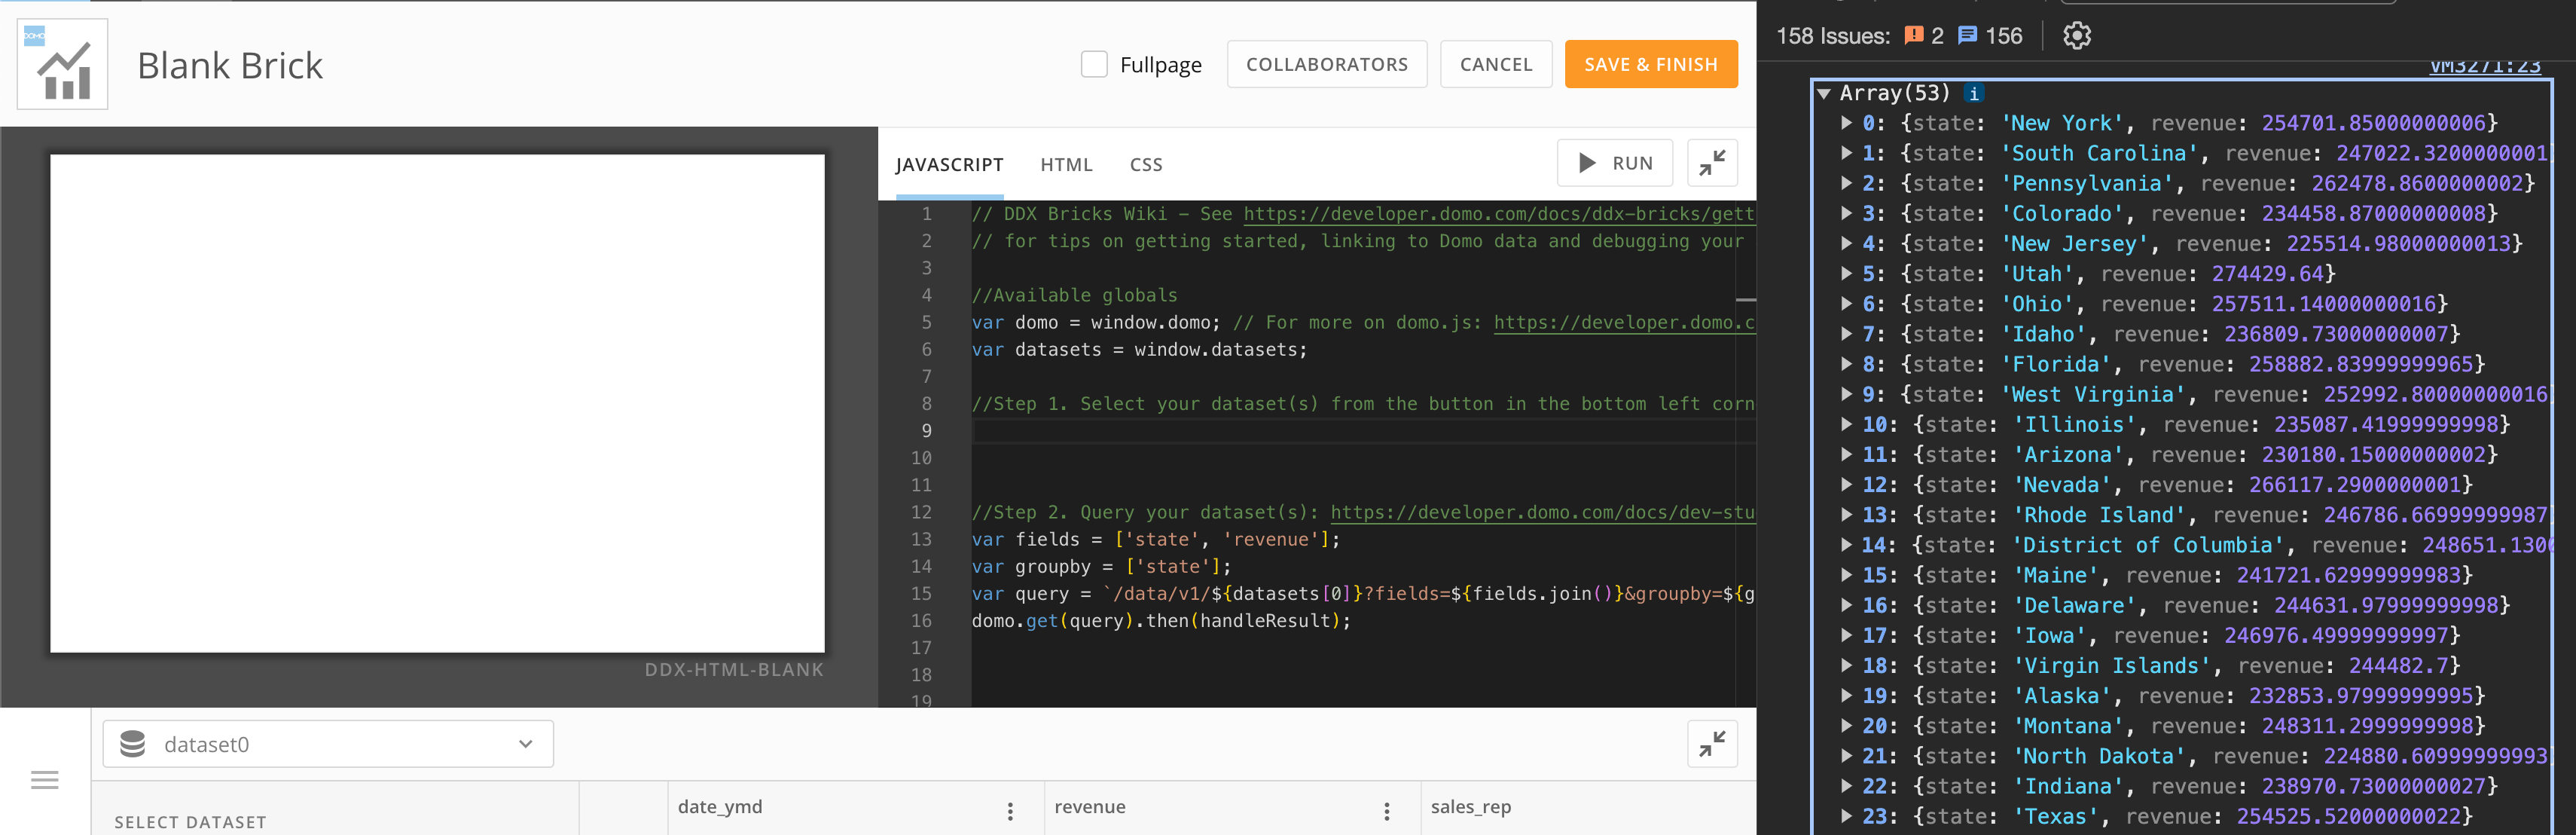
handleResult function is run and the data is printed in the console.
If you right-click and open the developer console, you should see the data printed out.
- Connect to a new dataset
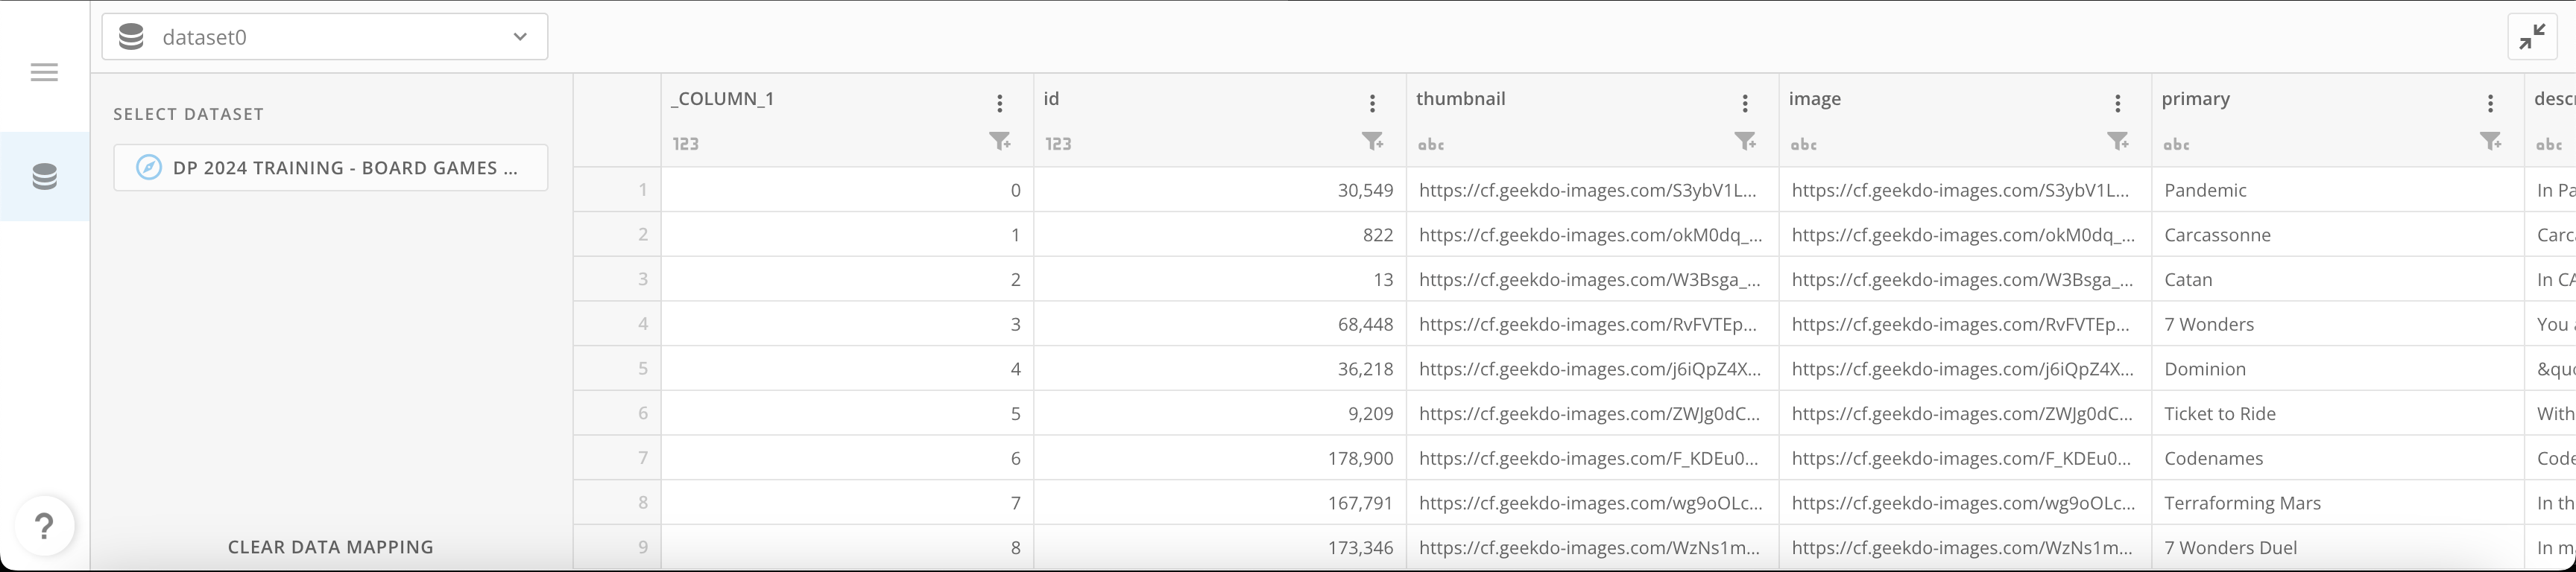
dataset0 to a new Dataset. Select the button under “Select Dataset” and search for the name of the Dataset you just uploaded.
You should now see a new Dataset displayed for dataset0. Note: you may need to click
“Save and Finish” and re-enter the Brick wiring screen to persist the new Dataset connection.
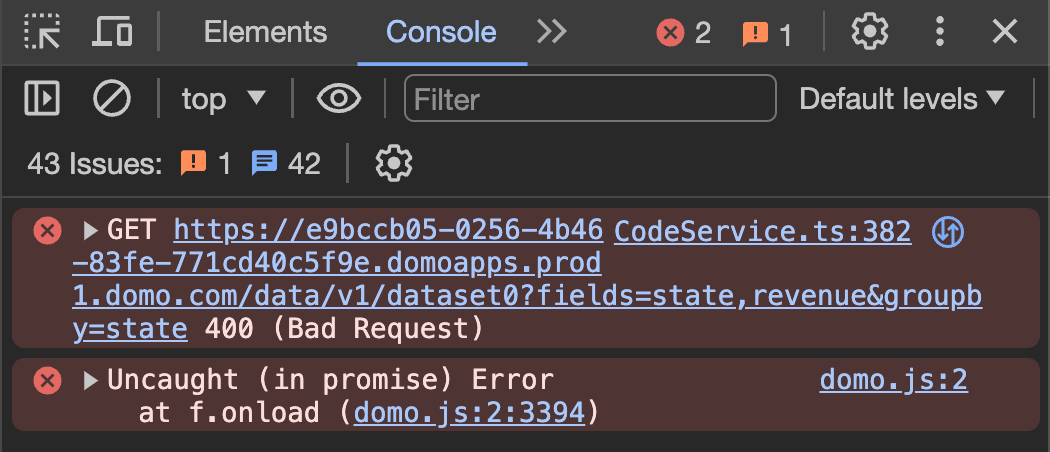
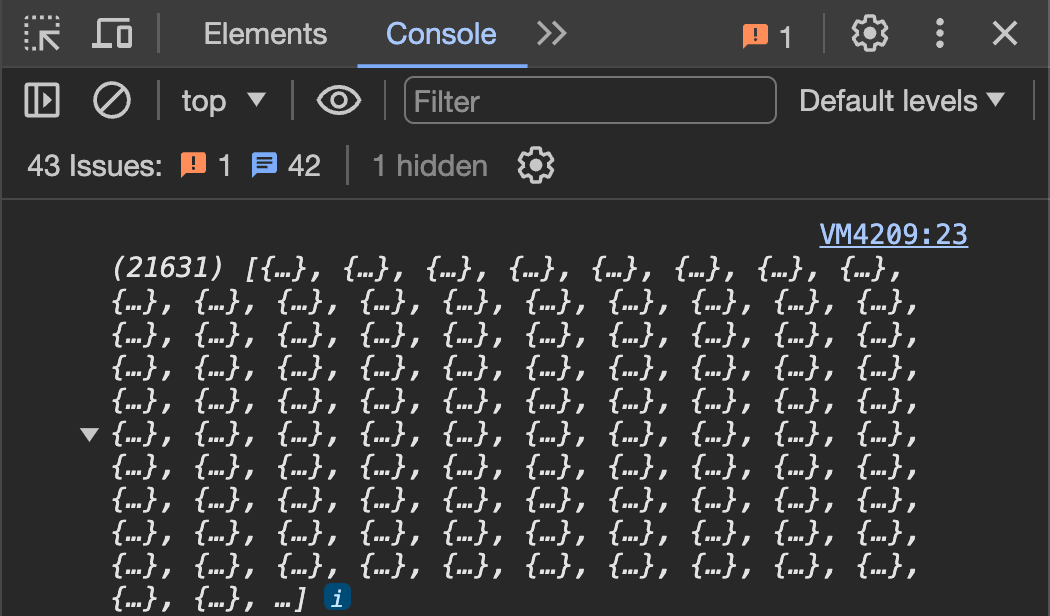
state and revenue) and an aggregation (groupby state) in the Data API query. We can simplify our code to request all fields in the Dataset and remove the aggregation.
Replace everything in //Step 2. with the following code:
Importing Tabulator
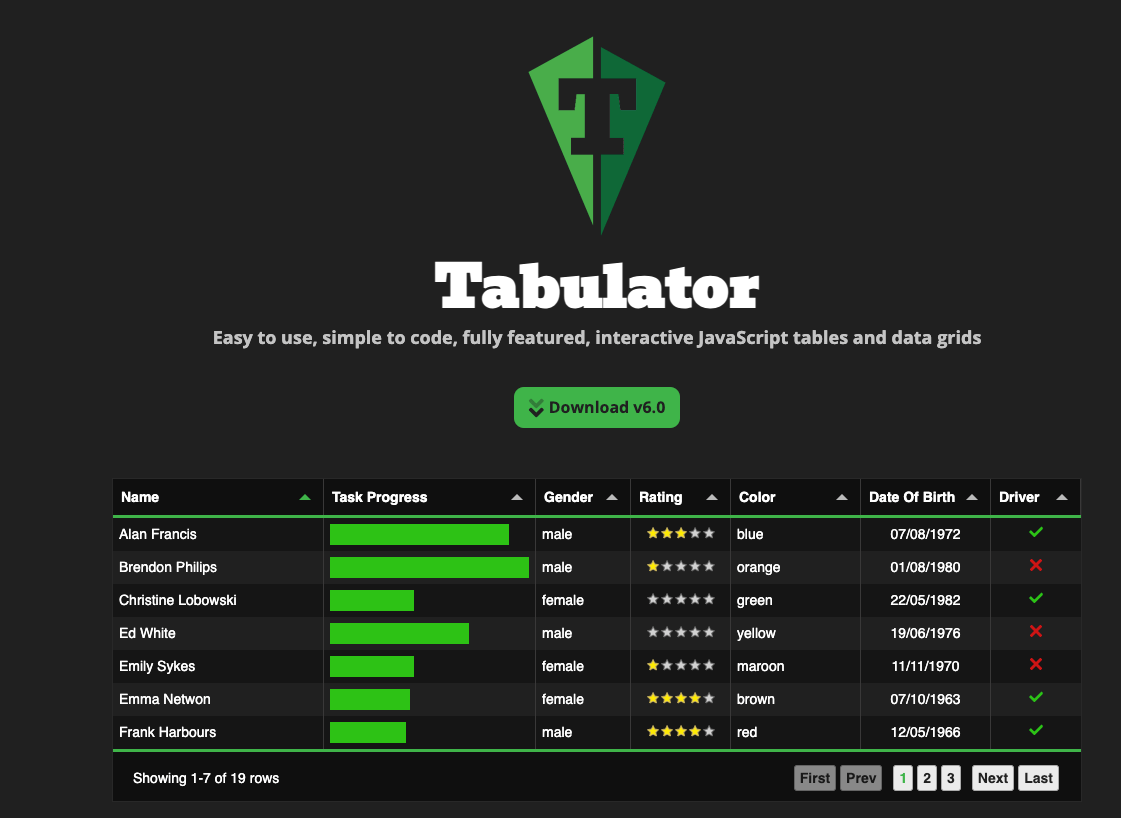
Next we want to actually display our data in a new table visual. We’ll be using an open-source third party library that is designed specifically to create very powerful table applications. You can check out more about the Tabulator library in their documentation.
Note
In order to leverage third party libraries in bricks, since we only have the ability to customize three files, we’ll need to import Tabulator via a CDN. This just means that the files that make up the library are hosted elsewhere and we will load them in via a url.With Custom Apps, you can use package management tools like
yarn and npm, which becomes increasingly important as the number of dependencies in your application grows.HTML file.
Creating a custom table
Now that we have Tabular installed in our brick, let’s create our Tabulator table! This will only require two small bits of code. First, add the following
div to your HTML file, which will be where the table will be rendered.
handleResult callback function.
Customizing our table
Now with our basic table setup, we can have a bit of fun using the Tabulator library. As you can see by our basic setup, customizing our table is as simple as adjusting settings in the object that includes:
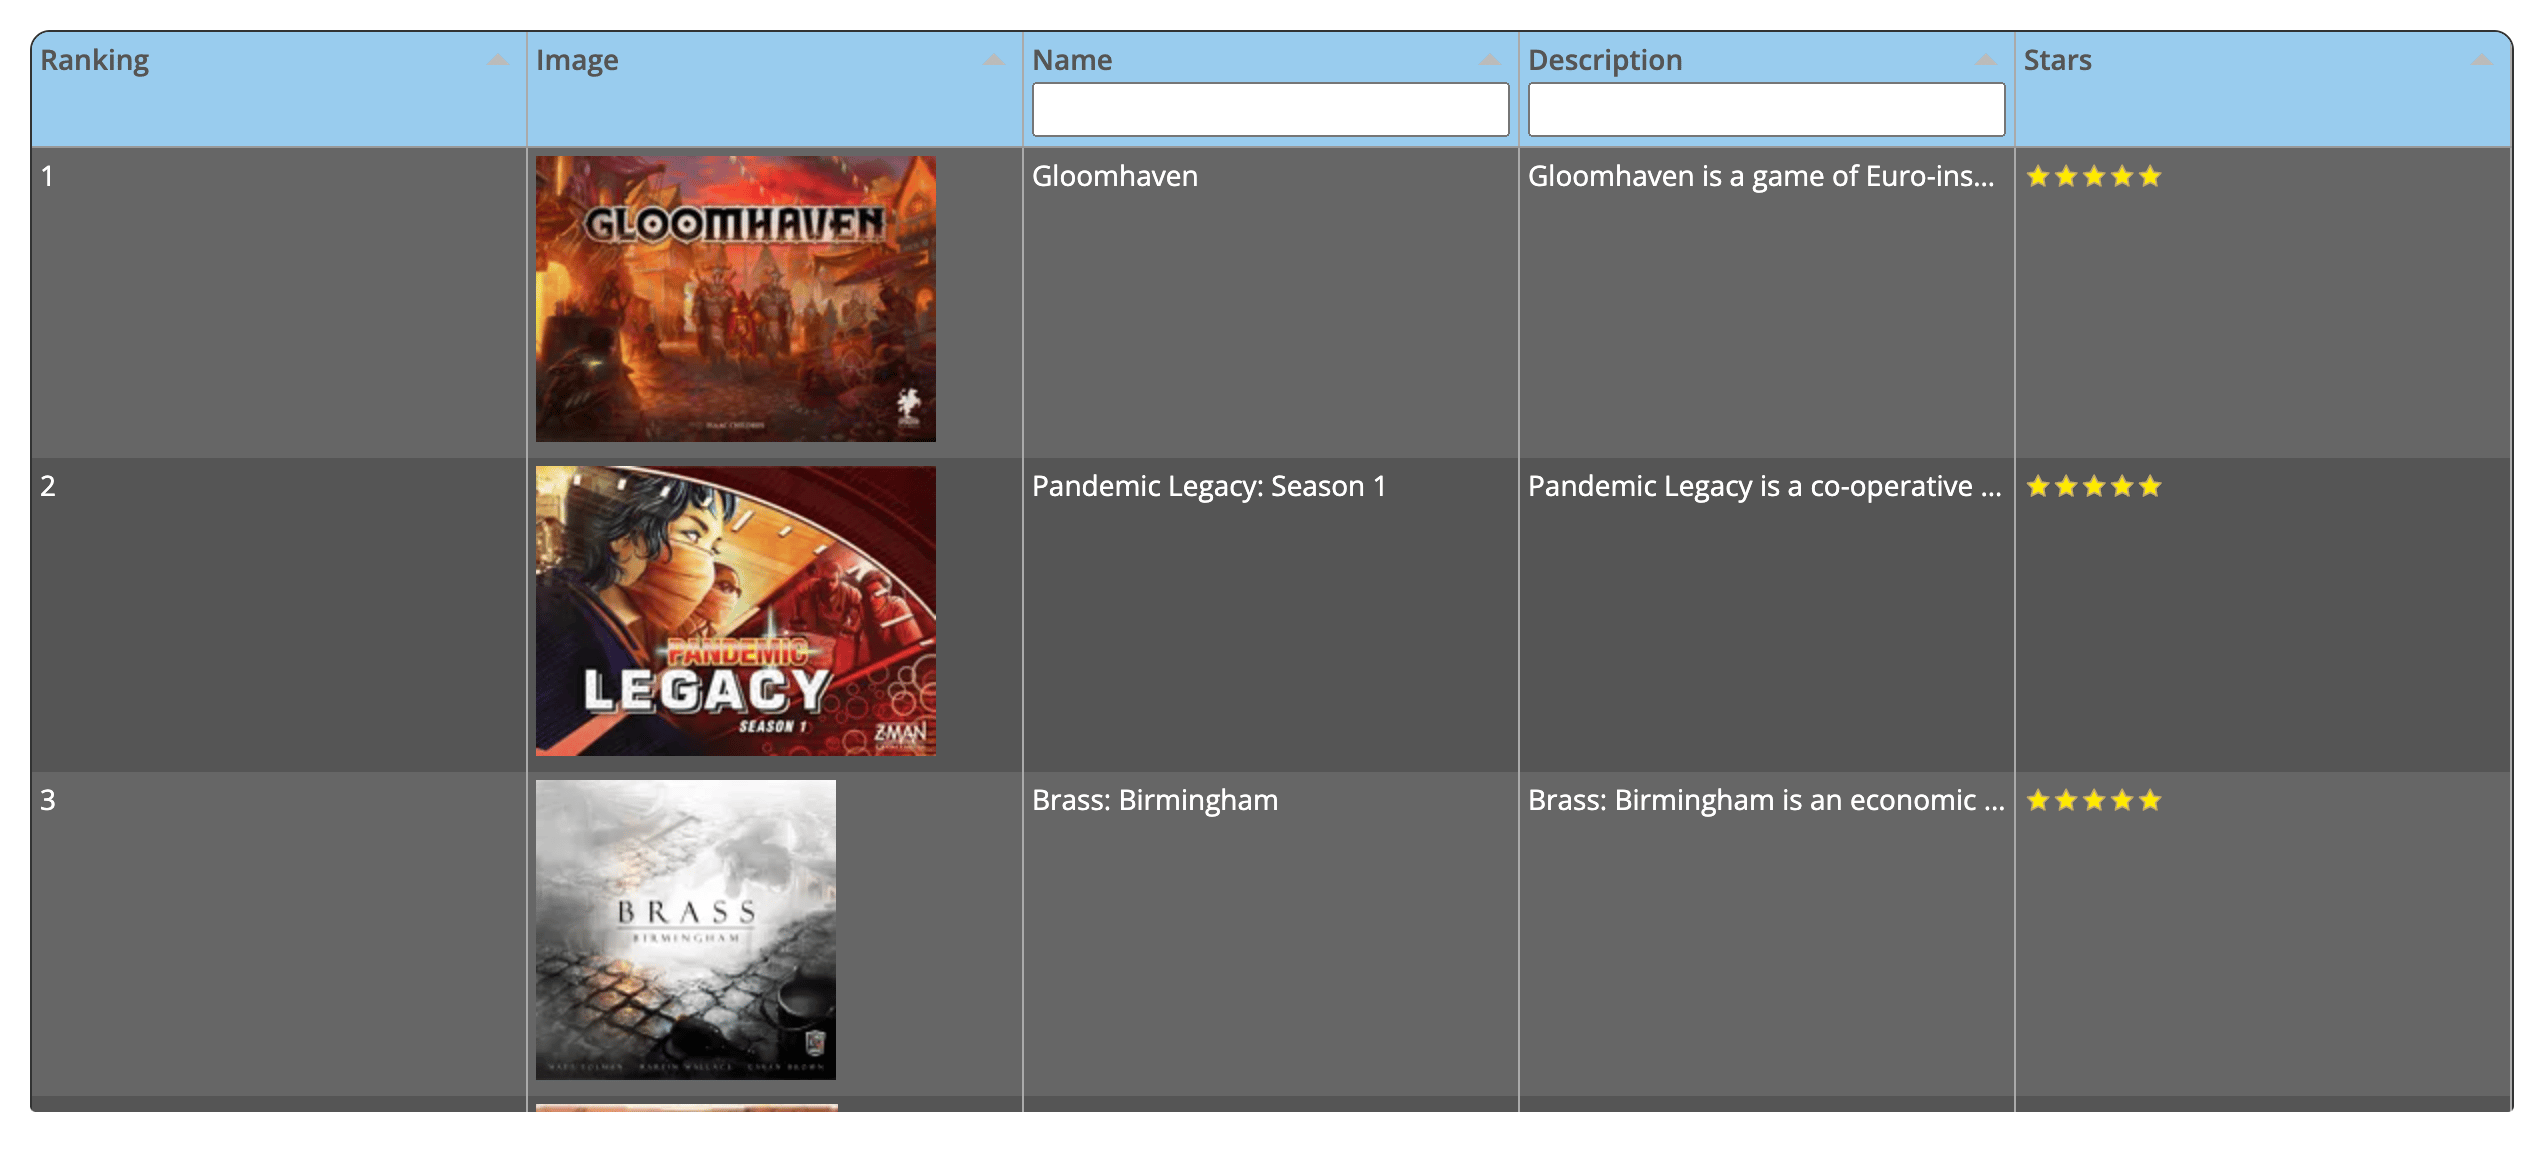
- Add the image
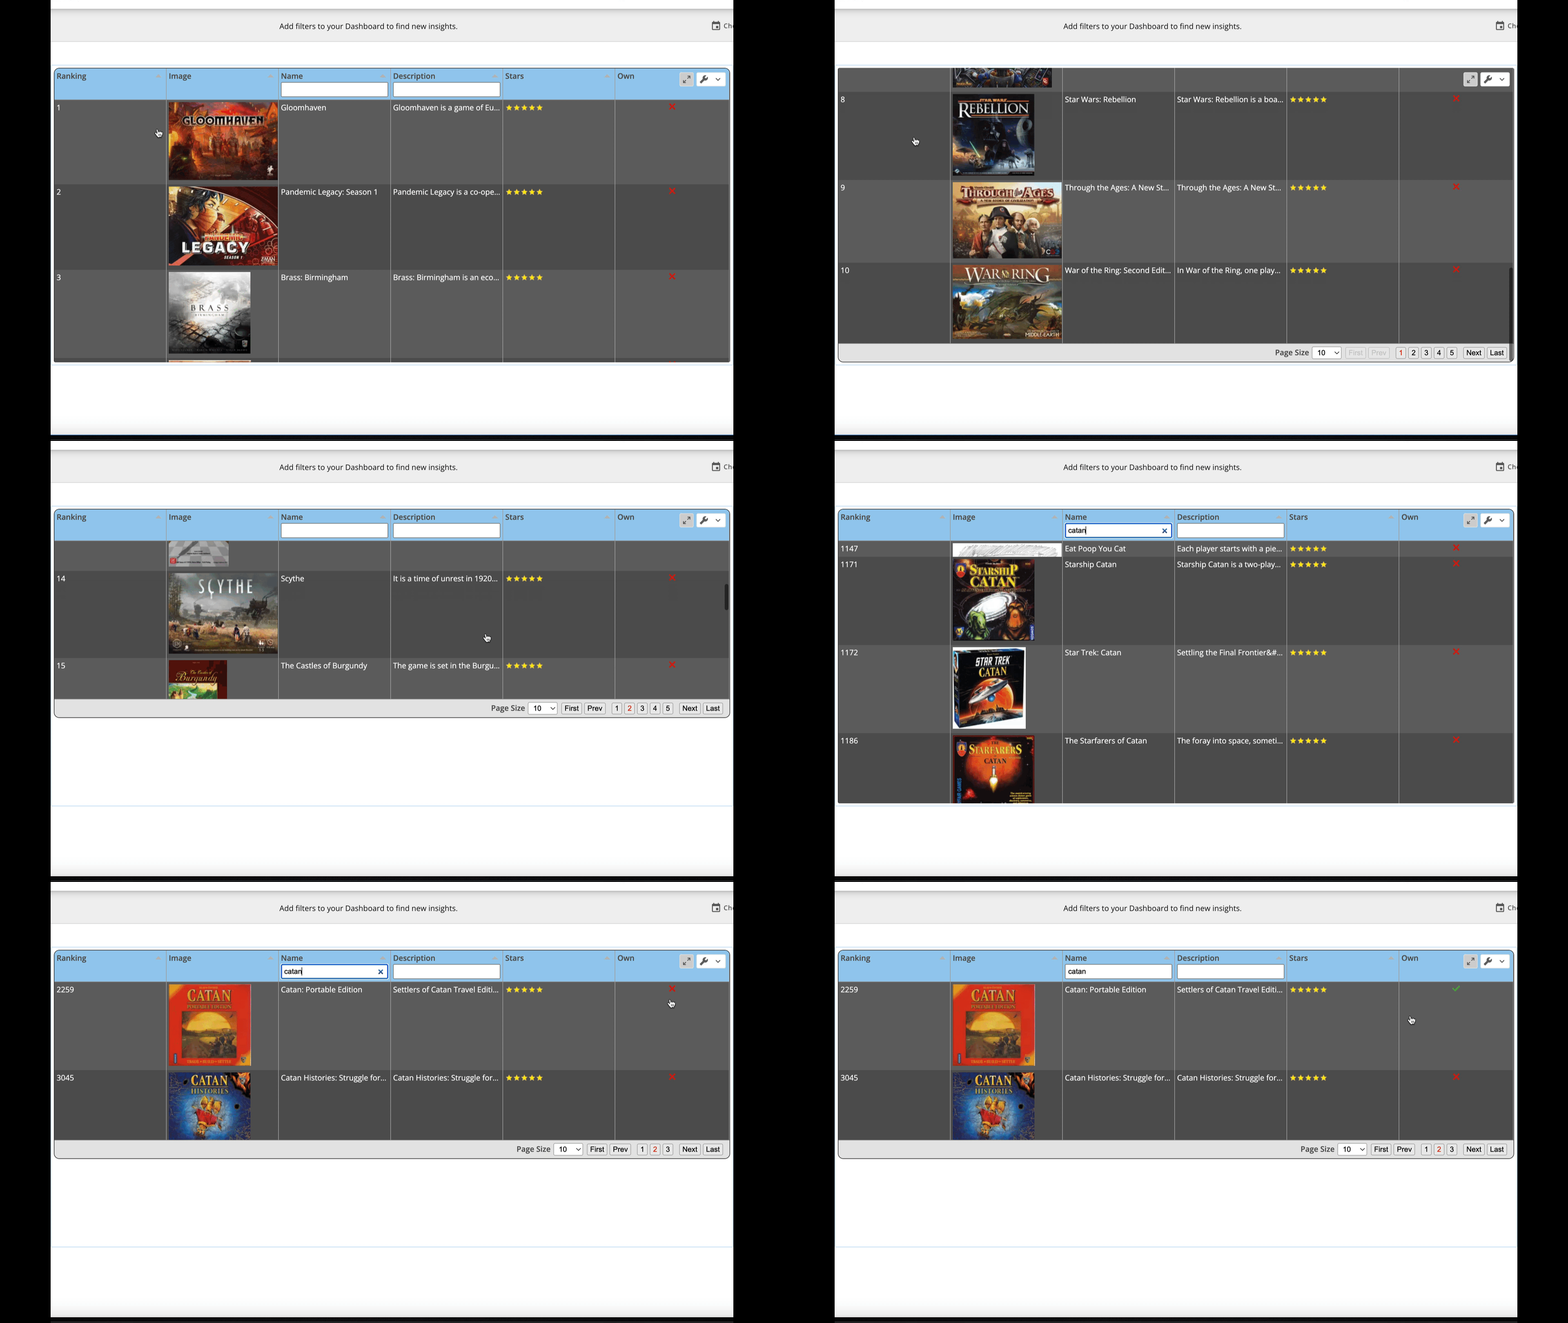
thumbnailfor each board game and the average star ratingaveragethat users have rated the game. - Update the theming of our table to look a bit cooler.
- Add a new editable column that lets us track which games we already own so we can plan our game night!
Add image and stars
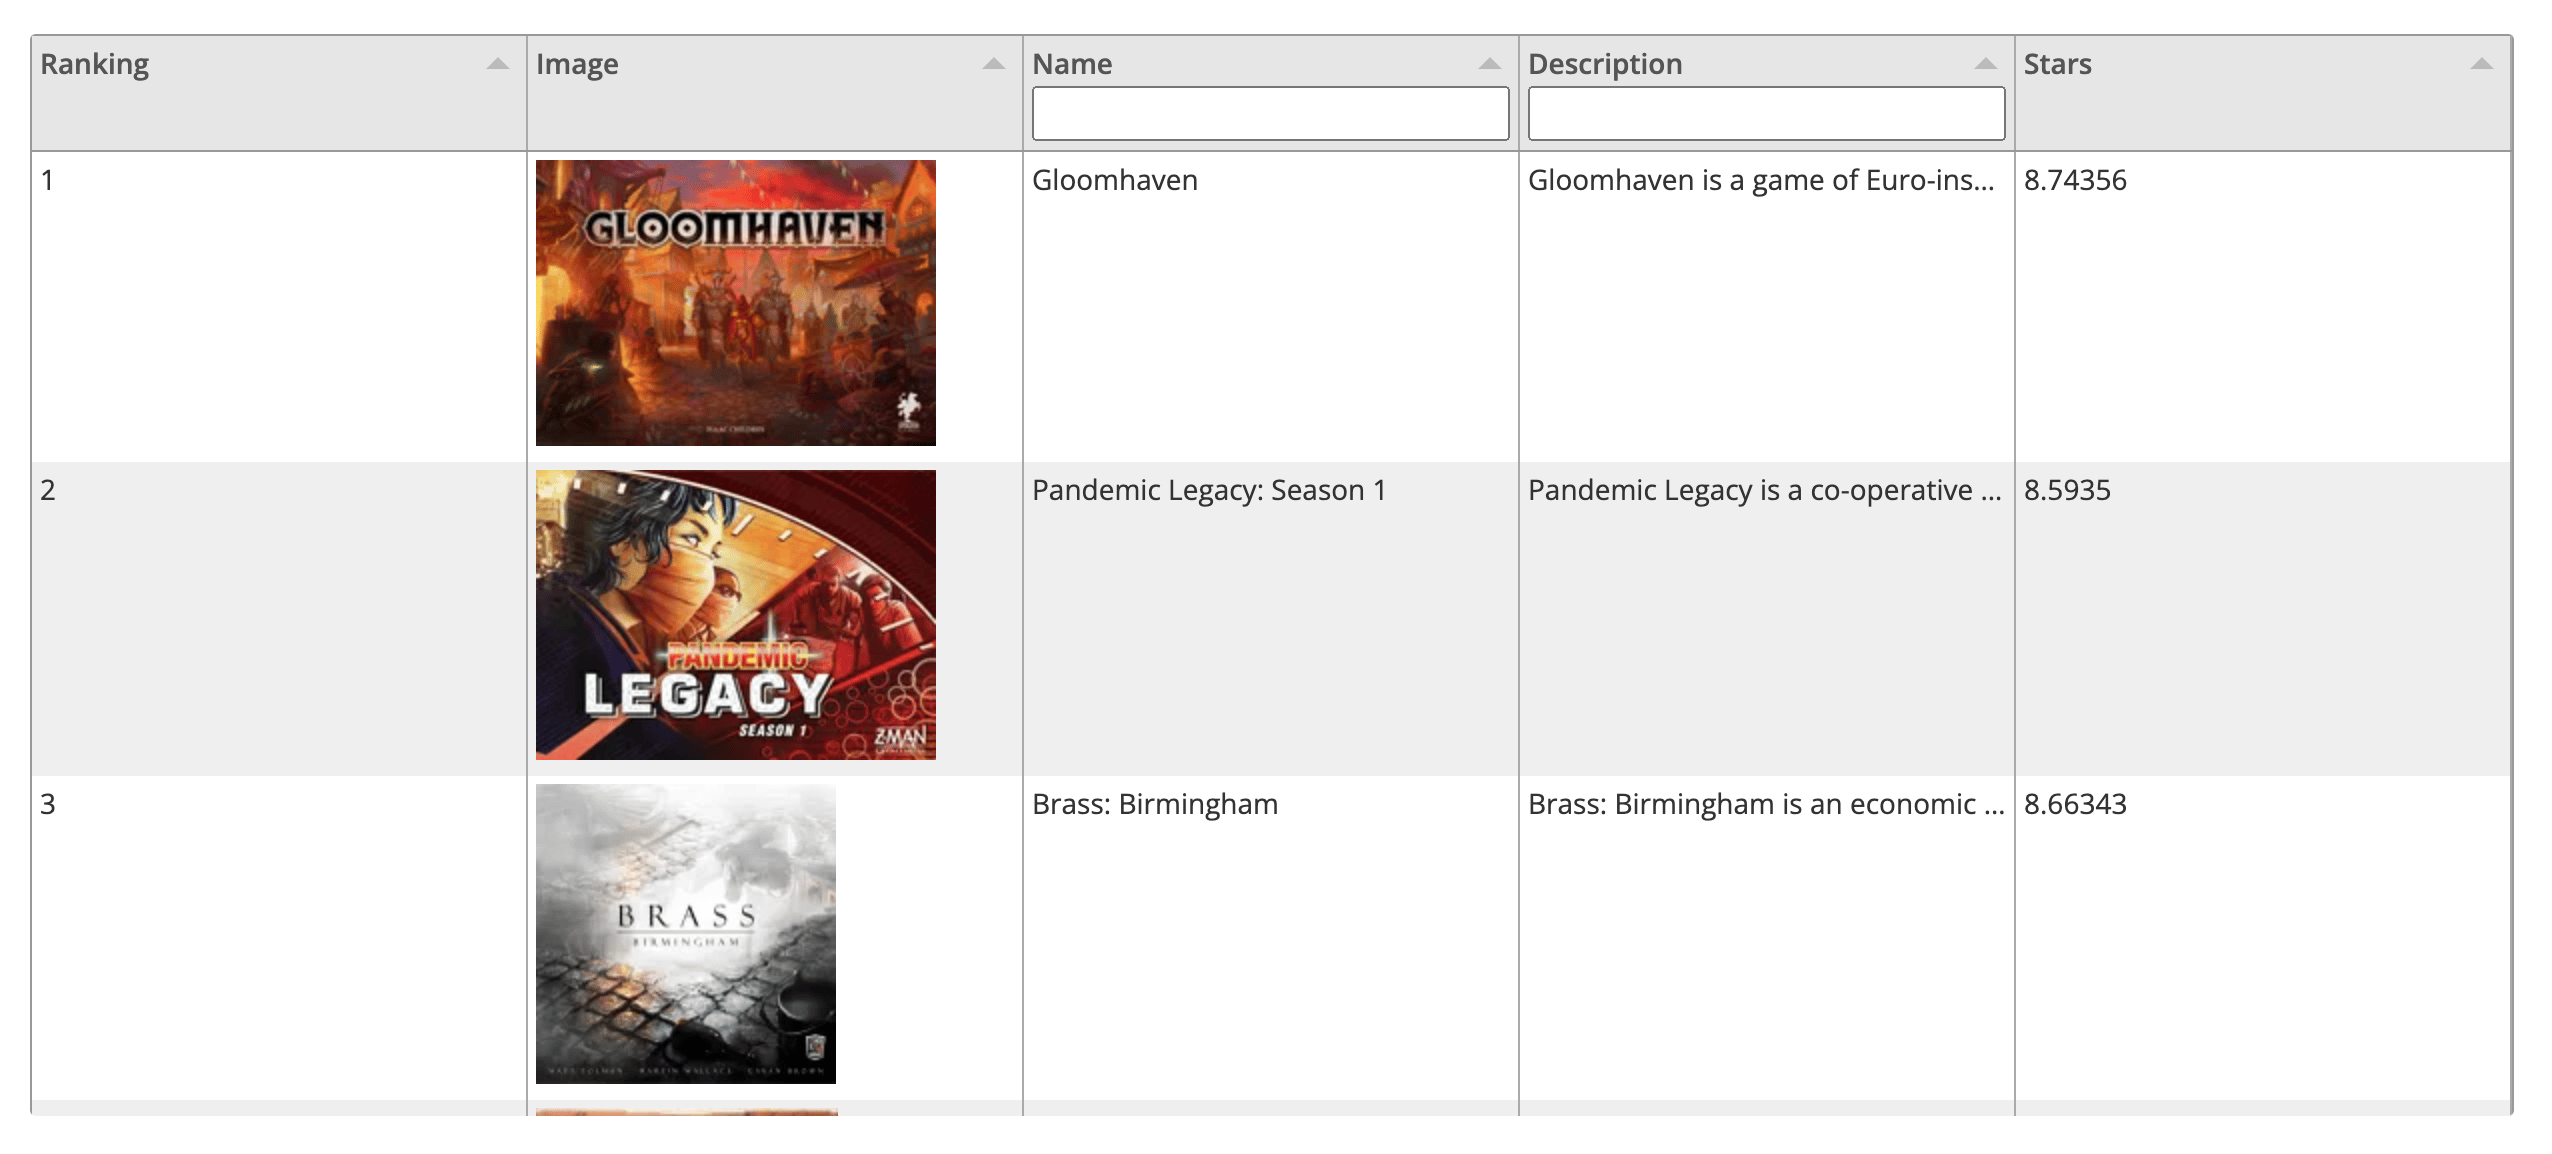
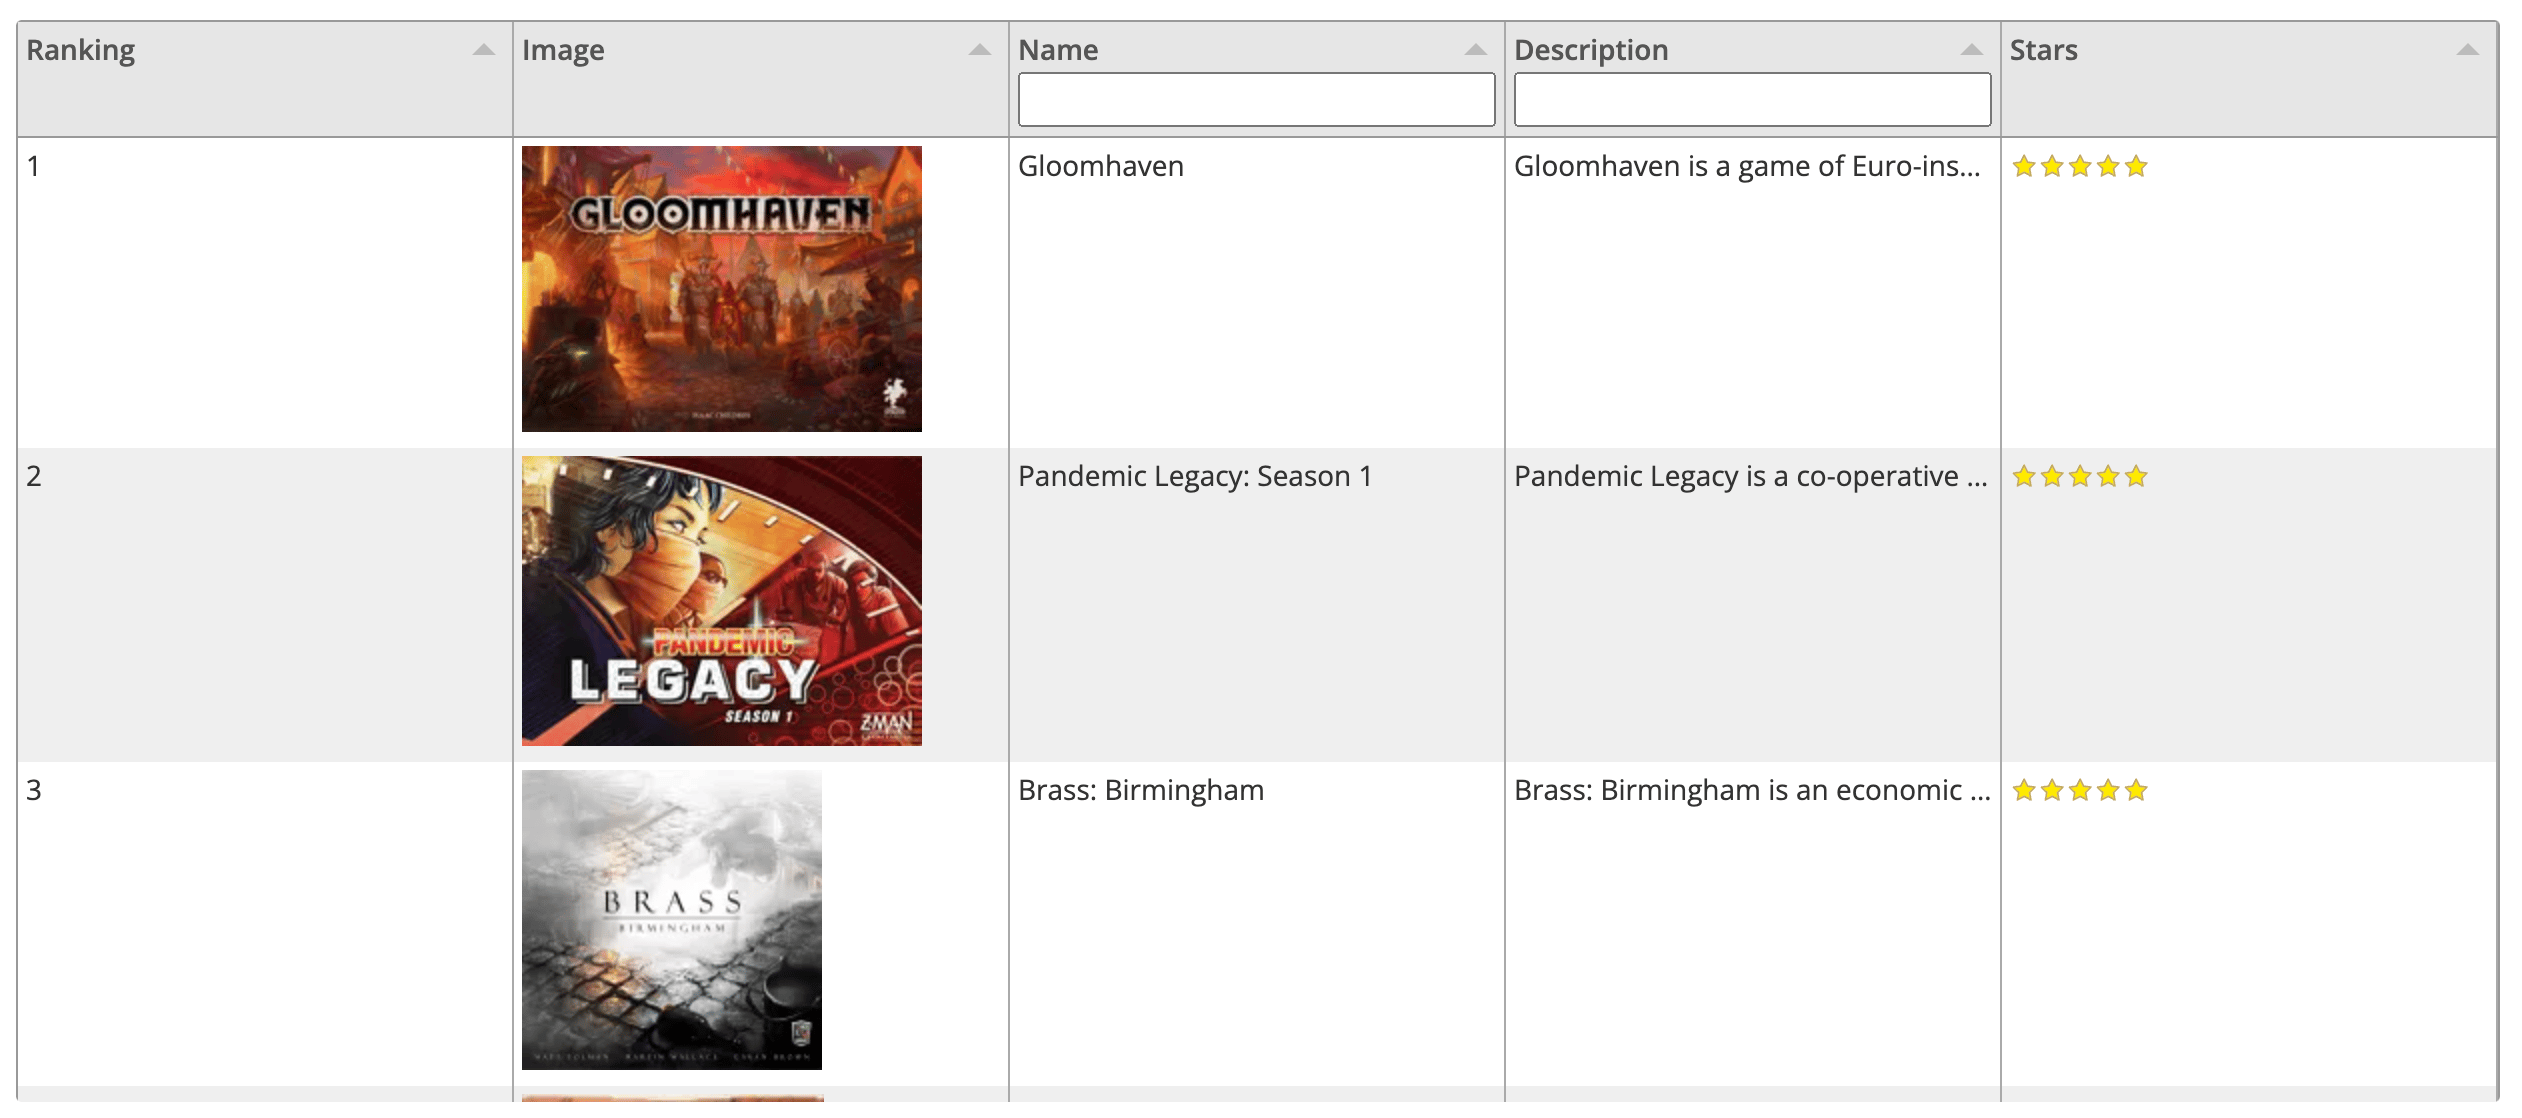
To add our new columns all we need to do is include them in the columns array. To do this, just replace thehandleResult function with the following code:
thumbnail as follows:
average as follows:
Improve theming
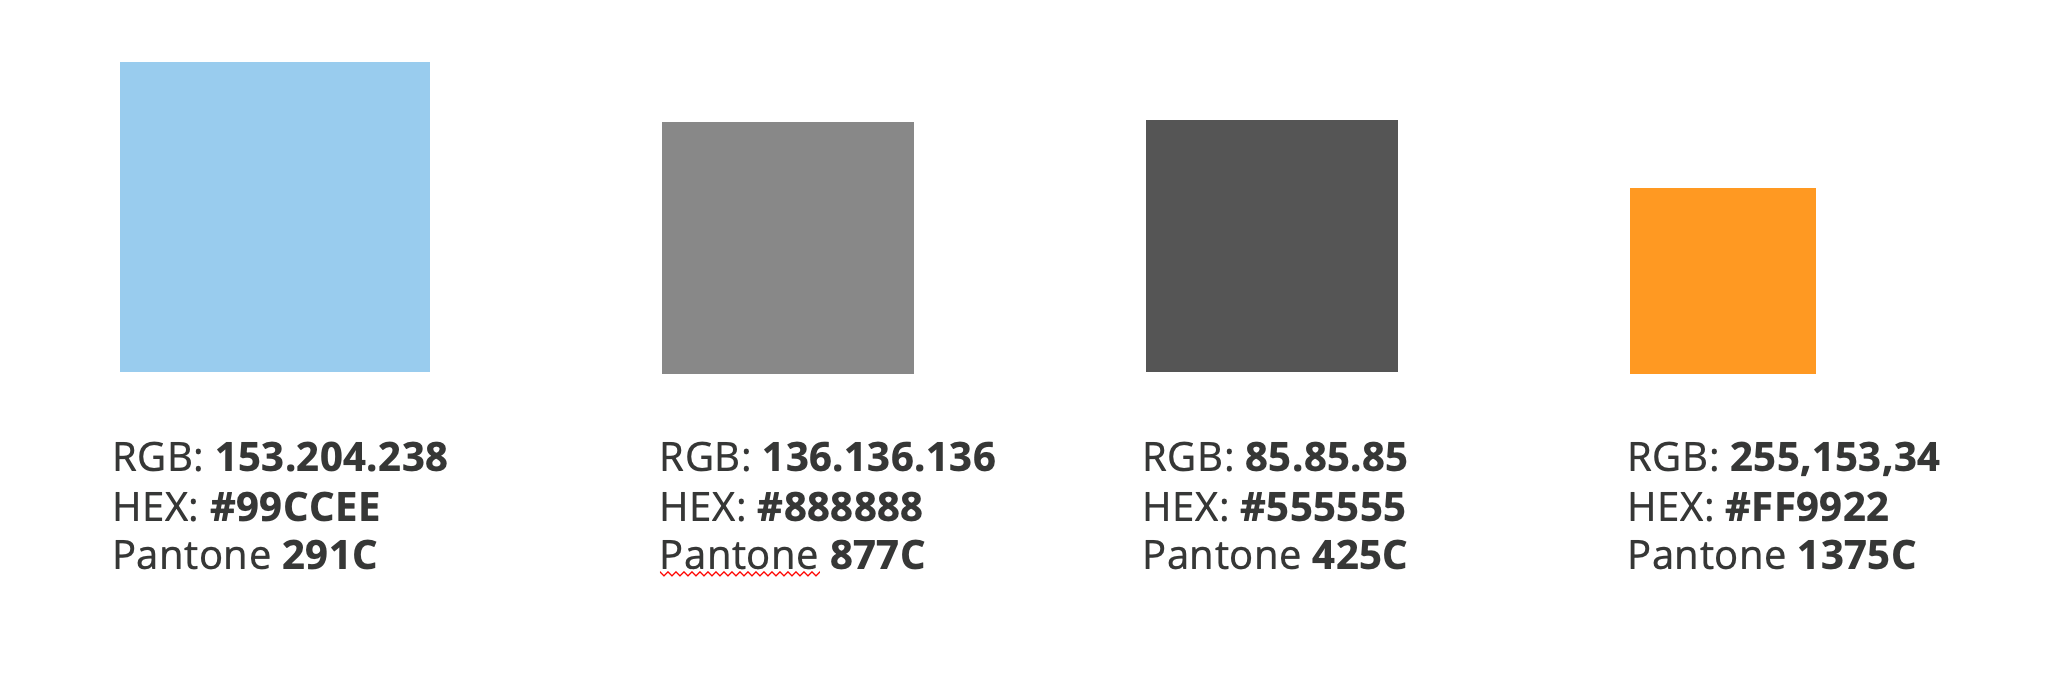
Thanks to Tabulator’s flexible theming options , we can customize the look and feel of our table even further. In this case, we’ll use CSS to override the default themes and make our table fit Domo’s color scheme. For reference, the color scheme we will use is the follow:- Primary Color: Domo Blue
#99CCEE - Secondary Color: Light Gray
#888888 - Tertiary Color: Dark Gray
#555555 - Accent Color: Orange
#FF9922(not using for now)
Create an editable column to mark ownership
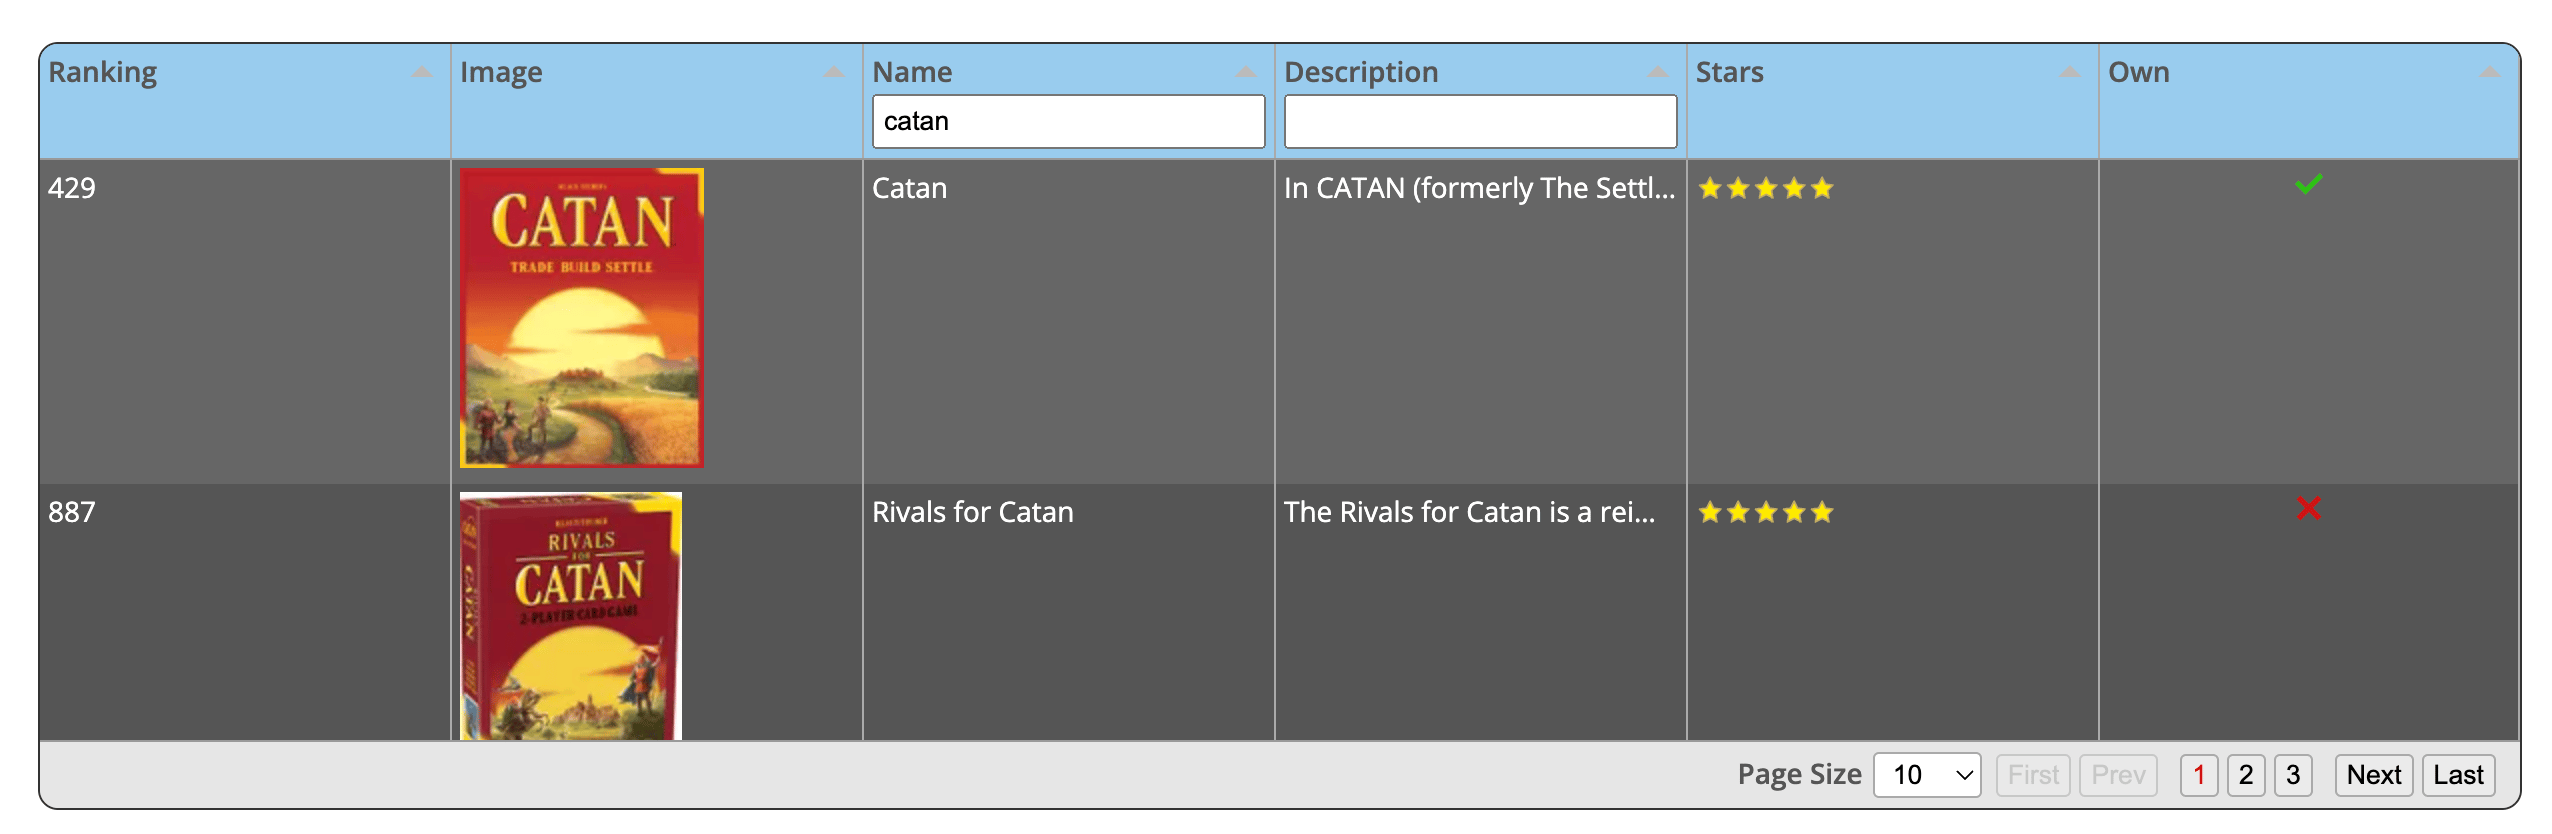
To properly plan my game night, I want to be able to mark which games I already own so I can filter down the list a bit better. Tabulator makes turning columnseditable very easy. Just add a new object to the columns configuration list.
Your handleResult function should now look like below. Note the new column Own with an editable property.
Own column but clicking it.
Note
Although it is possible to write to AppDB from a brick it is strongly encouraged to move to a full Custom App so you have more control over your AppDB Collections.
Review limitations of bricks relative to custom apps
Bricks are great for simple, singular purpose widgets, but as soon as complexity starts to increase, custom apps provide a lot more flexibility.