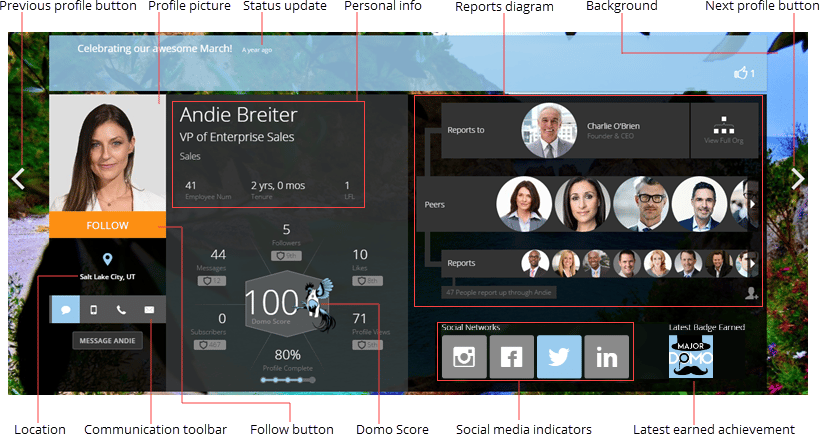
 You can learn about each component in the following table:
Component | Description |
|---|---|
Previous Profile button | Lets you navigate to the previous Profile page alphabetically in your organization. |
Profile picture | The picture that represents you or this user throughout Domo. You can change your picture by clicking on it and uploading a new picture. Depending on your permissions, you may also be able to add or edit other users' profile pictures. For more information, see Adding or Changing Your Profile Picture . |
Status update | Lets you enter a status update in your own Profile page (or in that of another user, depending on your permissions), similar to that found in Facebook. When you enter a status update, you are telling other users in your company what you're working on. You can choose to attach a status update to a task in the Projects & Tasks page. You can view a log of all of a user's status updates in the Status Updates tab, located farther down in the Profile page. You can also like a user's status by clicking the |
Personal info | Displays this user's name, position, department, employee number, tenure, and LFL (the number of organizational levels down the user is from the head of the organization). You can edit your name, position, department, and tenure by clicking and making the desired changes in your own Profile page. Note: If a locked icon displays next to the item, this means that you are unable to edit it.
|
Reports diagram | Shows who this user reports to, who the user's peers are (that is, those users who report to the same individual as this user), and who reports to the user. You can change who you report to and who reports to you by clicking in the appropriate area and selecting the desired user from the pop-up list. Depending on your permissions, you may also be able to specify this information for other users. Peers are determined automatically based on who you report to. If there are more peers or reports than fit in their respective areas, you can click the arrows on either side to see the additional peers or reports. The Reports diagram also contains a button labeled View Full Org . Clicking this button opens the Org Explorer, which shows the org chart for your company. For more information, see Viewing and Entering Peers in Your Company Org Chart . |
Background image | The background image that appears behind the profile header. You can change your background image by clicking the Change Background button in the top right corner of your Profile page and uploading the desired image. For more information, see Changing Your Profile Background Image . |
Next Profile button | Lets you navigate to the next Profile page alphabetically in your organization. |
Location | Shows the company location in which this user works. You can change this location in your own Profile page by clicking and editing. Depending on your permissions, you may also be able to add or edit this information for other users. |
Communication toolbar | Displays options for contacting this user. Clicking |
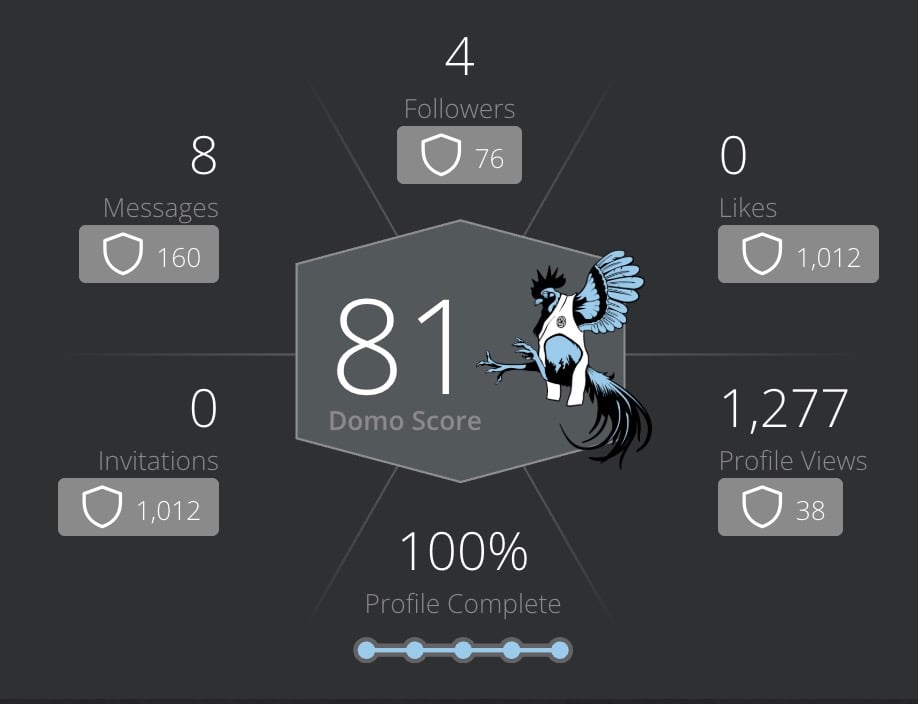
Domo Score | The Domo Score represents a user's total presence within the Domo instance. Parts of the score include Buzz messages sent, the number of cards added as favorites, the number of users who follow them, likes the user has received, Domo invitations the user has sent, and profile completeness. The score is updated once daily. Displays this user's Domo Score along with the individual scores used to calculate the total score, such as number of followers, number of likes, etc. You can mouse over any individual score to see how your score compares with this user's. The "Profile Complete" percentage is determined by your completion of five distinct tasks such as adding a profile picture, adding a card as a Favorite, etc. You can see which of these tasks you have completed by mousing over the "Profile Complete" region in the profile header.
|
Latest earned badge | The last achievement badge this user earned. You can click See All to jump directly to the Badges pane, which shows all of the badges this user has earned and lets you bestow new badges. You can also award a badge to this user directly from the profile header, by clicking the + and selecting the desired badge. This button only appears if you have been authorized to give badges. Learn how to view and award badges below. |
 The button changes to indicate that you are following them.
 #### Unfollow a User
To unfollow a user, go to their user profile and hover over the button that says **Following** until it changes to **Unfollow**.
Select **Unfollow**.
#### Unfollow a User
To unfollow a user, go to their user profile and hover over the button that says **Following** until it changes to **Unfollow**.
Select **Unfollow**.
 ### Activities Pane
This pane contains a row of tabs, providing a glimpse of what a user has been doing in Domo. Each of these tabs is described in more detail below.
# Viewing
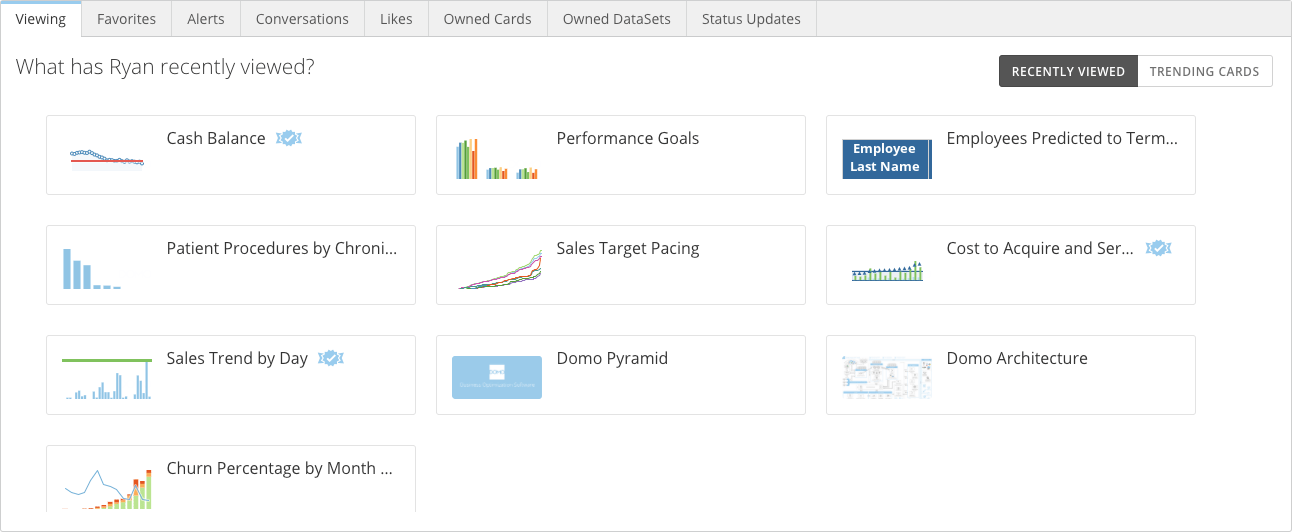
In the **Viewing** tab, you can see thumbnails of all the cards that a user has been viewing either most recently or most frequently. Selecting a thumbnail opens the [Details view](https://domo-support.domo.com/s/article/360042923934) of the card.
### Activities Pane
This pane contains a row of tabs, providing a glimpse of what a user has been doing in Domo. Each of these tabs is described in more detail below.
# Viewing
In the **Viewing** tab, you can see thumbnails of all the cards that a user has been viewing either most recently or most frequently. Selecting a thumbnail opens the [Details view](https://domo-support.domo.com/s/article/360042923934) of the card.
 # Favorites
In the **Favorites** tab, you can view thumbnails of all the cards this user has saved as favorites. Select any thumbnail to open the Details view for the card.
Your favorite cards are accessible from the **Favorites** tab on your user profile.
# Favorites
In the **Favorites** tab, you can view thumbnails of all the cards this user has saved as favorites. Select any thumbnail to open the Details view for the card.
Your favorite cards are accessible from the **Favorites** tab on your user profile.
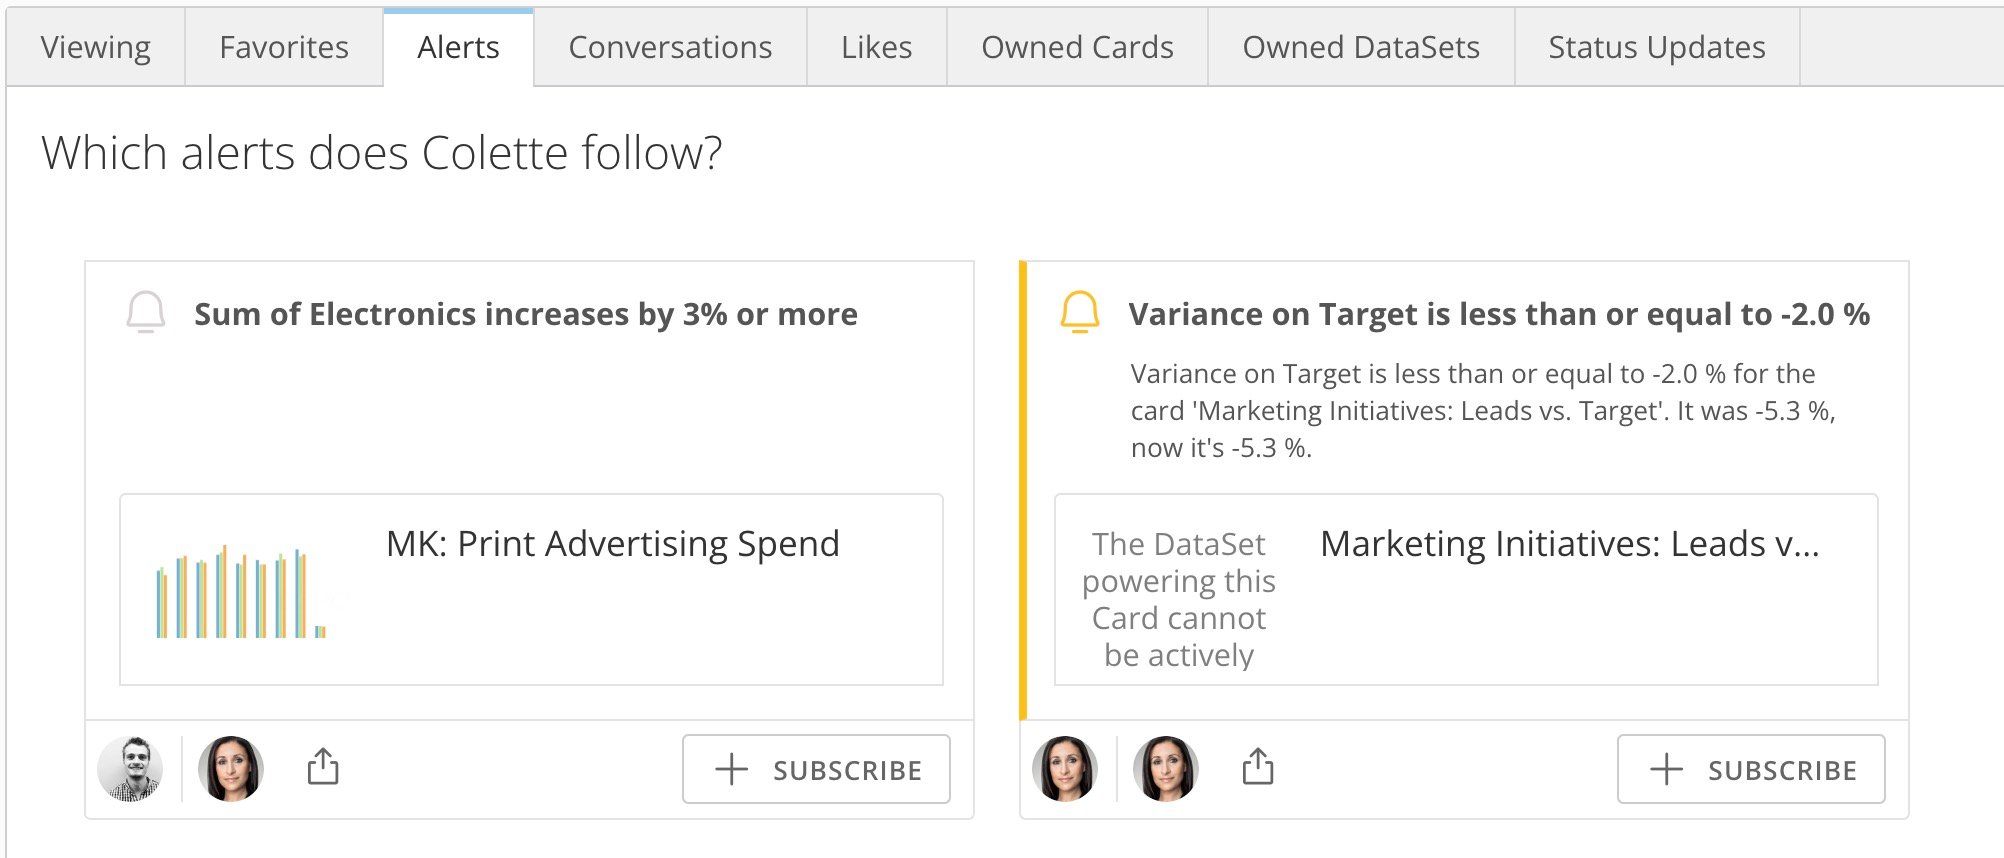
 # Alerts
In the **Alerts** tab, you can view all of the alerts that a user is following.
Select the upper portion of an alert to open an information panel in which you can edit the alert, set notifications, and see the history.
Select the lower portion to open the Details view for the card where the alert is configured.
Select **Subscribe** to follow any of the alerts. Then you can choose whether to receive text, email, or mobile notifications for the alert, and how often. Learn more about [alerts](https://domo-support.domo.com/s/article/360043430533?language=en_US).
# Alerts
In the **Alerts** tab, you can view all of the alerts that a user is following.
Select the upper portion of an alert to open an information panel in which you can edit the alert, set notifications, and see the history.
Select the lower portion to open the Details view for the card where the alert is configured.
Select **Subscribe** to follow any of the alerts. Then you can choose whether to receive text, email, or mobile notifications for the alert, and how often. Learn more about [alerts](https://domo-support.domo.com/s/article/360043430533?language=en_US).
 # Conversations
In the **Conversations** tab, you can see all of the people a user has been having Buzz conversations with, along with the conversations.
# Conversations
In the **Conversations** tab, you can see all of the people a user has been having Buzz conversations with, along with the conversations.
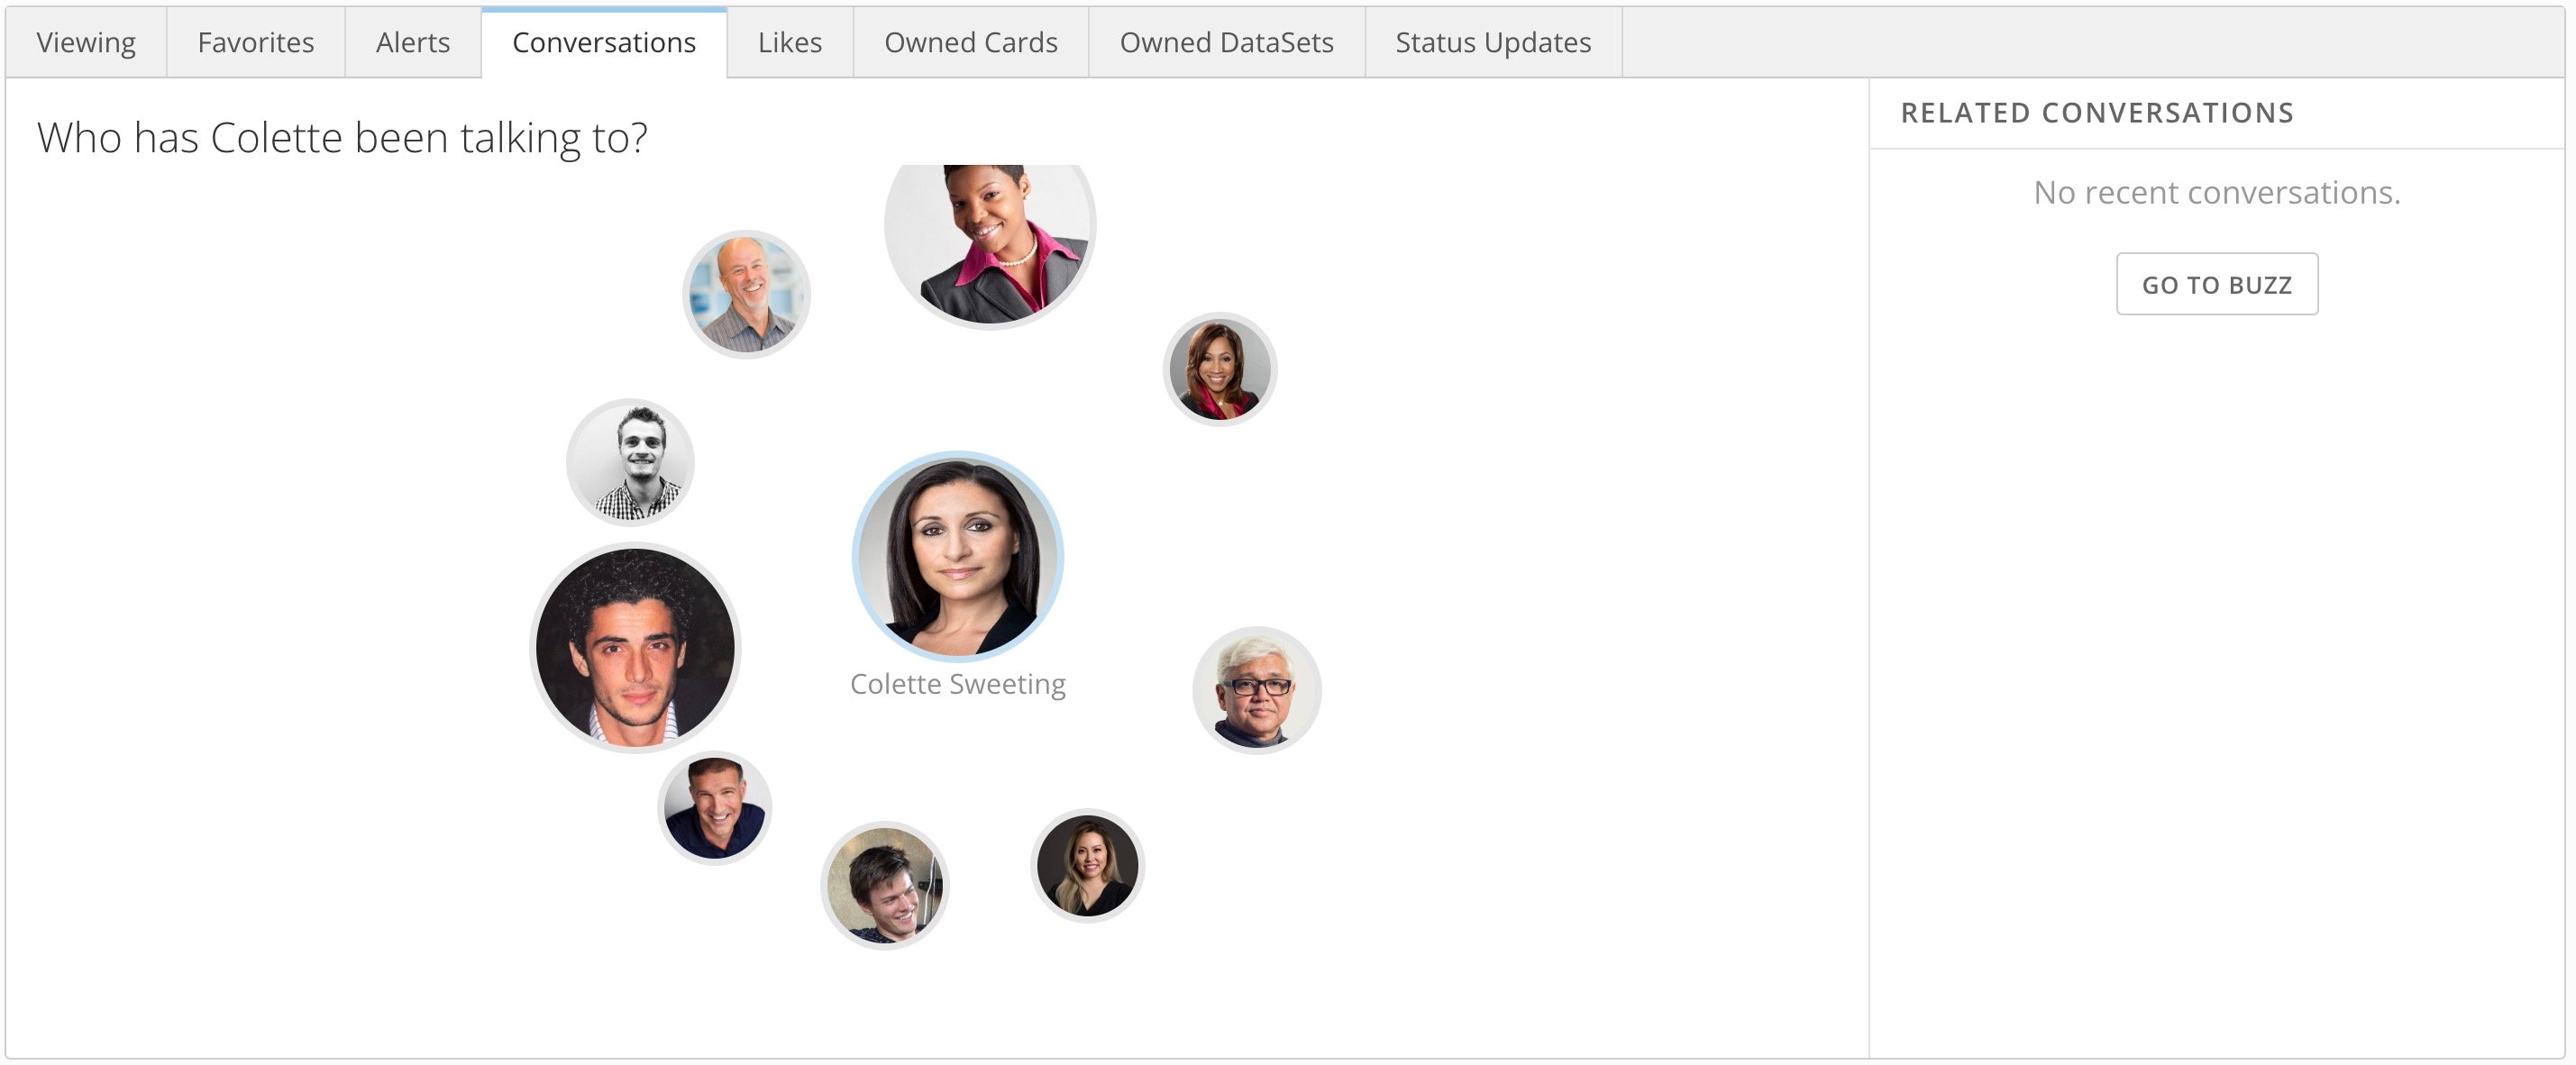 The tab is divided into two sections:
* The left section displays bubbles for all of the users this user has been talking to. Bubble size is determined by the number of conversations a user has been involved in.
* The right section displays new Buzz conversations that the user is part of. Selecting a bubble for a specific user displays only the conversations between these two users.
# Likes
In the **Likes** tab, you can see all of a user's "liked" Buzz conversations (that is, initial posts in Buzz), Buzz comments, photos, status updates, and tasks.
Each "liked" item appears in its own card. For any item, you can hover over the thumbs-up icon to see which users have liked the item or click it to like it yourself.
Learn more about [tasks](https://domo-support.domo.com/s/article/360042925874?language=en_US) and [status updates](#enter_status_update).
# Owned Cards
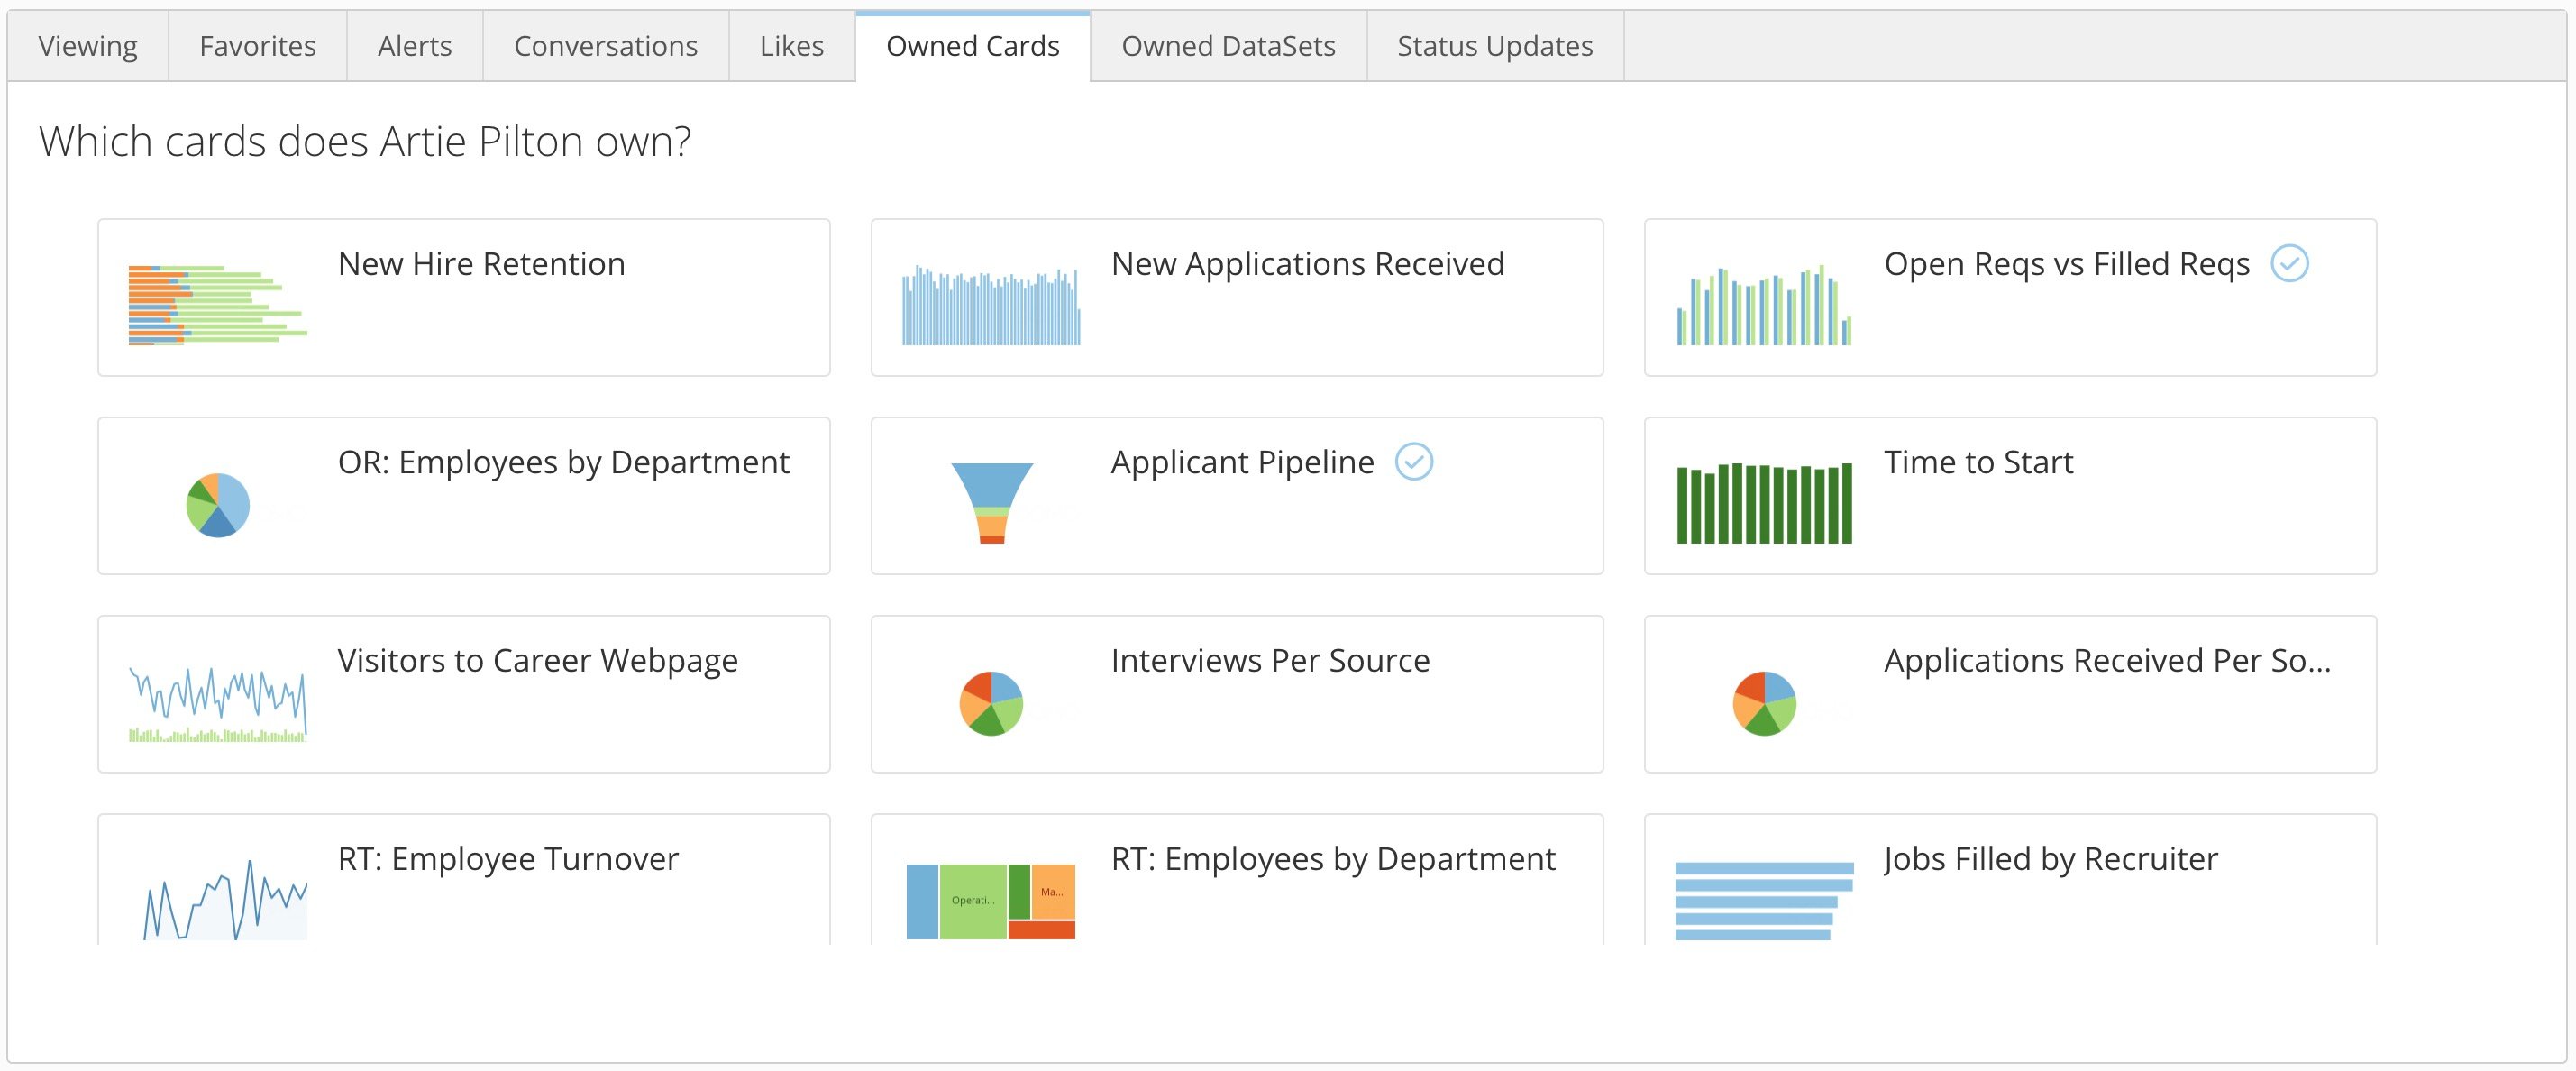
The **Owned Cards** tab displays all of the cards a user owns. Selecting any card brings up its Details view. Learn how to [change a card's owner](https://domo-support.domo.com/s/article/360042923794?language=en_US).
The tab is divided into two sections:
* The left section displays bubbles for all of the users this user has been talking to. Bubble size is determined by the number of conversations a user has been involved in.
* The right section displays new Buzz conversations that the user is part of. Selecting a bubble for a specific user displays only the conversations between these two users.
# Likes
In the **Likes** tab, you can see all of a user's "liked" Buzz conversations (that is, initial posts in Buzz), Buzz comments, photos, status updates, and tasks.
Each "liked" item appears in its own card. For any item, you can hover over the thumbs-up icon to see which users have liked the item or click it to like it yourself.
Learn more about [tasks](https://domo-support.domo.com/s/article/360042925874?language=en_US) and [status updates](#enter_status_update).
# Owned Cards
The **Owned Cards** tab displays all of the cards a user owns. Selecting any card brings up its Details view. Learn how to [change a card's owner](https://domo-support.domo.com/s/article/360042923794?language=en_US).
 # Owned DataSets
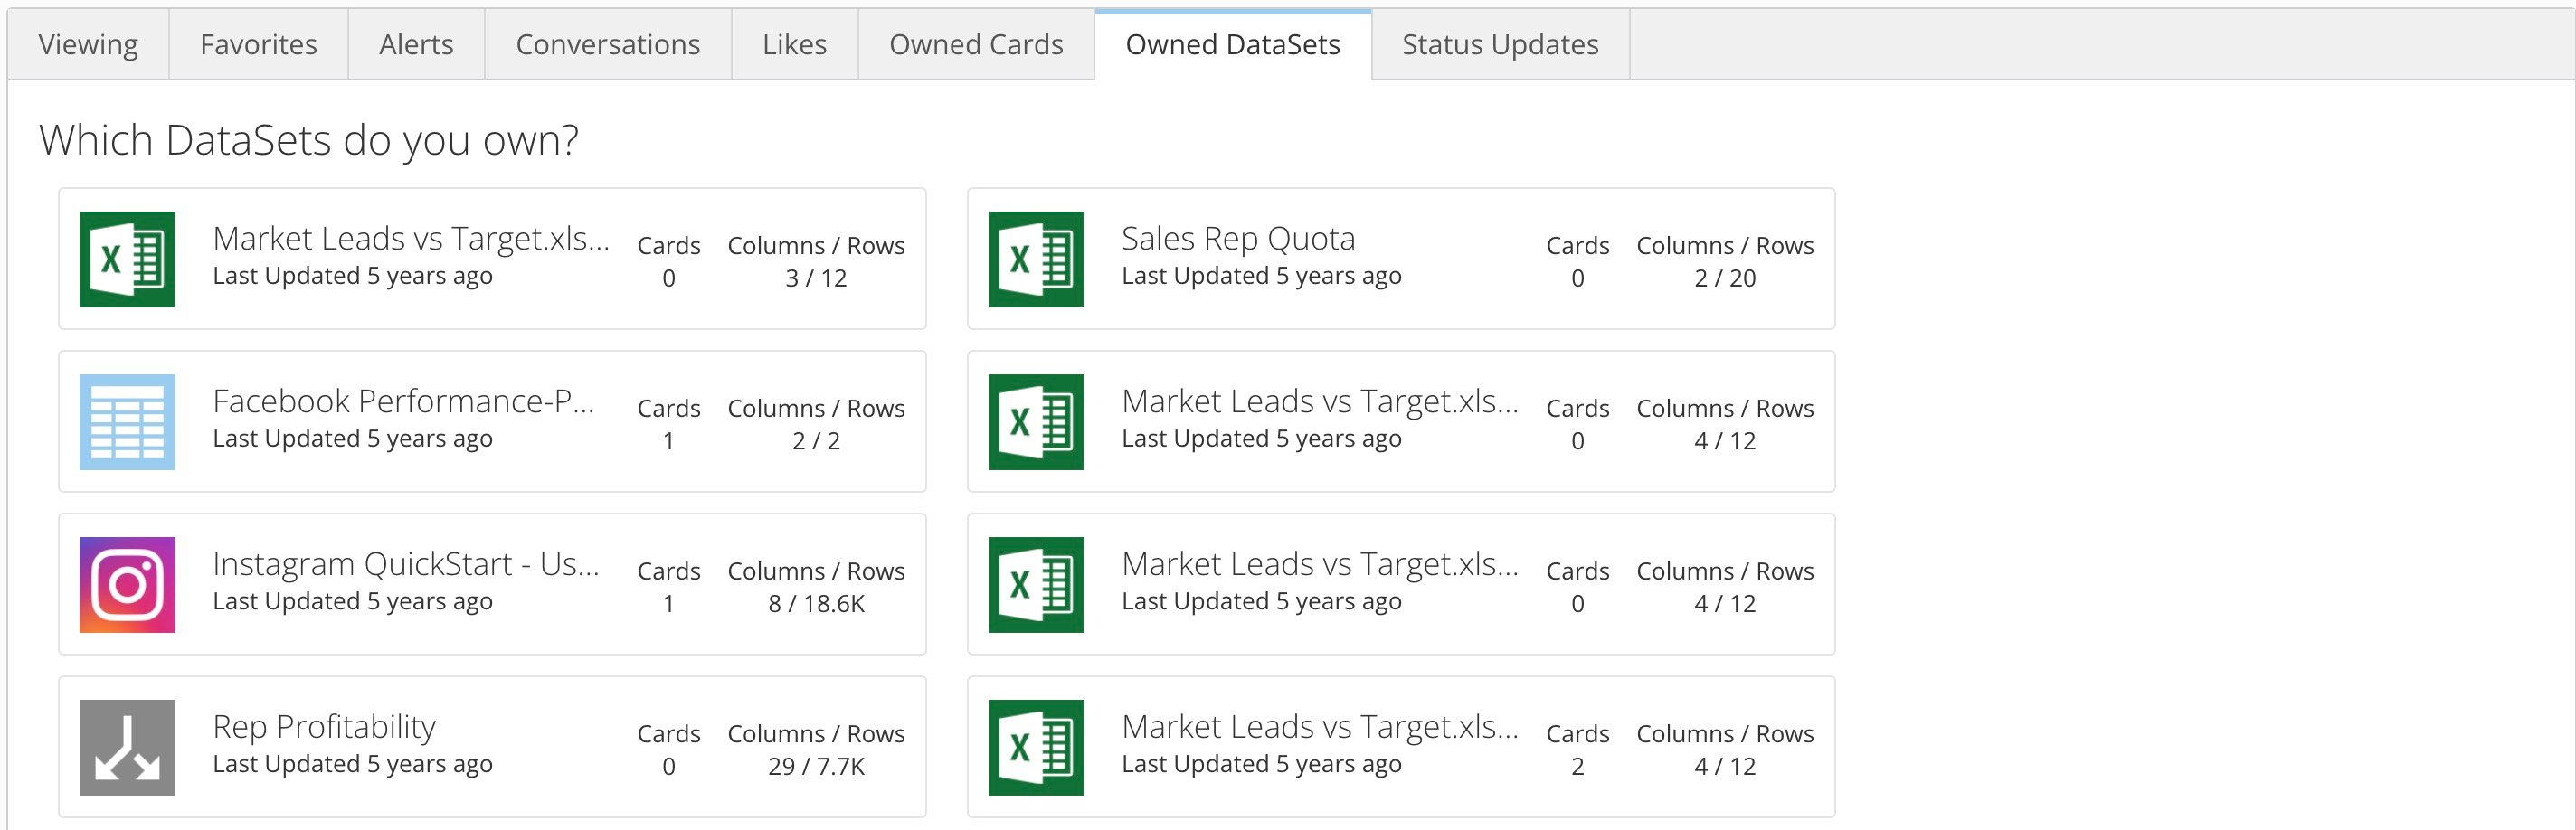
The **Owned DataSets** tab displays all of the DataSets a user owns, along with the number of columns and rows in each DataSet and the number of cards it powers. Selecting any DataSet brings up its Details view.
# Owned DataSets
The **Owned DataSets** tab displays all of the DataSets a user owns, along with the number of columns and rows in each DataSet and the number of cards it powers. Selecting any DataSet brings up its Details view.
 # Status Updates
Status updates in Domo allow you to tell other users in your organization what you are working on.
#### Enter a Status Update
1. At the top of your user profile, select the status field to open an editable field.
# Status Updates
Status updates in Domo allow you to tell other users in your organization what you are working on.
#### Enter a Status Update
1. At the top of your user profile, select the status field to open an editable field.
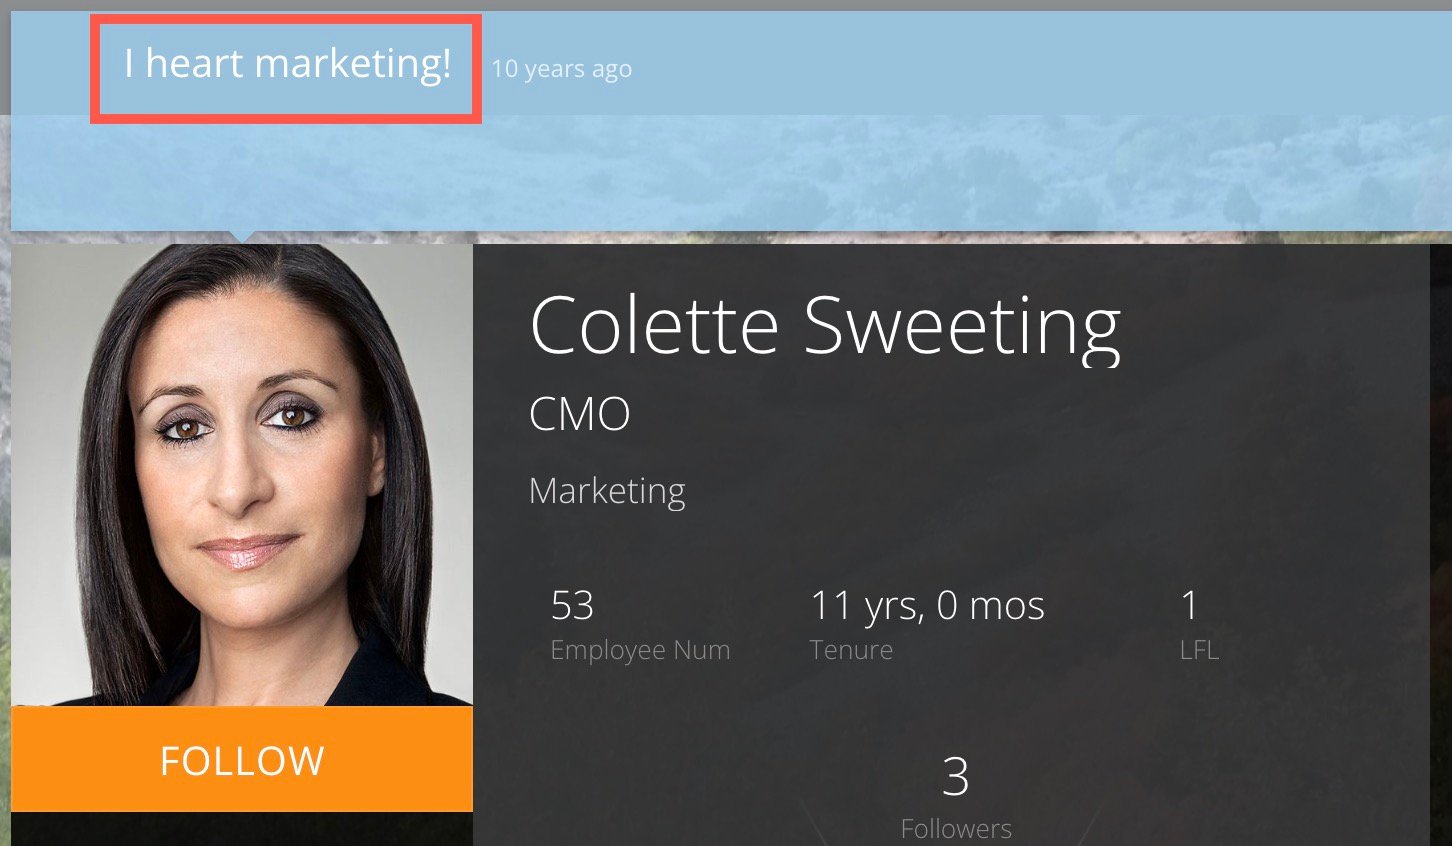 2. Enter your current status.
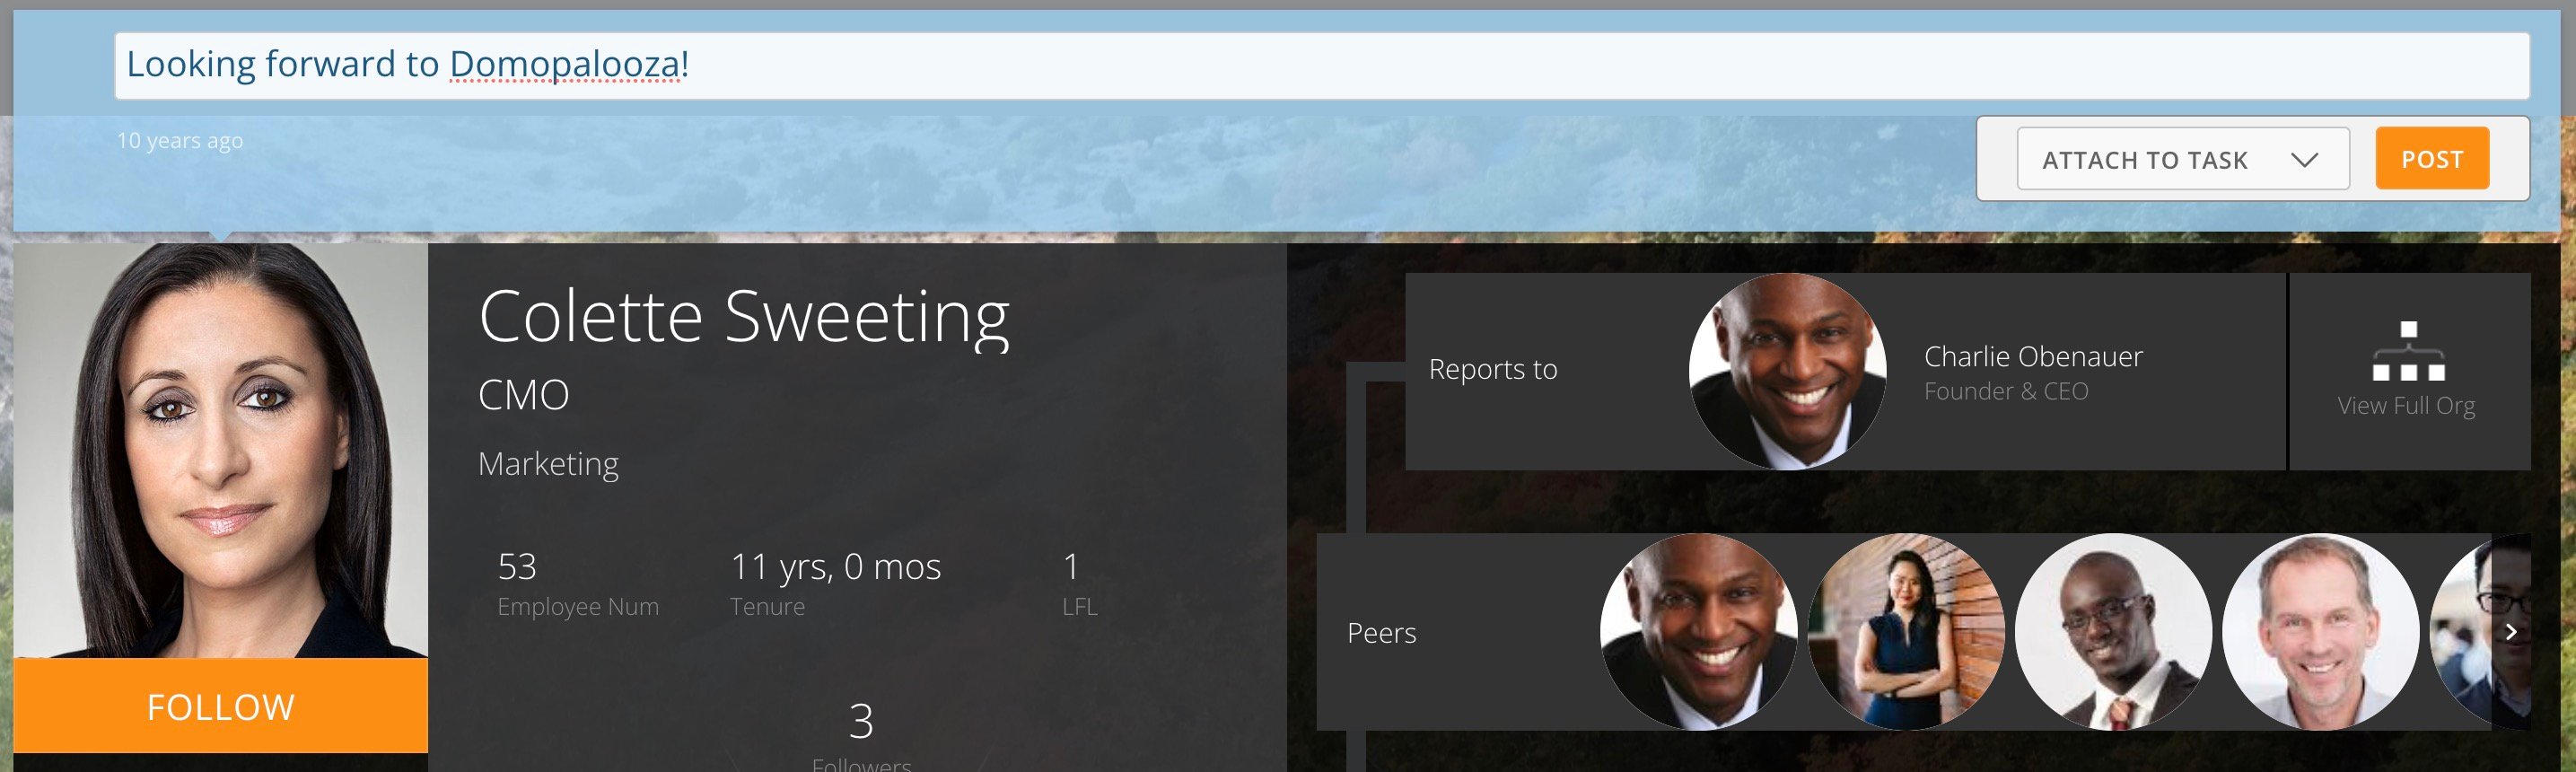 3. (Optional) You can choose to attach the status to a specific task.
4. Select **Post**.
You can enter a new status at any time and erase this one.
#### View Past Status Updates
You can view your own or another user's past status updates in the **Activities** pane of the user profile.
1. On the user profile, scroll to the **Activities** pane.
2. Go to the **Status Updates** tab.
Past status updates appear, arranged from newest to oldest.
3. (Optional) You can choose to attach the status to a specific task.
4. Select **Post**.
You can enter a new status at any time and erase this one.
#### View Past Status Updates
You can view your own or another user's past status updates in the **Activities** pane of the user profile.
1. On the user profile, scroll to the **Activities** pane.
2. Go to the **Status Updates** tab.
Past status updates appear, arranged from newest to oldest.
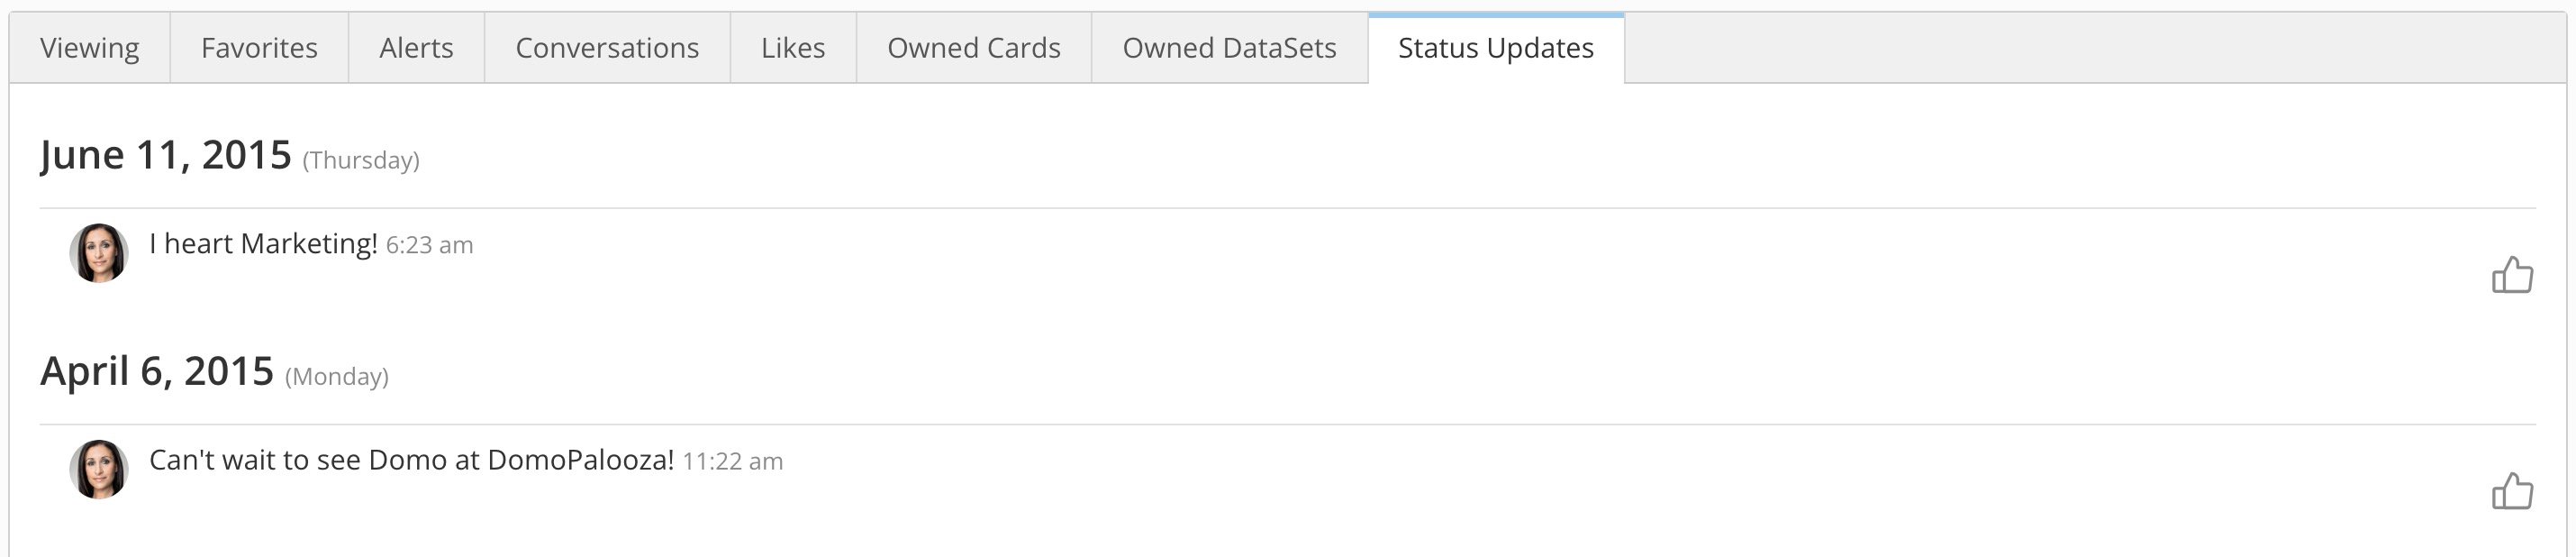 3. (Optional) You can "like" a user's status by selecting the thumbs-up icon.
### Tasks & Projects Pane
In this pane, you can view tasks for all projects for which this user has been assigned as a team member.
3. (Optional) You can "like" a user's status by selecting the thumbs-up icon.
### Tasks & Projects Pane
In this pane, you can view tasks for all projects for which this user has been assigned as a team member.
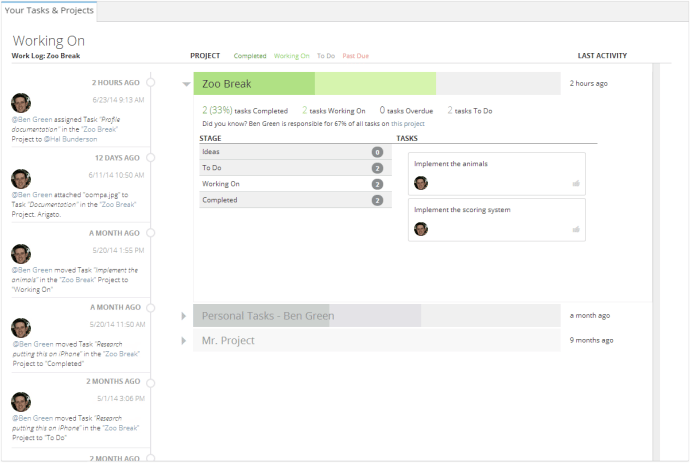 For each project, all lists from the **Projects & Tasks** page are presented. When you click on a list, all the tasks within that list are shown, together with all assigned users. You can "like" a task by clicking the
 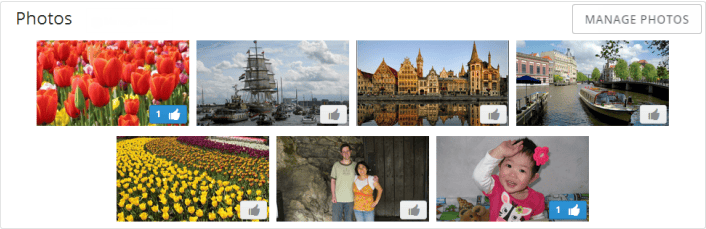 For more information about uploading and managing photos, see [Managing Your Personal Photos](/s/article/360042934714 "Managing Your Personal Photos").
### Groups Pane
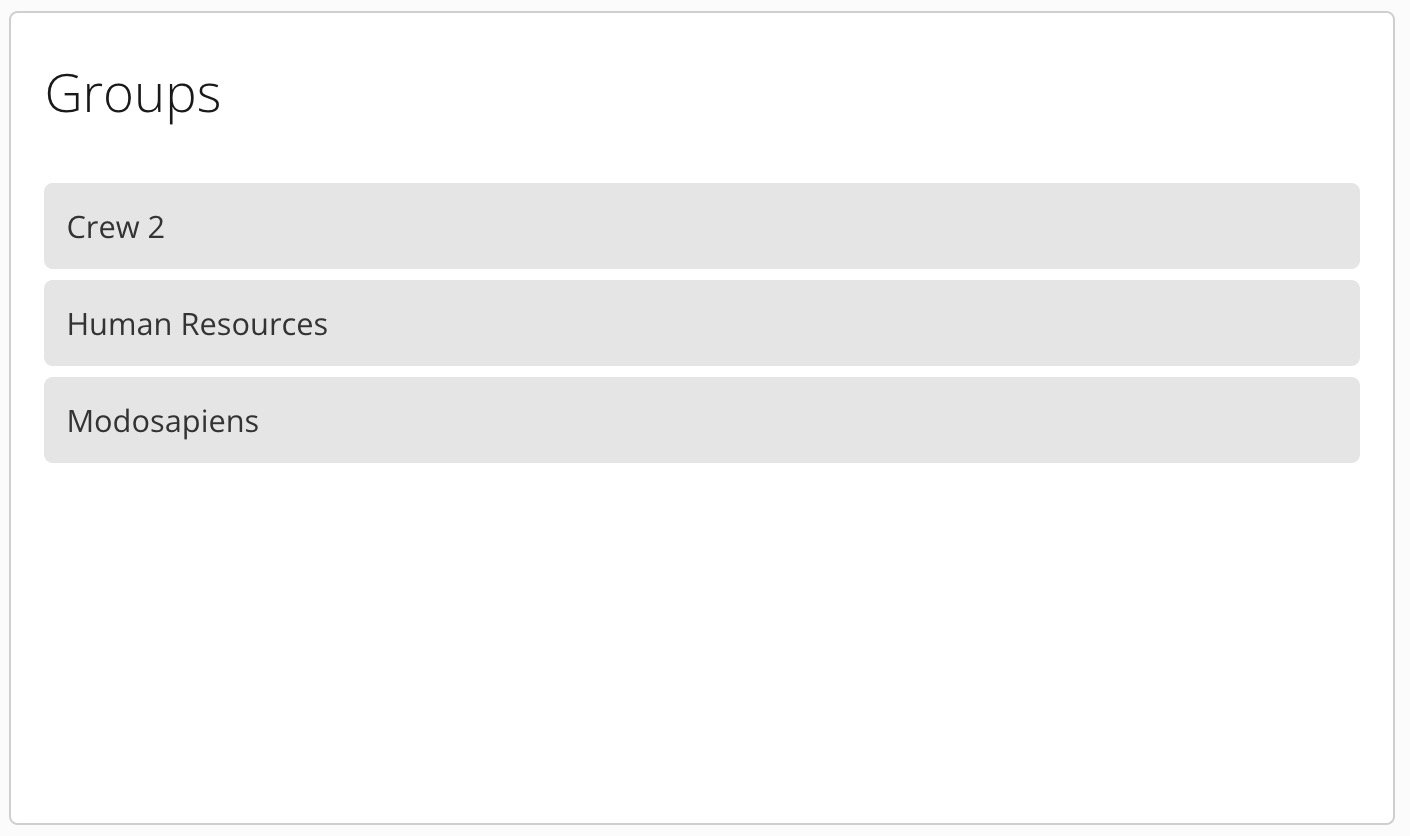
In the **Groups** pane, you can see all of the Domo user groups to which a user belongs. Hover over a group name to see all of the members of that group. Learn more about [user groups](https://domo-support.domo.com/s/article/360042934294?language=en_US).
For more information about uploading and managing photos, see [Managing Your Personal Photos](/s/article/360042934714 "Managing Your Personal Photos").
### Groups Pane
In the **Groups** pane, you can see all of the Domo user groups to which a user belongs. Hover over a group name to see all of the members of that group. Learn more about [user groups](https://domo-support.domo.com/s/article/360042934294?language=en_US).
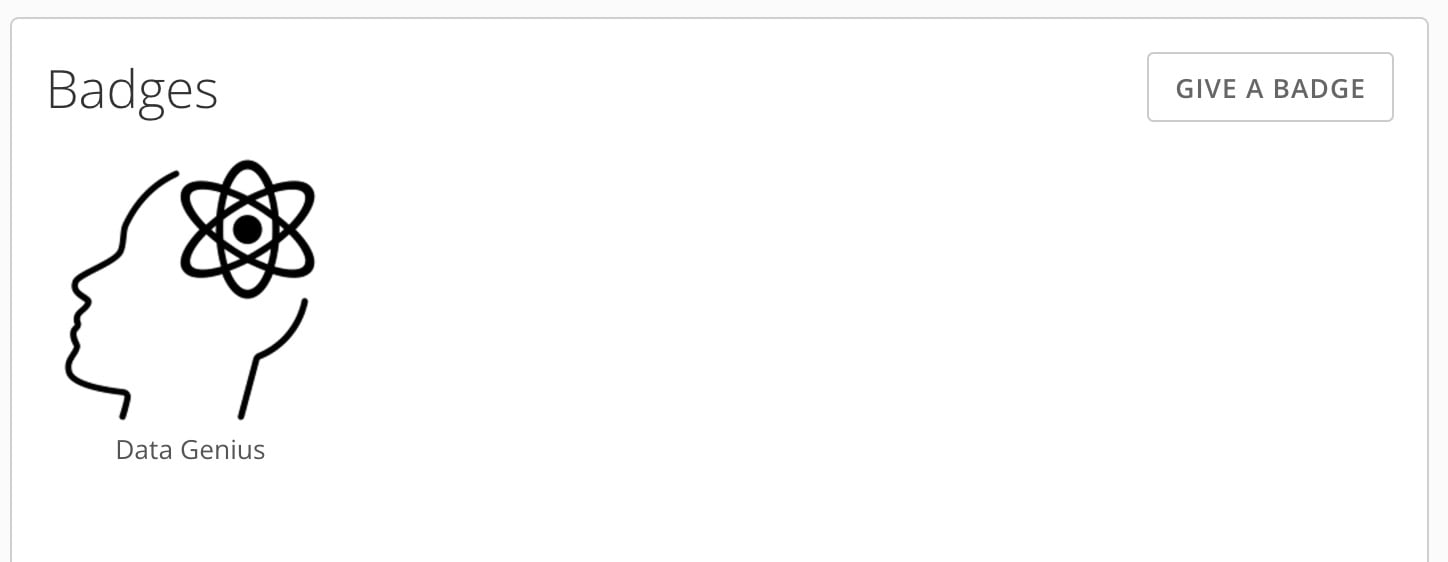
 ### View Badges
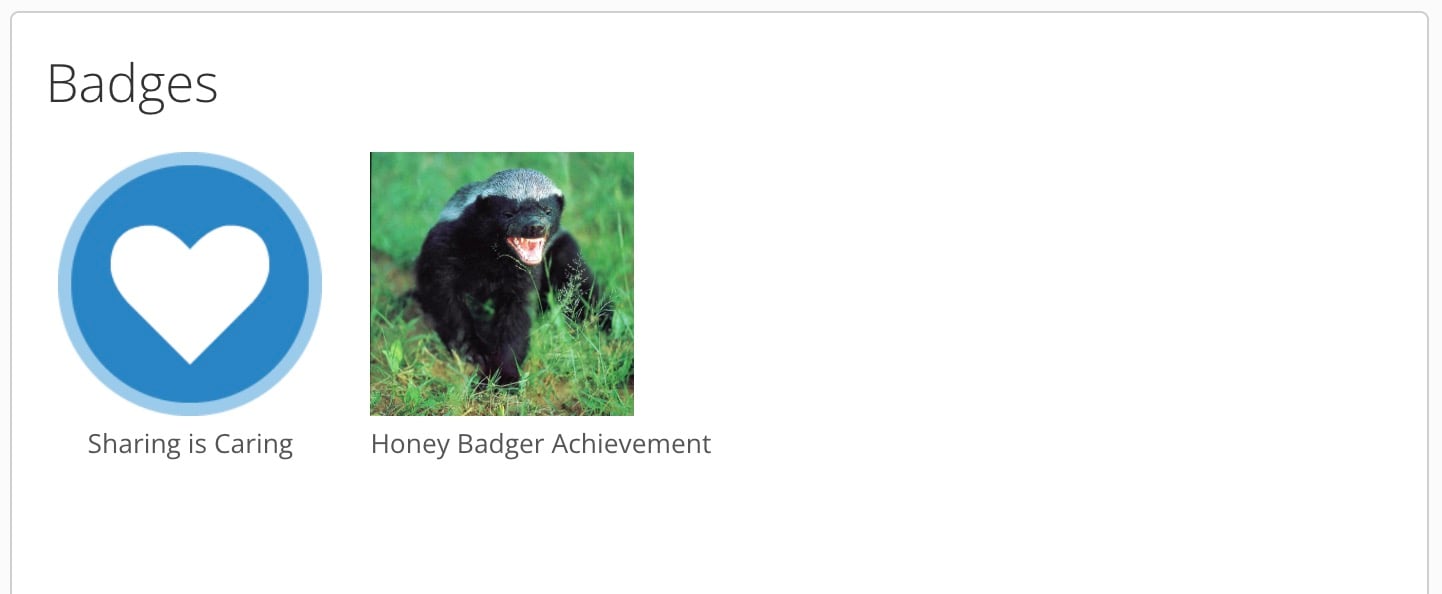
Under **Badges**, you can see the badges awarded to the user. Selecting a badge displays more details about it.
### View Badges
Under **Badges**, you can see the badges awarded to the user. Selecting a badge displays more details about it.
 ### Award a Badge
If you have an Admin system role or a custom role with the Manage All Company Settings grant enabled, you can award a badge. Learn more about [managing user roles and grants](https://domo-support.domo.com/s/article/360043438973 "Creating Badges for Achievements").
Follow these steps to award a badge:
1. Open the user's profile and scroll to the **Badges** pane.
2. Select **Give a Badge**.
### Award a Badge
If you have an Admin system role or a custom role with the Manage All Company Settings grant enabled, you can award a badge. Learn more about [managing user roles and grants](https://domo-support.domo.com/s/article/360043438973 "Creating Badges for Achievements").
Follow these steps to award a badge:
1. Open the user's profile and scroll to the **Badges** pane.
2. Select **Give a Badge**.
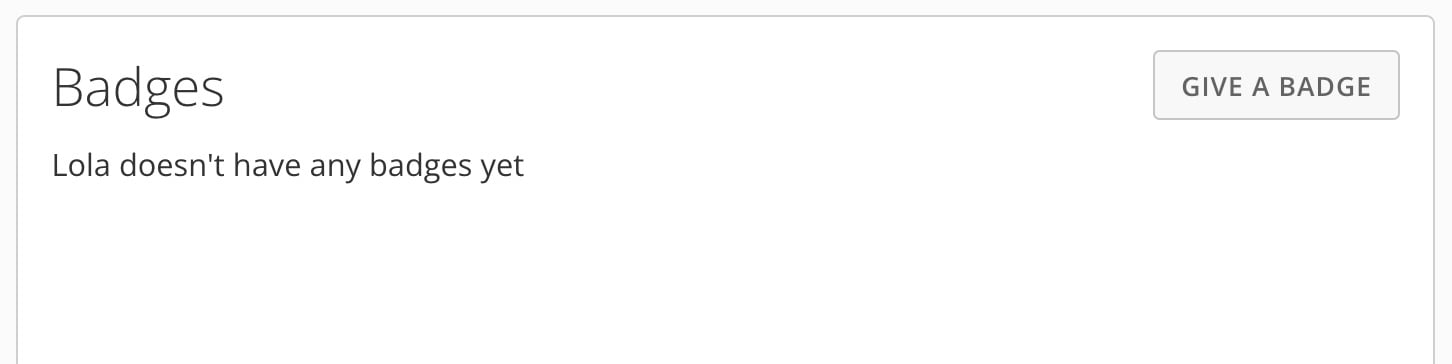 3. Select the badge you want to award.
An image of the badge displays in the **Badges** pane.
3. Select the badge you want to award.
An image of the badge displays in the **Badges** pane.