> ## Documentation Index
> Fetch the complete documentation index at: https://domoinc-openapi-sync-dataflows.mintlify.site/llms.txt
> Use this file to discover all available pages before exploring further.
# Add an Account in Workbench 5
export const InlineImage = ({src, alt = '', height = '1.6em'}) => {
return  ;
};
### Intro
When you first install Workbench 5 on your machine, you connect to a Domo server as part of the installation process. This server account becomes your primary account in Workbench 5, and any DataSet jobs you create are included in this account. However, you can add accounts for other Domo servers to your Workbench if you want.
***
### Add an Account in Workbench
Follow these steps to add an account in Workbench 5:
1. Open Workbench on your machine.
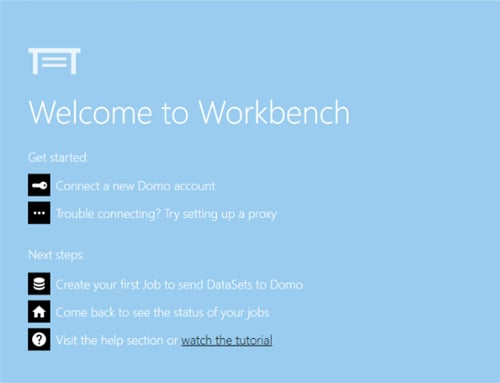
If you have not yet added any accounts in Workbench, the following dialog appears when you open the application. After adding at least one account, the dialog no longer displays.
;
};
### Intro
When you first install Workbench 5 on your machine, you connect to a Domo server as part of the installation process. This server account becomes your primary account in Workbench 5, and any DataSet jobs you create are included in this account. However, you can add accounts for other Domo servers to your Workbench if you want.
***
### Add an Account in Workbench
Follow these steps to add an account in Workbench 5:
1. Open Workbench on your machine.
If you have not yet added any accounts in Workbench, the following dialog appears when you open the application. After adding at least one account, the dialog no longer displays.
 2. Select
**Accounts** (key icon) in the left navigation.
3. Select
**Add Account** (plus icon). (If you do not see this icon, select to expand the account listing pane.)
4. In the
**Domo Domain** field, enter the domain for the Domo server you want to connect to.
If your Domo instance is ``, you would enter
*company* in the field. Do NOT enter *https\://* into the field or you will receive an error.
5. Select
**Authorize**.
6. Enter your username and password for connecting to the Domo server, then select
**Sign In**.
7. Close the browser window when prompted.
8. Select
**Save** (floppy disk icon) to save your new account.
Your new account is now active and ready for DataSet Jobs to be added. Learn how to [create a new Workbench job](/s/article/360042932674).
### Add an Account in Workbench 5 (video)
The first minute (0.00–1:05) of this video describes adding an account in Workbench 5.
2. Select
**Accounts** (key icon) in the left navigation.
3. Select
**Add Account** (plus icon). (If you do not see this icon, select to expand the account listing pane.)
4. In the
**Domo Domain** field, enter the domain for the Domo server you want to connect to.
If your Domo instance is ``, you would enter
*company* in the field. Do NOT enter *https\://* into the field or you will receive an error.
5. Select
**Authorize**.
6. Enter your username and password for connecting to the Domo server, then select
**Sign In**.
7. Close the browser window when prompted.
8. Select
**Save** (floppy disk icon) to save your new account.
Your new account is now active and ready for DataSet Jobs to be added. Learn how to [create a new Workbench job](/s/article/360042932674).
### Add an Account in Workbench 5 (video)
The first minute (0.00–1:05) of this video describes adding an account in Workbench 5.