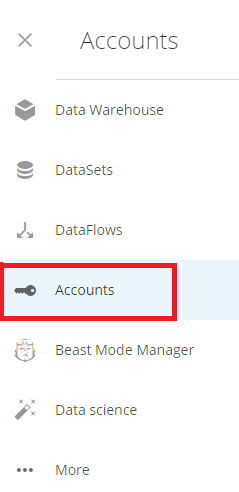
 2. In
**Accounts**, click **Add Account**.
2. In
**Accounts**, click **Add Account**.
 3. Select the desired Amazon Advertising connector and click **Connect**.
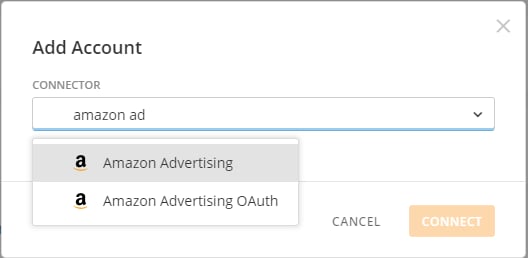 4. Select the region of the Amazon marketplace you want to access, and click
**Connect**.
4. Select the region of the Amazon marketplace you want to access, and click
**Connect**.
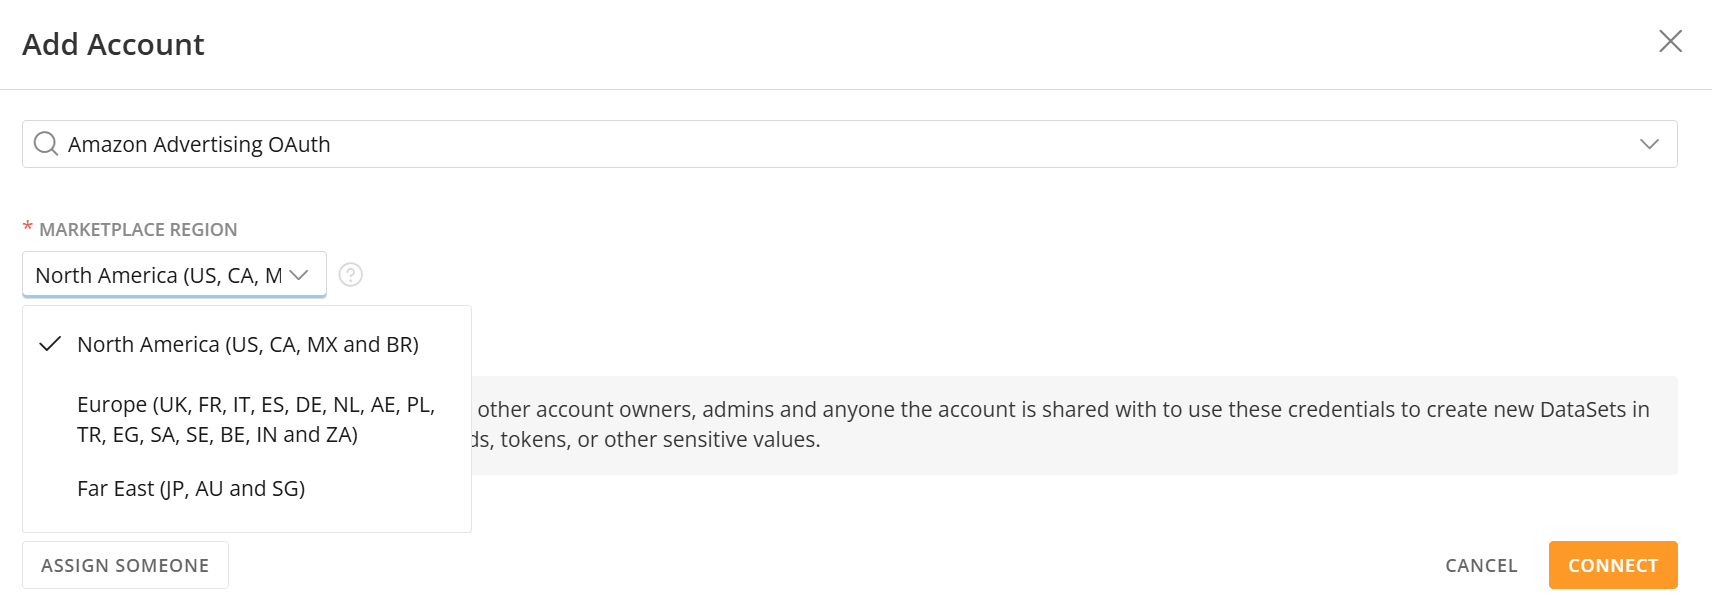 5. An Amazon login window will appear. Enter your Amazon credentials and log into your Amazon account.
6. An entry for the new Amazon Advertising account will appear in the
**Accounts** view listing.
**To add an Amazon Advertising account to Domo by adding a DataSet and entering new account information:**
1. While creating a new Amazon Advertising account, you need to select the region of the Amazon marketplace you want to access and click **Connect**.
5. An Amazon login window will appear. Enter your Amazon credentials and log into your Amazon account.
6. An entry for the new Amazon Advertising account will appear in the
**Accounts** view listing.
**To add an Amazon Advertising account to Domo by adding a DataSet and entering new account information:**
1. While creating a new Amazon Advertising account, you need to select the region of the Amazon marketplace you want to access and click **Connect**.
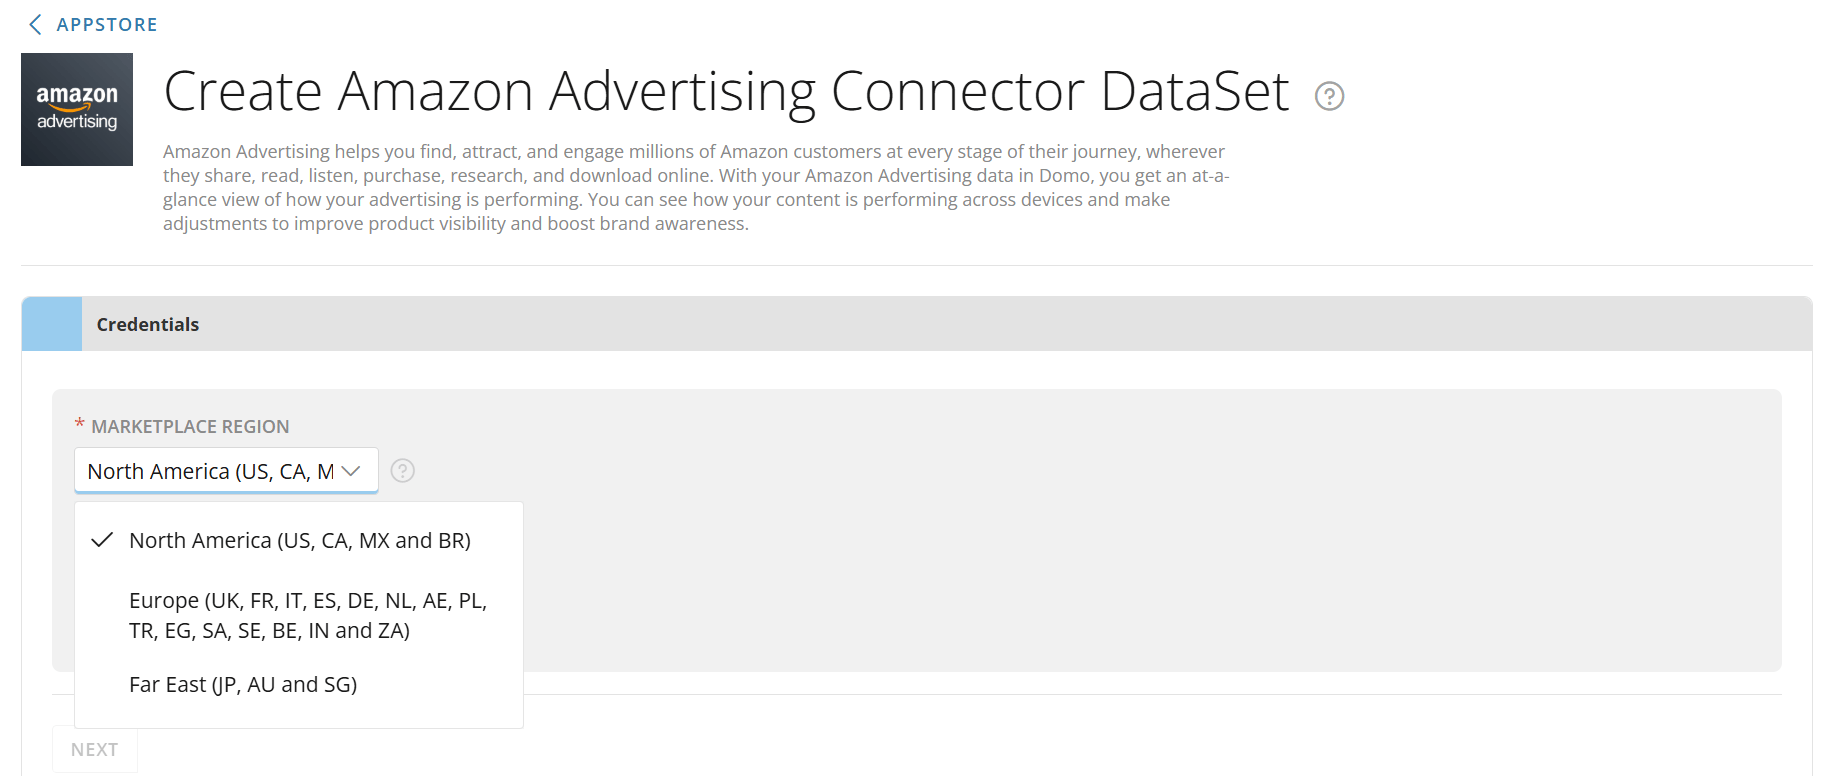 2. An Amazon login window will appear. Enter your Amazon credentials and log into your Amazon account.
3. As you add the Amazon Advertising account through the connector, an entry for the new account appears automatically in the **Accounts** view.
#### How to associate my newly created Amazon Advertising account with an existing dataset?
Associating a newly created Amazon Advertising account with the existing DataSet:
1. Visit the
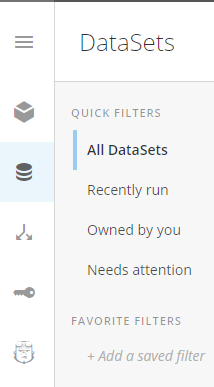
**DataSets** page in the Data Center.
2. An Amazon login window will appear. Enter your Amazon credentials and log into your Amazon account.
3. As you add the Amazon Advertising account through the connector, an entry for the new account appears automatically in the **Accounts** view.
#### How to associate my newly created Amazon Advertising account with an existing dataset?
Associating a newly created Amazon Advertising account with the existing DataSet:
1. Visit the
**DataSets** page in the Data Center.
 2. Locate your existing DataSet that you want to associate with a new Amazon Advertising account.
3. The DataSet details will appear.
4. Click **Settings** tab. You will be redirected to the Connector's Credentials section.
5. Here, you can select your new Amazon Advertising account if it's already created, or you can create a new account to associate with your selected DataSet.
6. Click **Save**.
## Connecting to Your Amazon Advertising Account
This section enumerates the options in the Credentials and Details panes in the Amazon Advertising Connector page. The components of the other panes in this page, **Scheduling** and **Name & Describe Your DataSet**, are universal across most connector types and are discussed in greater length in [Adding a DataSet Using a Connector](https://domo-support.domo.com/s/article/360042926274?language=en_US "Adding a DataSet Using a Connector").
### Credentials Pane
The Domo Amazon Advertising Connector uses OAuth to connect, so there is no need to enter credentials within Domo. Click **Connect** (or select **Add Account** if you have existing Amazon Advertising accounts in Domo) to open the Amazon OAuth screen where you can enter your Amazon email address and password. Once you have entered valid Amazon credentials, you can use the same account any time you go to create a new Amazon Advertising DataSet. You can manage connector accounts in the **Accounts** tab in the Data Center. For more information about this tab, see [Manage Connector Accounts](https://domo-support.domo.com/s/article/360042926054?language=en_US "Manage Connector Accounts").
2. Locate your existing DataSet that you want to associate with a new Amazon Advertising account.
3. The DataSet details will appear.
4. Click **Settings** tab. You will be redirected to the Connector's Credentials section.
5. Here, you can select your new Amazon Advertising account if it's already created, or you can create a new account to associate with your selected DataSet.
6. Click **Save**.
## Connecting to Your Amazon Advertising Account
This section enumerates the options in the Credentials and Details panes in the Amazon Advertising Connector page. The components of the other panes in this page, **Scheduling** and **Name & Describe Your DataSet**, are universal across most connector types and are discussed in greater length in [Adding a DataSet Using a Connector](https://domo-support.domo.com/s/article/360042926274?language=en_US "Adding a DataSet Using a Connector").
### Credentials Pane
The Domo Amazon Advertising Connector uses OAuth to connect, so there is no need to enter credentials within Domo. Click **Connect** (or select **Add Account** if you have existing Amazon Advertising accounts in Domo) to open the Amazon OAuth screen where you can enter your Amazon email address and password. Once you have entered valid Amazon credentials, you can use the same account any time you go to create a new Amazon Advertising DataSet. You can manage connector accounts in the **Accounts** tab in the Data Center. For more information about this tab, see [Manage Connector Accounts](https://domo-support.domo.com/s/article/360042926054?language=en_US "Manage Connector Accounts").
Menu | Description | ||||||||||
|---|---|---|---|---|---|---|---|---|---|---|---|
Profile | Select the profile you want to retrieve data for. | ||||||||||
Report | Select the Amazon Advertising report you want to run. The following reports are available:
| ||||||||||
Advertising Type | Select whether you want to retrieve data for brands, products, displays, or DSP campaigns. | ||||||||||
Record Type | Select the record type you want to retrieve. | ||||||||||
| State filters | Select desired state filters. | ||||||||||
Tactic for Specified Advertising Filter | Select the advertising tactic you want to filter your data by. | ||||||||||
Segment by Search Terms | Select whether you want to break down your report by search term. | ||||||||||
Segment by Placements | Select whether you want to break down your report by placement. | ||||||||||
Metrics | Select all the metrics you want to pull data for. | ||||||||||
| Dimensions | Select the dimensions to retrieve data for. | ||||||||||
| DSP Report Type | Select the DSP report type to retrieve data for. | ||||||||||
| DSP Metrics | Select the DSP metrics you want to pull data for. | ||||||||||
Import Type | Select the import type for your data. Import types are as follows:
| ||||||||||
| Date Selection | Select the date format for your data. | ||||||||||
| Single Date | Select whether the report data is for a specific date or for a relative number of days back from today. | ||||||||||
| Specific Date | Select the specific date using the date selector. | ||||||||||
| Relative Date | Enter the number of days back that you would like to get data for in the Days Back field. Specify either today or 0, yesterday or 1, or today-7 or 7 to get data for 7 days into the past. | ||||||||||
| Date Range | Select the specific or relative date range. | ||||||||||
| Start Date - Specific | Select the first date in your date range using the date selector. | ||||||||||
| End Date - Specific | Select the last date in your date range using the date selector. | ||||||||||
| Start Date - Relative | Enter the number of days back that you would like to get data from (start day). Combine with End Date to create a range of represented days. For example, if you entered 10 for Start Date and 5 for End Date , the report would contain data for 10 days ago up until 5 days ago. | ||||||||||
| End Date - Relative | Enter the number of days back that you would like to get data to (end day). Combine with Start Date to create a range of represented days. For example, if you entered 10 for Start Date and 5 for End Date , the report would contain data for 10 days ago up until 5 days ago. | ||||||||||
| Time Period | Specify the time period that you would like to receive data for. |