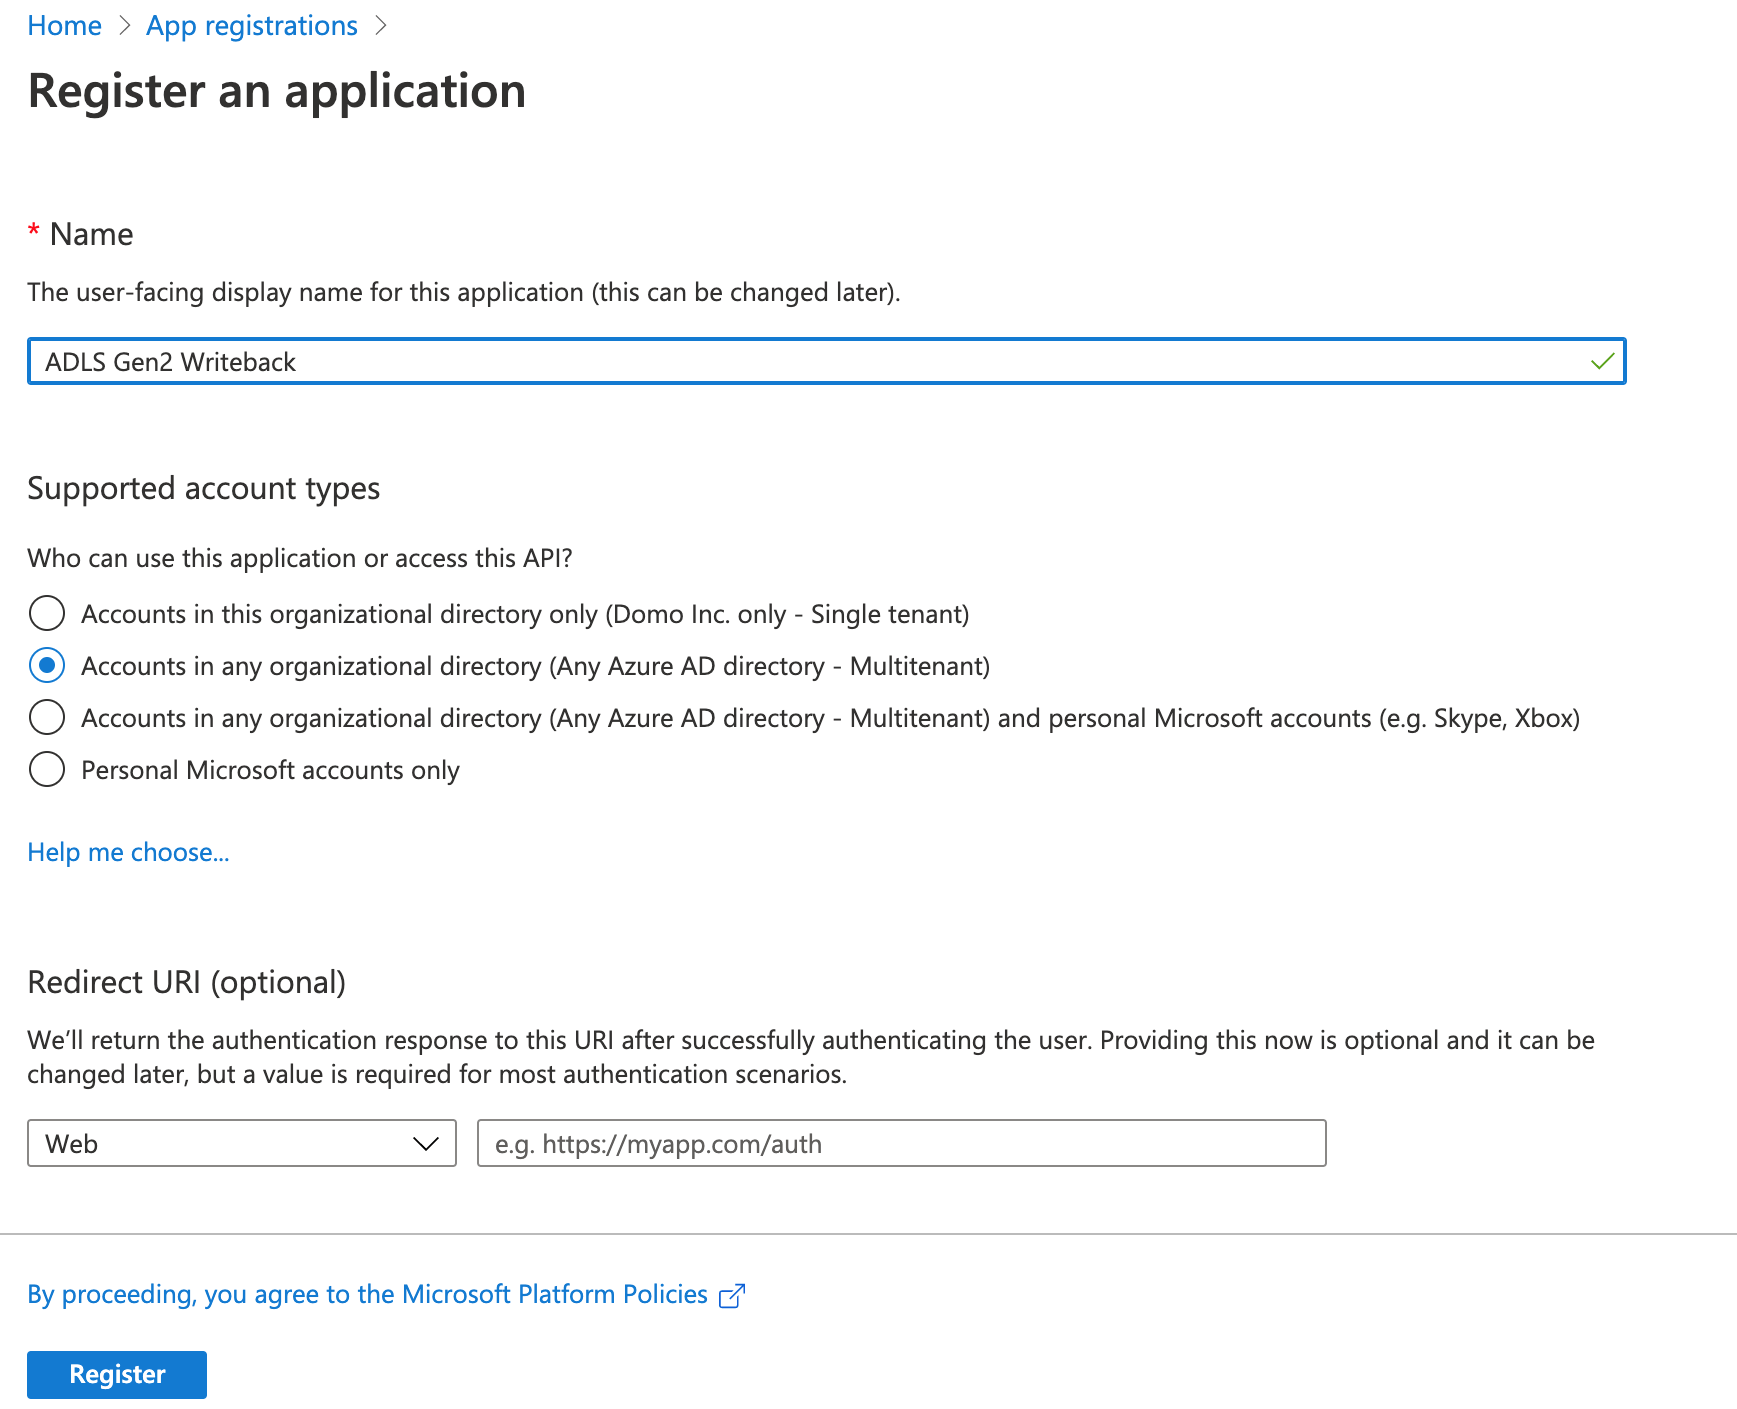
 3. Fill out the registration form as follows:
* * Name: Enter the name of your application.
* Supported account types: Select an option to specify who can use this application or access this API.
* Redirect URI: Enter the redirect URI ([https://oauth.domo.com/api/data/v2/oauth/providers/adls-gen2-azure-active-directory-oauth-writeback/exchange](https://oauth.domo.com/api/data/v2/oauth/providers/adls-gen2-azure-active-directory-oauth-writeback/exchange "https://oauth.domo.com/api/data/v2/oauth/providers/adls-gen2-azure-active-directory-oauth-writeback/exchange") ). The authentication response is sent to this URI after successfully authenticating the user. Providing the URI at this stage is optional and it can be changed later, but a value is required for most of the authentication scenarios.
3. Fill out the registration form as follows:
* * Name: Enter the name of your application.
* Supported account types: Select an option to specify who can use this application or access this API.
* Redirect URI: Enter the redirect URI ([https://oauth.domo.com/api/data/v2/oauth/providers/adls-gen2-azure-active-directory-oauth-writeback/exchange](https://oauth.domo.com/api/data/v2/oauth/providers/adls-gen2-azure-active-directory-oauth-writeback/exchange "https://oauth.domo.com/api/data/v2/oauth/providers/adls-gen2-azure-active-directory-oauth-writeback/exchange") ). The authentication response is sent to this URI after successfully authenticating the user. Providing the URI at this stage is optional and it can be changed later, but a value is required for most of the authentication scenarios.
 4. Click **Register**. An overview of your registered App will appear. The **Application ID** that appears here is the **Client ID** you will enter in the **Credentials** pane in Domo.
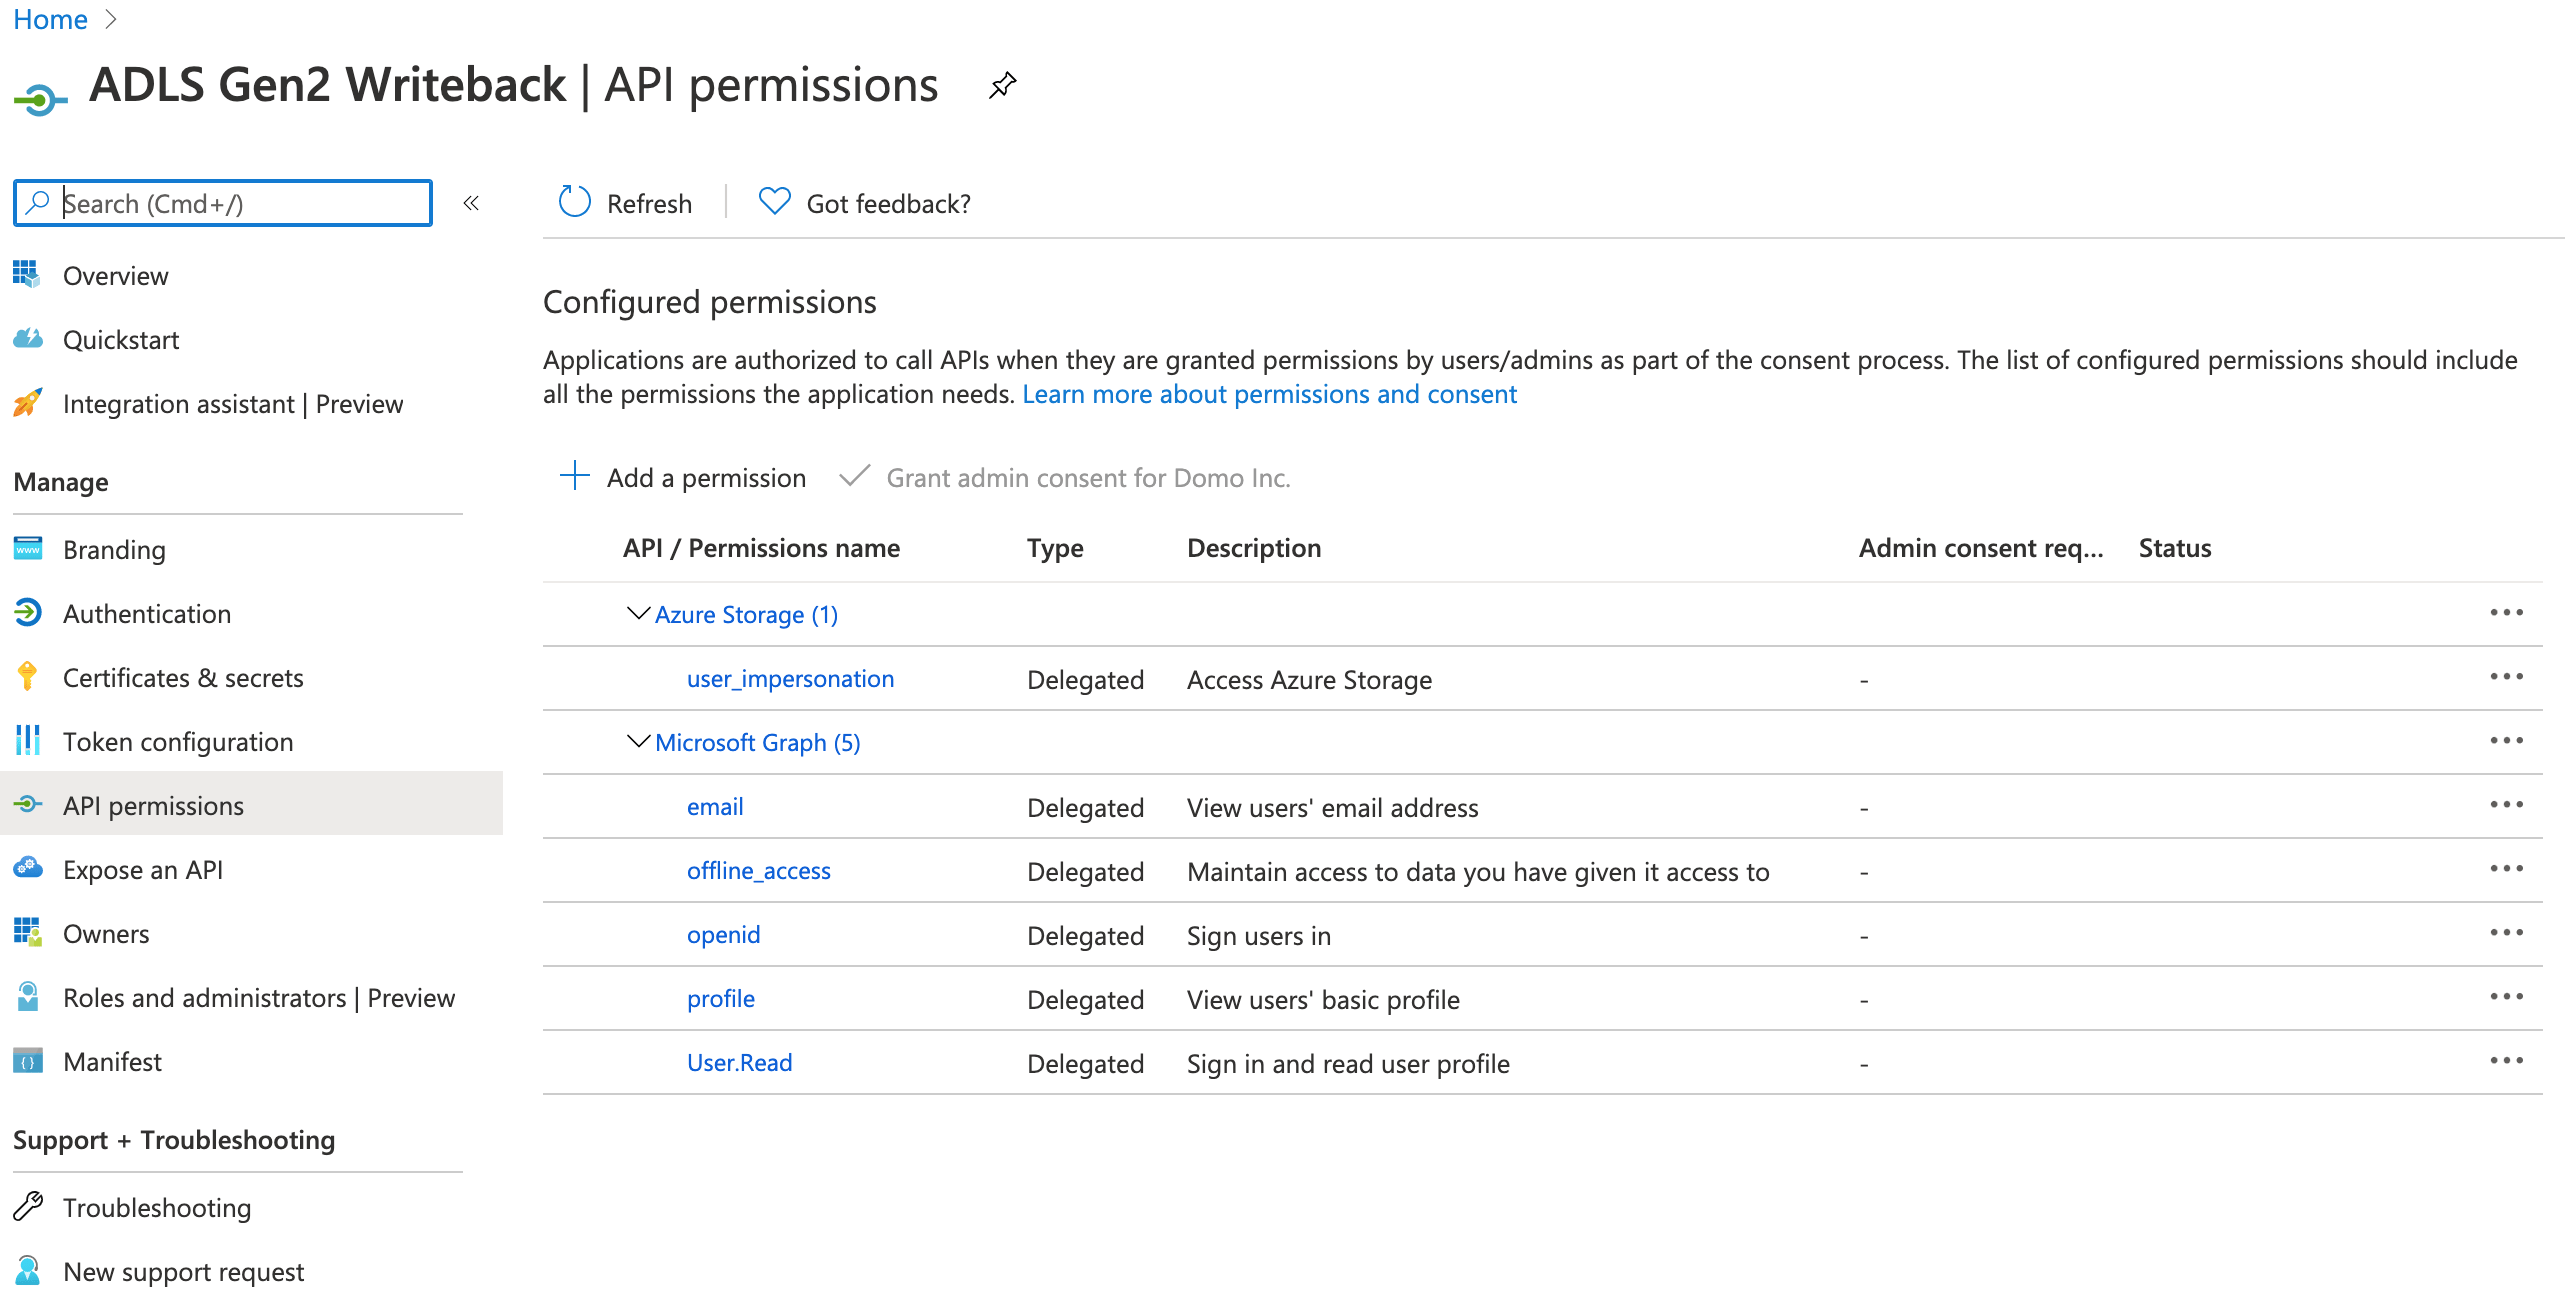
5. Click **API Permissions >> +Add a permission**.
6. **Request API permissions** section appears. Add the API permissions for your application.
4. Click **Register**. An overview of your registered App will appear. The **Application ID** that appears here is the **Client ID** you will enter in the **Credentials** pane in Domo.
5. Click **API Permissions >> +Add a permission**.
6. **Request API permissions** section appears. Add the API permissions for your application.
 7. Now, click on **Certificates and secrets**. Certificates can be used as secrets to prove the application’s identity when requesting a token. Also, can be referred to as public keys.
8. Click **+New client secret**.
7. Now, click on **Certificates and secrets**. Certificates can be used as secrets to prove the application’s identity when requesting a token. Also, can be referred to as public keys.
8. Click **+New client secret**.
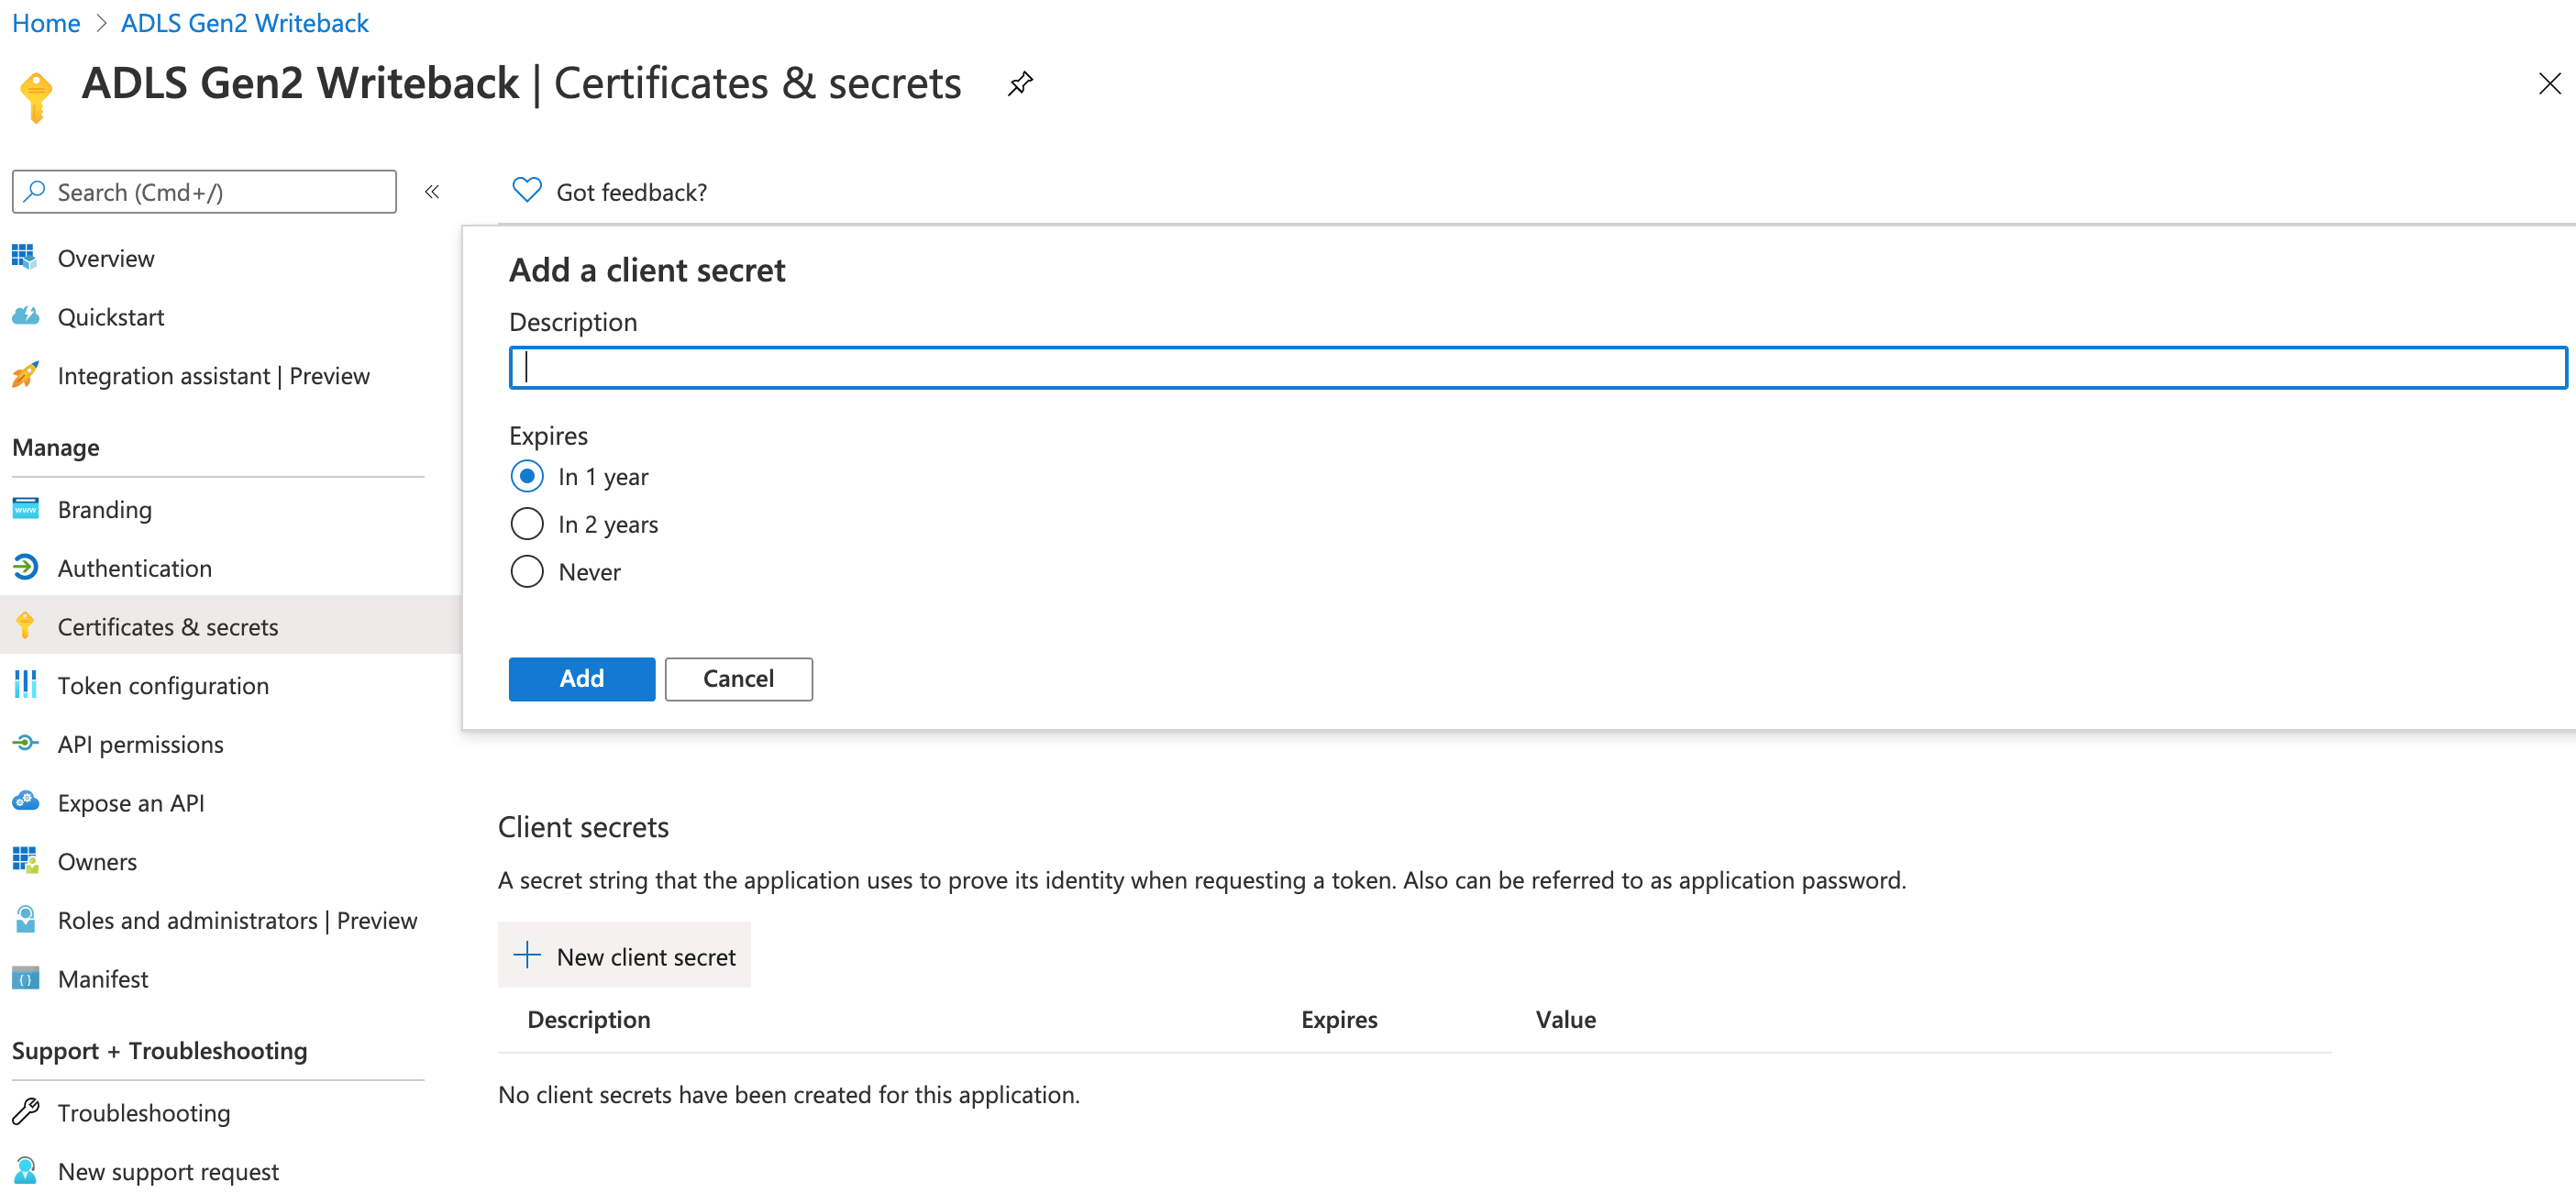 9. Specify the client secret description and the expiry period for your client secret, and click **Add**.
10. Copy the value and paste it into the **Client Secret** field in the **Connector credentials** section in Domo.
## Connecting to Your Azure Data Lake Gen2 OAuth Writeback Account
Azure Data Lake Storage Gen2 supports OAuth 2.0 authentication. This section enumerates the options in the **Credentials** and **Details** panes on the Azure Data Lake Gen2 OAuth Writeback Connector page. The components of the other panes on this page, **Scheduling**, and **Name & Describe Your DataSet**, are universal across most connector types and are discussed in great detail in [Adding a DataSet Using a Connector](https://domo-support.domo.com/s/article/360042926274?language=en_US "Adding a DataSet Using a Connector").
## Credentials Pane
This pane contains fields for entering credentials to connect to your Azure Data Lake Gen2 OAuth Writeback account. The following table describes what is needed for each field:
9. Specify the client secret description and the expiry period for your client secret, and click **Add**.
10. Copy the value and paste it into the **Client Secret** field in the **Connector credentials** section in Domo.
## Connecting to Your Azure Data Lake Gen2 OAuth Writeback Account
Azure Data Lake Storage Gen2 supports OAuth 2.0 authentication. This section enumerates the options in the **Credentials** and **Details** panes on the Azure Data Lake Gen2 OAuth Writeback Connector page. The components of the other panes on this page, **Scheduling**, and **Name & Describe Your DataSet**, are universal across most connector types and are discussed in great detail in [Adding a DataSet Using a Connector](https://domo-support.domo.com/s/article/360042926274?language=en_US "Adding a DataSet Using a Connector").
## Credentials Pane
This pane contains fields for entering credentials to connect to your Azure Data Lake Gen2 OAuth Writeback account. The following table describes what is needed for each field:
|
Field |
Description |
|---|---|
| {" "} Client ID{" "} | {" "} Enter the client ID (GUID) of the client web app obtained from the Azure Active Directory configuration.{" "} |
| {" "} Client Secret{" "} | {" "} Enter the secret key of the client web app.{" "} |
| {" "} Tenant ID{" "} |
{" "} Enter your Tenant ID. Navigate to {" "} Portal.azure.com{" "} \> Azure Active Directory > Properties.{" "} The Directory ID is your Tenant ID. |
|
Menu |
Description |
||||||
|---|---|---|---|---|---|---|---|
| {" "} Enter Storage Account Name{" "} | {" "} Enter the storage account name.{" "} | ||||||
| {" "} Enter Container Name{" "} | {" "} Enter the Container name.{" "} | ||||||
| {" "} How would you like to choose the directory name?{" "} | {" "} Select how would you like to choose the directory name.{" "} | ||||||
| {" "} Discover Directory Name{" "} | {" "} Select the directory name.{" "} | ||||||
| {" "} Enter Directory Name{" "} |
Enter the directory name.
|
||||||
| {" "} Input DataSet Id{" "} |
{" "}
Enter your Domo DataSet ID ( GUID ) located in the DataSet URL.{" "}
|
||||||
| {" "} Select filename{" "} |
Specify whether you want to use the input DataSet GUID or enter a filename manually. |
||||||
| {" "} FileName{" "} |
Enter the output file name. |
||||||
| {" "} My Domo Input DataSet is very large{" "} |
{" "} Select this Check box if you are exporting a very large DataSet from Domo to Azure Data Lake. When this box is checked, the connecter uses a different, faster process.{" "} |