Term | Description |
|---|---|
Production Instance | The destination instance where the dashboards and/or DataFlows currently exist. |
Development Instance | The source instance where the dashboards and/or DataFlows are populated and used as a source of Sandbox. |
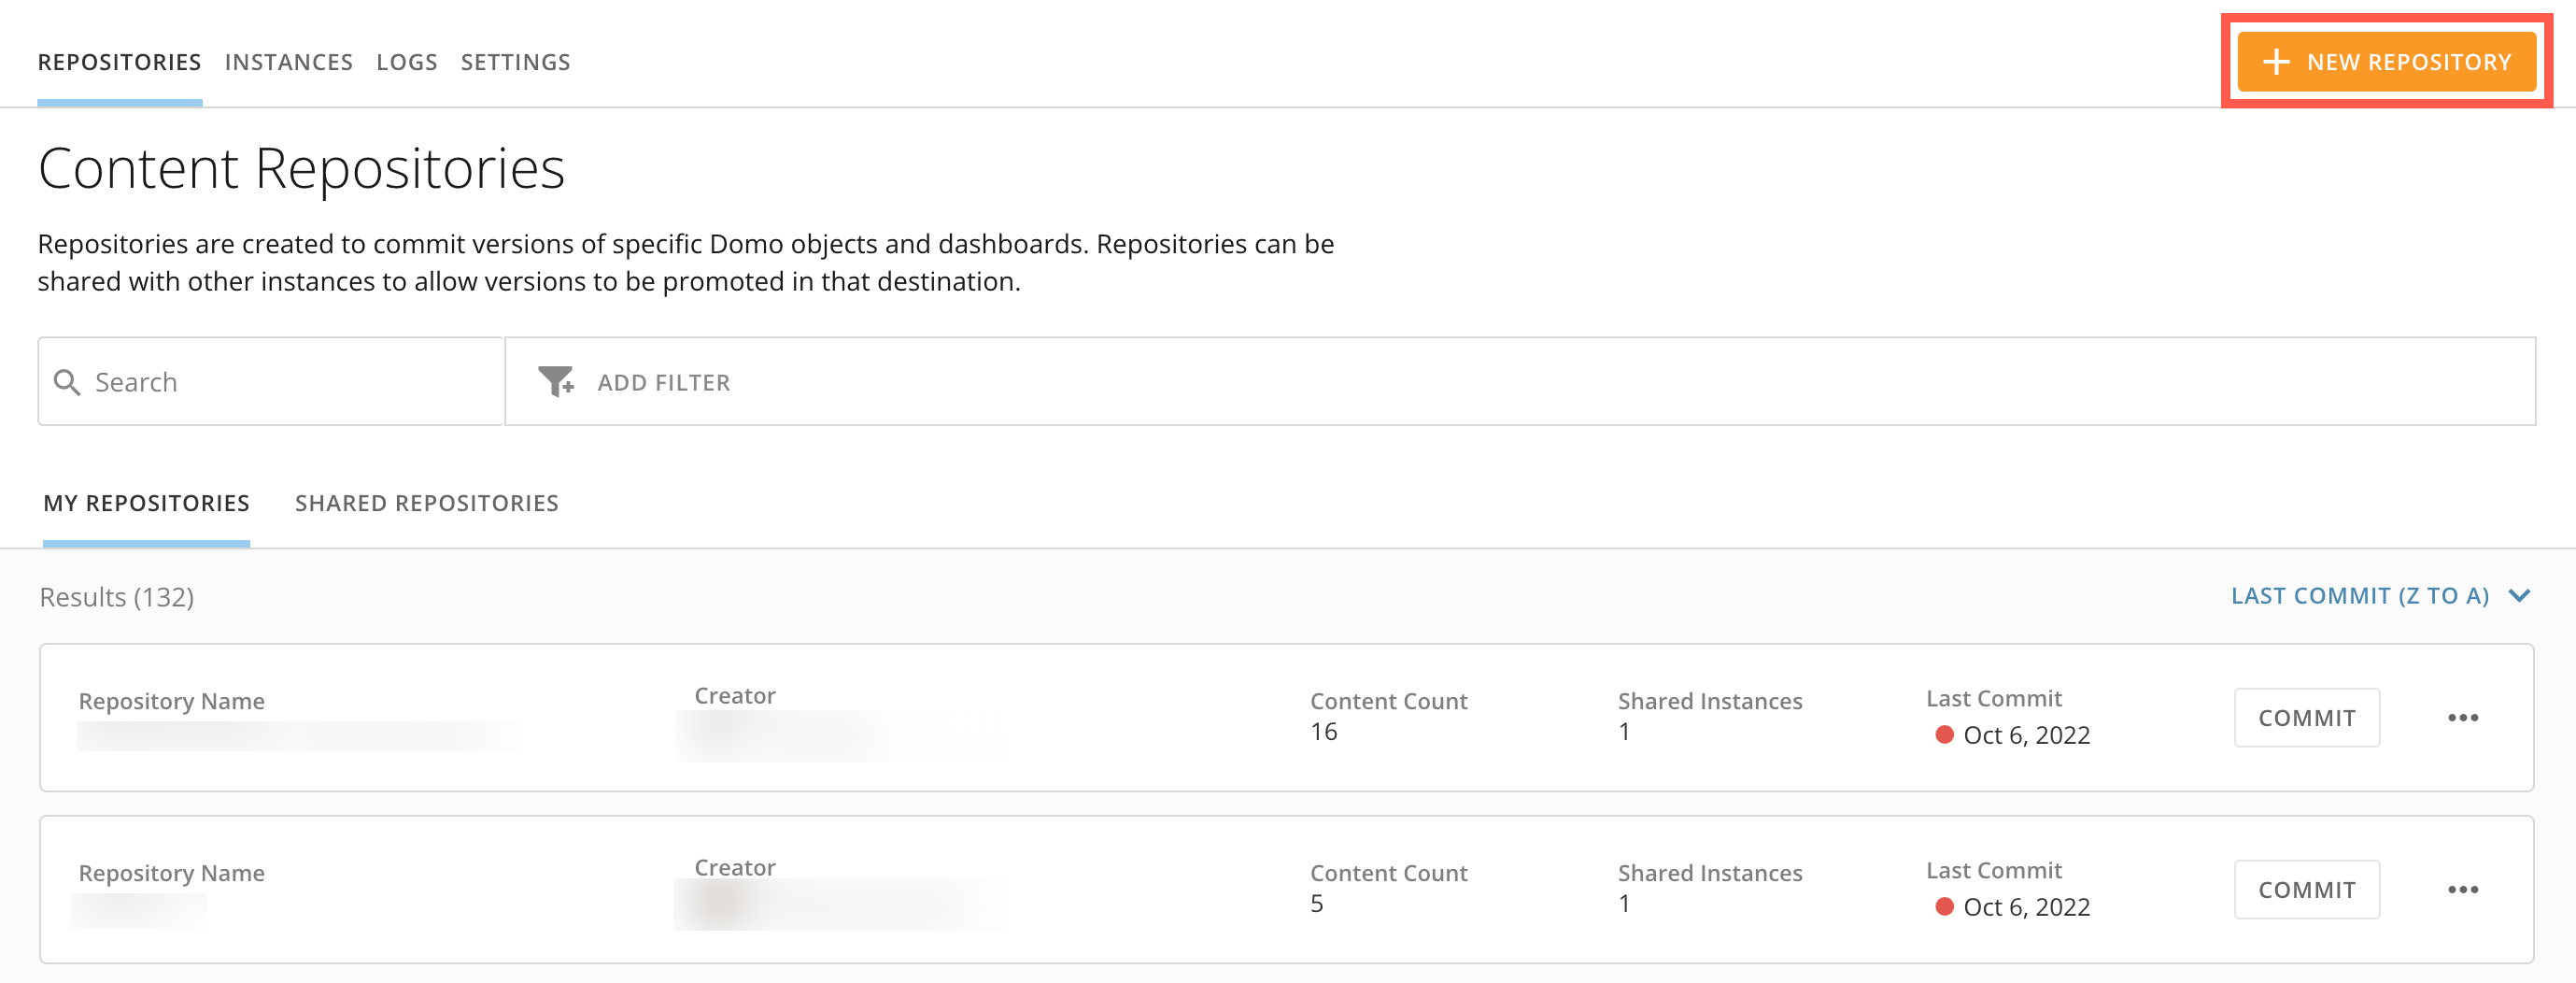 4. Configure the repository:
* Name the repository.
* Select the
**Create as Linked Repository** box.
4. Configure the repository:
* Name the repository.
* Select the
**Create as Linked Repository** box.
 * Select the
**Object Type** being versioned.
* Choose the items you want to include in the repository
* Select the
**Object Type** being versioned.
* Choose the items you want to include in the repository
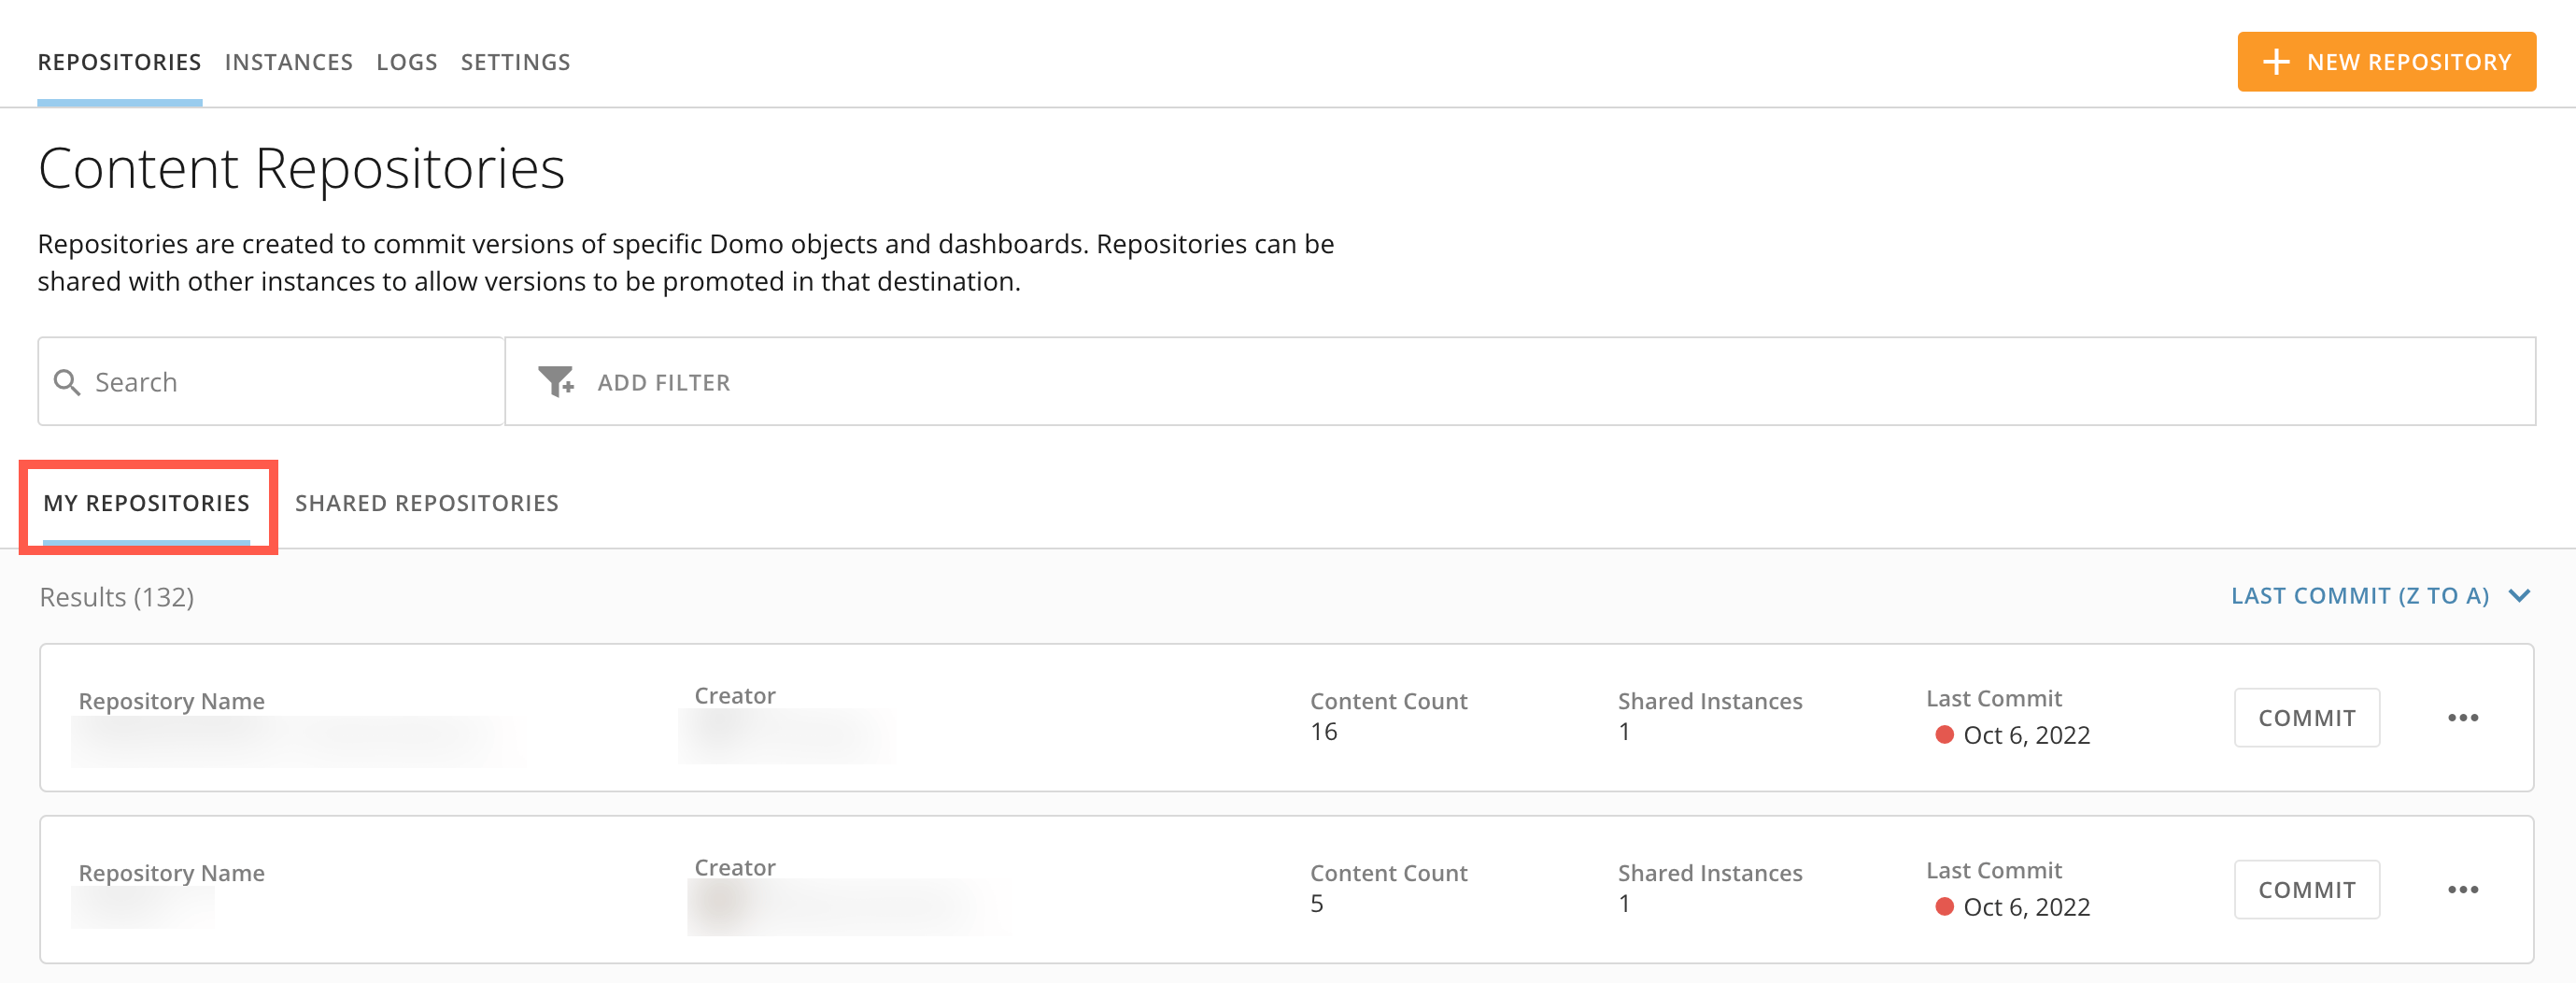 4. Locate the repository and select
**Commit.**
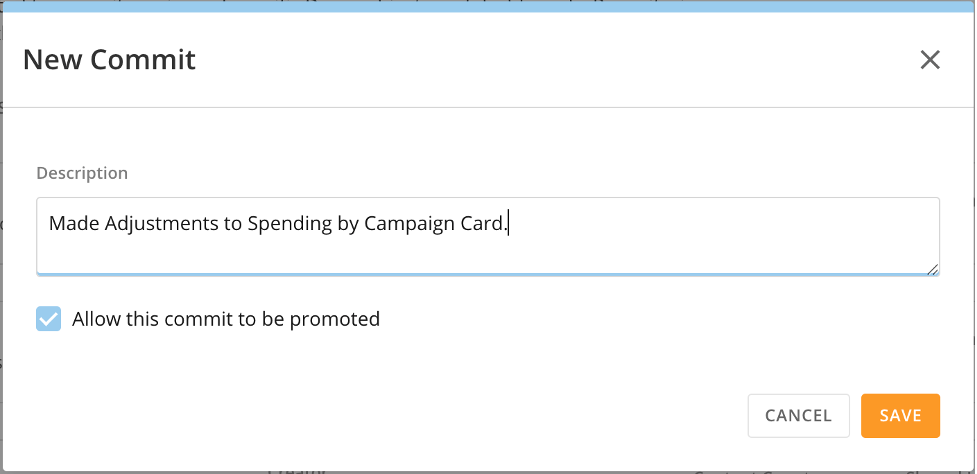
5. Enter a description for the new version. By default, the new version is promoted. If you don't want the new version to be immediately available for promotion, uncheck the
**Allow this commit to be promoted** box.
4. Locate the repository and select
**Commit.**
5. Enter a description for the new version. By default, the new version is promoted. If you don't want the new version to be immediately available for promotion, uncheck the
**Allow this commit to be promoted** box.
 6. Select
**Save**.
The process to capture and store the new version is initiated.
## Promoting and Linking the Repository
1. Log into your development instance. In the navigation header, select **More** > **Admin**.
The **Admin Settings** displays.
2. Under
**Governance**, select **Sandbox**.
3. In the
**Shared Repositories** tab, locate the linked repository. Select **Assign Owner**.
The **Assign Owner** modal displays.
6. Select
**Save**.
The process to capture and store the new version is initiated.
## Promoting and Linking the Repository
1. Log into your development instance. In the navigation header, select **More** > **Admin**.
The **Admin Settings** displays.
2. Under
**Governance**, select **Sandbox**.
3. In the
**Shared Repositories** tab, locate the linked repository. Select **Assign Owner**.
The **Assign Owner** modal displays.
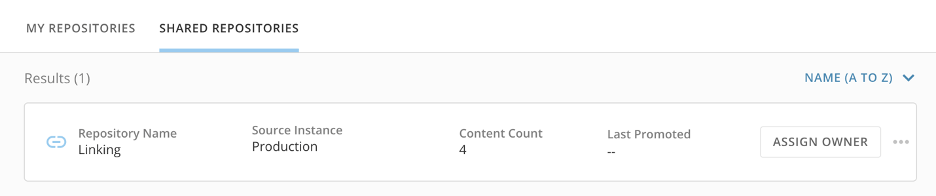 4. Enter the name of the owner. They can promote, delete, and share the repository.
5. Select
**Save**.
After an owner has been assigned to the repository in the development instance, the **Assign Owner** button will be replaced with **Promote.**
6. Locate the linked repository and select
**Promote.**
The repository's details display.
7. (Conditional) Perform any necessary mappings and apply advanced settings, if applicable.
8. Select
**Promote and Link.**
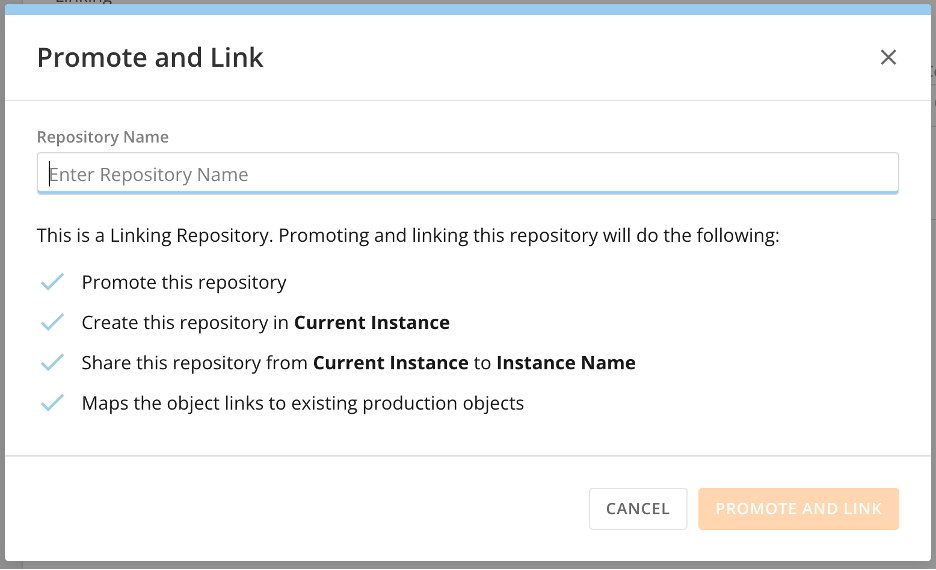
9. Enter a new repository name and review the information in the modal below.
4. Enter the name of the owner. They can promote, delete, and share the repository.
5. Select
**Save**.
After an owner has been assigned to the repository in the development instance, the **Assign Owner** button will be replaced with **Promote.**
6. Locate the linked repository and select
**Promote.**
The repository's details display.
7. (Conditional) Perform any necessary mappings and apply advanced settings, if applicable.
8. Select
**Promote and Link.**
9. Enter a new repository name and review the information in the modal below.
 10. Select
**Promote and Link.**
This final step does the following:
* Promotes the repository in the development instance. This creates the objects in the development.
* Creates a new repository in the development instance with the name entered in Step 5. The new repository includes the objects created during the promotion and commits this new repository.
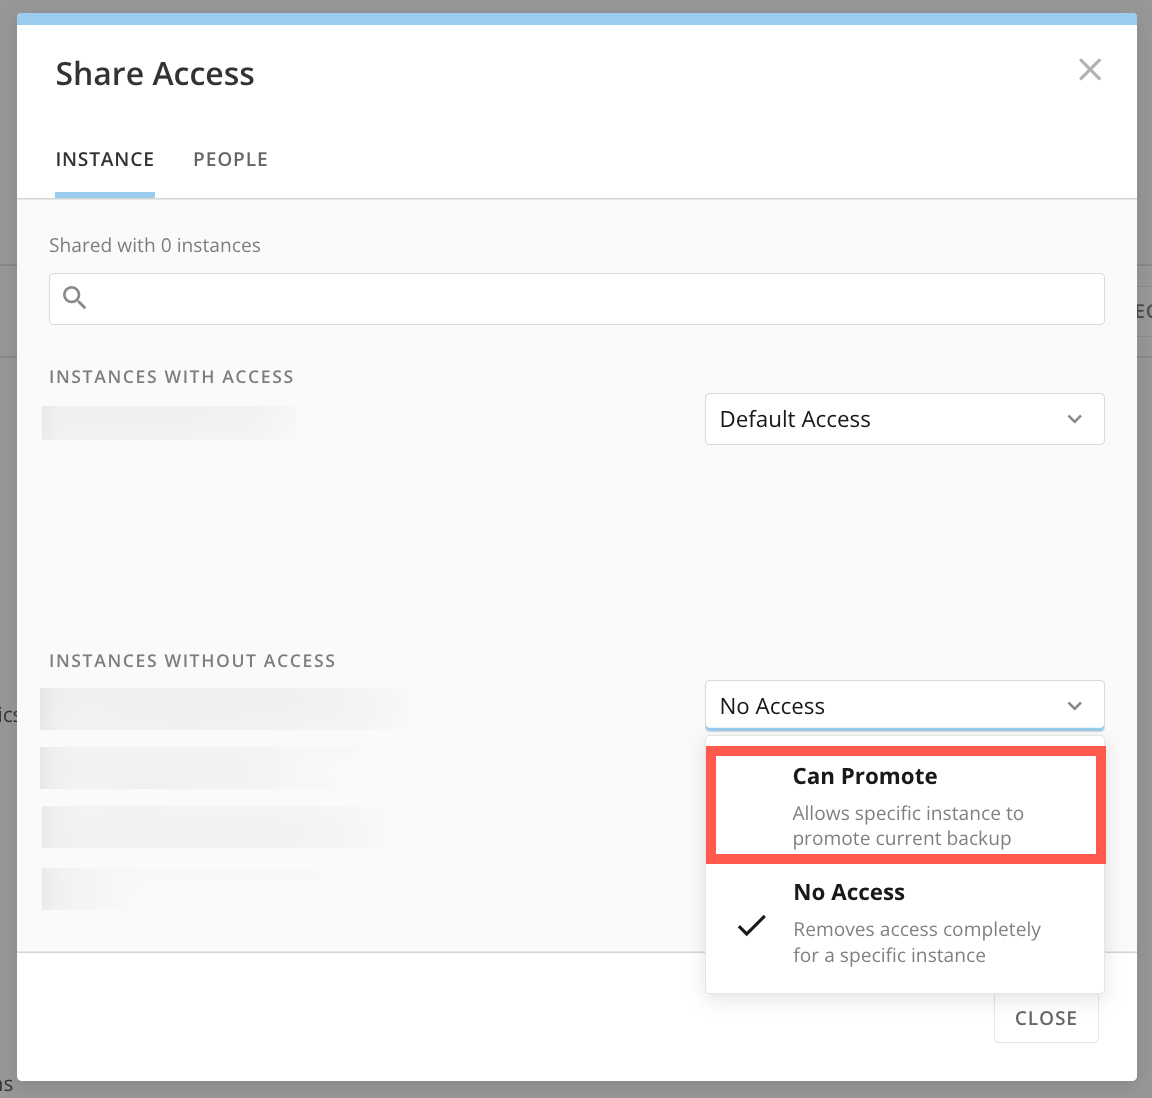
* Shares this repository with the production instance and allows production to promote this new repository.
* Maps this new repository to the existing production objects. This step is critical because it causes the production objects to be updated by this new repository.
## Verifying Success
1. In the development instance, confirm that the newly created repository exists in the
**My Repositories** tab.
2. Confirm that the objects were promoted successfully. You may need to refresh your browser to load newly created objects.
3. Ensure that the new repository was committed successfully.
10. Select
**Promote and Link.**
This final step does the following:
* Promotes the repository in the development instance. This creates the objects in the development.
* Creates a new repository in the development instance with the name entered in Step 5. The new repository includes the objects created during the promotion and commits this new repository.
* Shares this repository with the production instance and allows production to promote this new repository.
* Maps this new repository to the existing production objects. This step is critical because it causes the production objects to be updated by this new repository.
## Verifying Success
1. In the development instance, confirm that the newly created repository exists in the
**My Repositories** tab.
2. Confirm that the objects were promoted successfully. You may need to refresh your browser to load newly created objects.
3. Ensure that the new repository was committed successfully.