> ## Documentation Index
> Fetch the complete documentation index at: https://domoinc-openapi-sync-dataflows.mintlify.site/llms.txt
> Use this file to discover all available pages before exploring further.
# Writeback Connectors
Writeback Connectors allow you to push DataSets to third-party file storage applications instead of pulling data from those applications into Domo.
Next Steps:
You can build your own Writeback Connector in Domo by starting with the [Connector Dev Studio >> Let’s Build](/portal/Connectors/Custom-Connectors/connector-dev-studio#lets-build) section.
You need to complete the following steps when building a custom Writeback Connector:
- Create a new Writeback Connector
- Upload Connector icon images
- Configure user authentication
- Configure selectable reports
- Define how the data is processed
After you have completed these steps, you can submit the connector for publishing.
Domo developers will review the connector, perform some engineering magic, and notify
you when your connector is available for use.
### Create a new Writeback Connector
***
-
Click the Build Now button at the bottom of the screen to
create a new connector.
-
My Connector Developer page will appear. Here, you will
need to fill out the Custom Connector User Agreement.
-
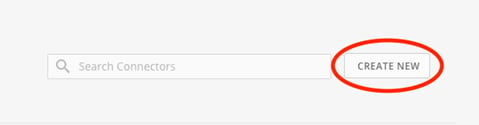
After accepting the agreement, click on the Create New
button.
-
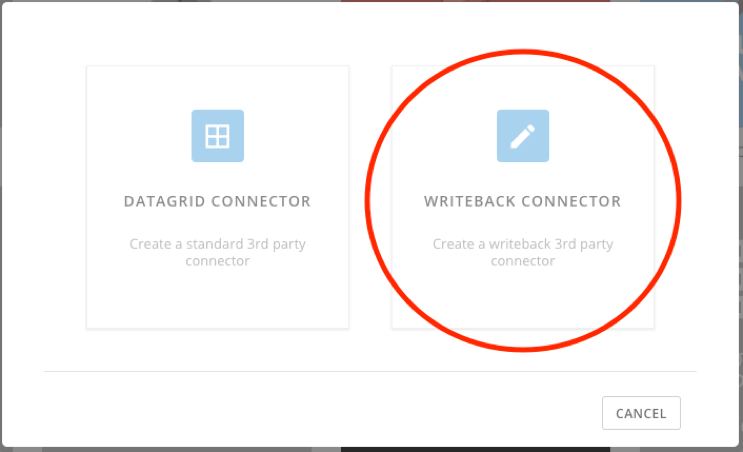
Click on the Writeback Connector tile.
-
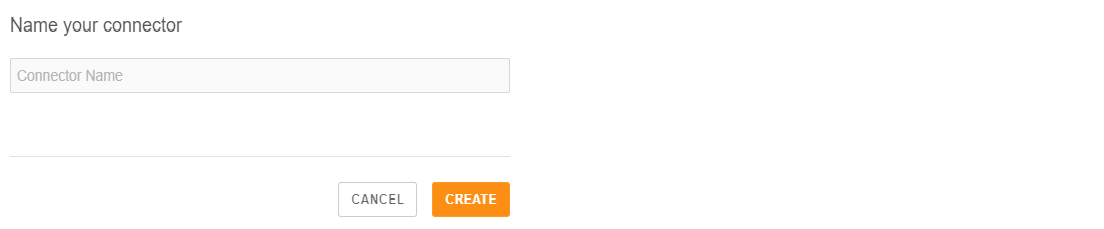
Name your connector screen will appear. Provide a name for
your Writeback Connector and click Create button.
 ### Upload Connector Icon images
***
### Upload Connector Icon images
***
-
Once you have created your Writeback Connector, you need to upload the
Connector icon.
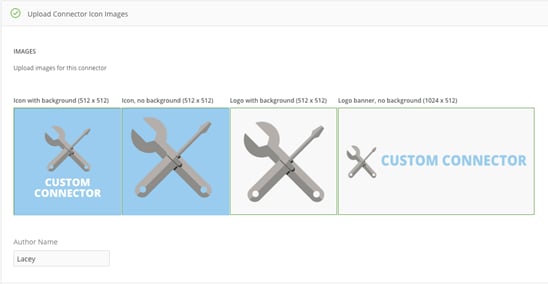
- Select the desired icon image for your connector and click Upload.
### Configure Domo authentication
***
You need to configure the Domo authentication after uploading the icon image for your Writeback Connector.
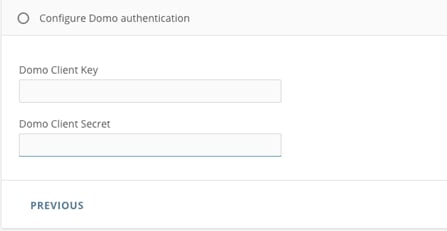
-
Specify your Domo Client Key and Domo Client Secret, and click
Next.
### Configure authentication
***
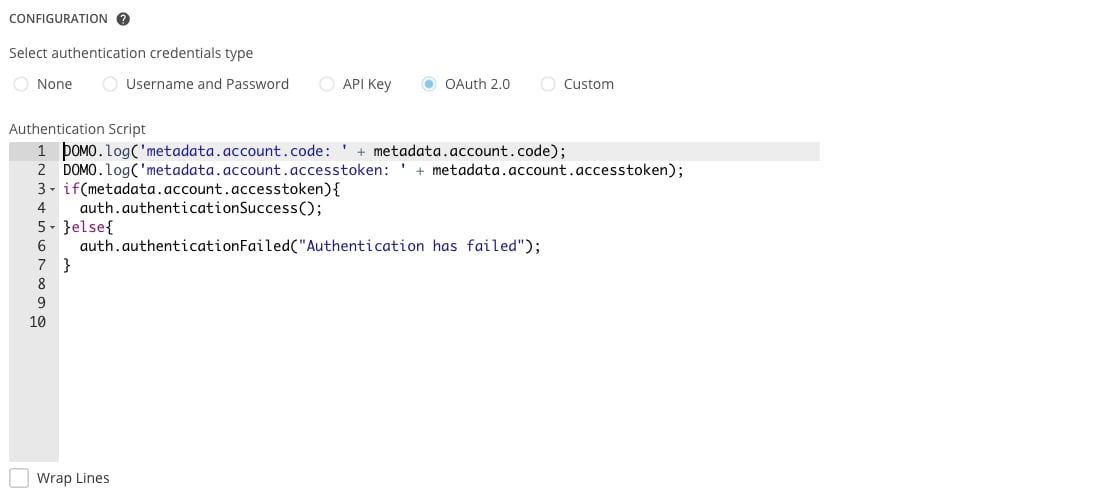
-
Select authentication credentials type as OAuth 2.0 and
write the authentication script.
 ### Define how data is processed
***
### Define how data is processed
***
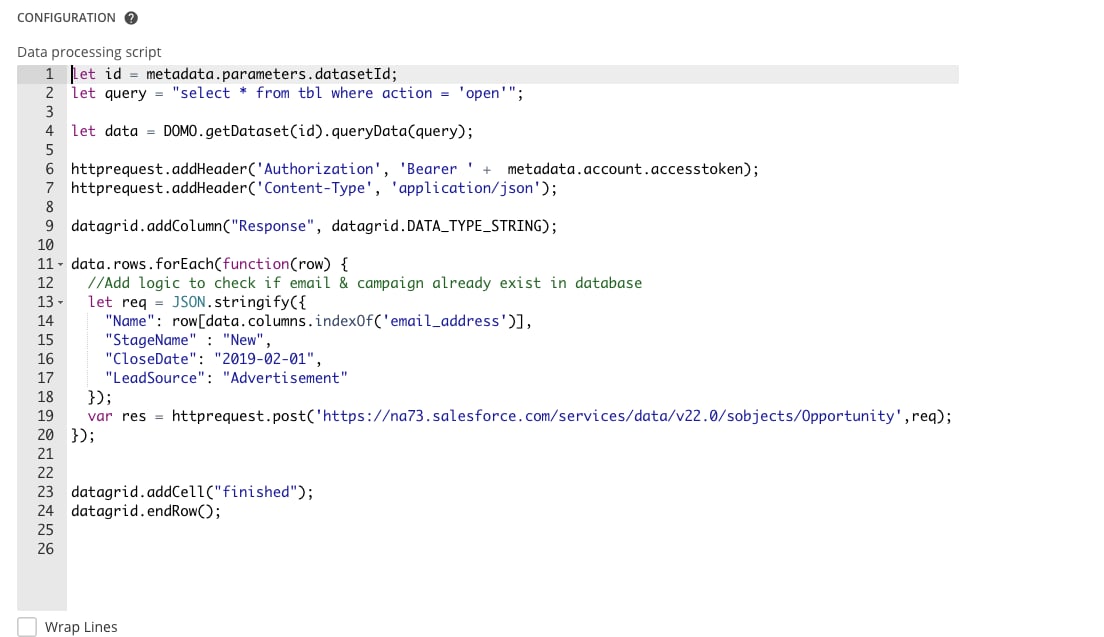
- Write the data processing script.
 ### Submit for publishing
***
After you have written and tested your connector, you are ready for publishing! You can choose to make the connector only available to your private company or available to any Domo user. Follow the guide below to submit the connector for approval. Once approved, your connector is ready to go!
### Submit for publishing
***
After you have written and tested your connector, you are ready for publishing! You can choose to make the connector only available to your private company or available to any Domo user. Follow the guide below to submit the connector for approval. Once approved, your connector is ready to go!
-
Click Submit for Publishing.
 ### Writeback methods
***
DOMO.listDatasets();{' '}
> Returns:\
> a list of all DOMO dataset IDs
DOMO.getDataset(datasetId);>
datasetId = ID of dataset within DOMO that you’d like to pull data from.
Example: `id = metadata.parameters.datasetId;`
> Returns:\
> a full dataset object
DOMO.queryData(datasetId, query);
> datasetId = ID of dataset within DOMO that you’d like to pull data from.
> query = the sql command you’d like to perform on returned data
> Example:
```
query = "select * from tbl where action = 'open'";
```
Best practices:
* let id = metadata.parameters.datasetId;
* let query = "select \* from tbl where action = 'open'";
* let data = DOMO.getDataset(id).queryData(query);
### Where can I find the DataSet ID?
***
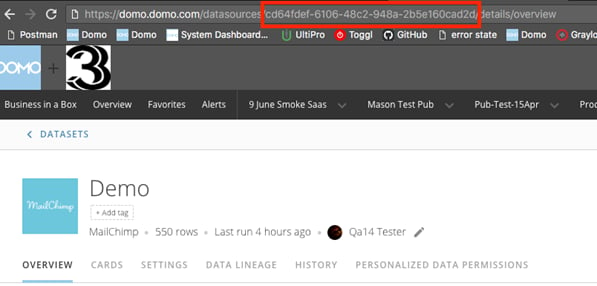
You can find the DataSet ID in the URL of the dataset as shown below.
### Writeback methods
***
DOMO.listDatasets();{' '}
> Returns:\
> a list of all DOMO dataset IDs
DOMO.getDataset(datasetId);>
datasetId = ID of dataset within DOMO that you’d like to pull data from.
Example: `id = metadata.parameters.datasetId;`
> Returns:\
> a full dataset object
DOMO.queryData(datasetId, query);
> datasetId = ID of dataset within DOMO that you’d like to pull data from.
> query = the sql command you’d like to perform on returned data
> Example:
```
query = "select * from tbl where action = 'open'";
```
Best practices:
* let id = metadata.parameters.datasetId;
* let query = "select \* from tbl where action = 'open'";
* let data = DOMO.getDataset(id).queryData(query);
### Where can I find the DataSet ID?
***
You can find the DataSet ID in the URL of the dataset as shown below.
 ### How can I access the DataSet ID?
***
### How can I access the DataSet ID?
***
-
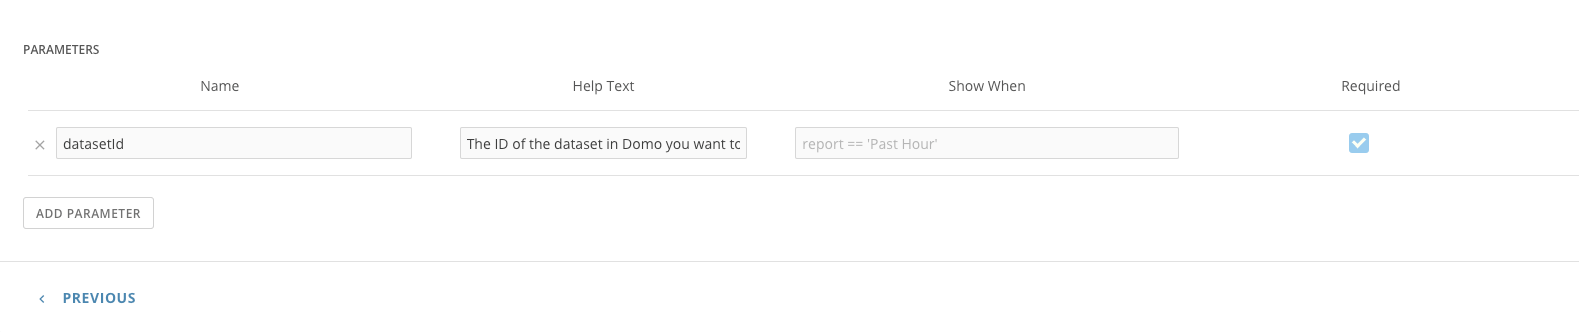
Add a parameter named datasetId. Provide the attributes to it, like help
text to be displayed for it.
-
Click Add Parameter.