> ## Documentation Index
> Fetch the complete documentation index at: https://domoinc-openapi-sync-dataflows.mintlify.site/llms.txt
> Use this file to discover all available pages before exploring further.
# Getting Started
### Install a Domo Brick app
***
Go to the Domo Appstore and search for “ddx”
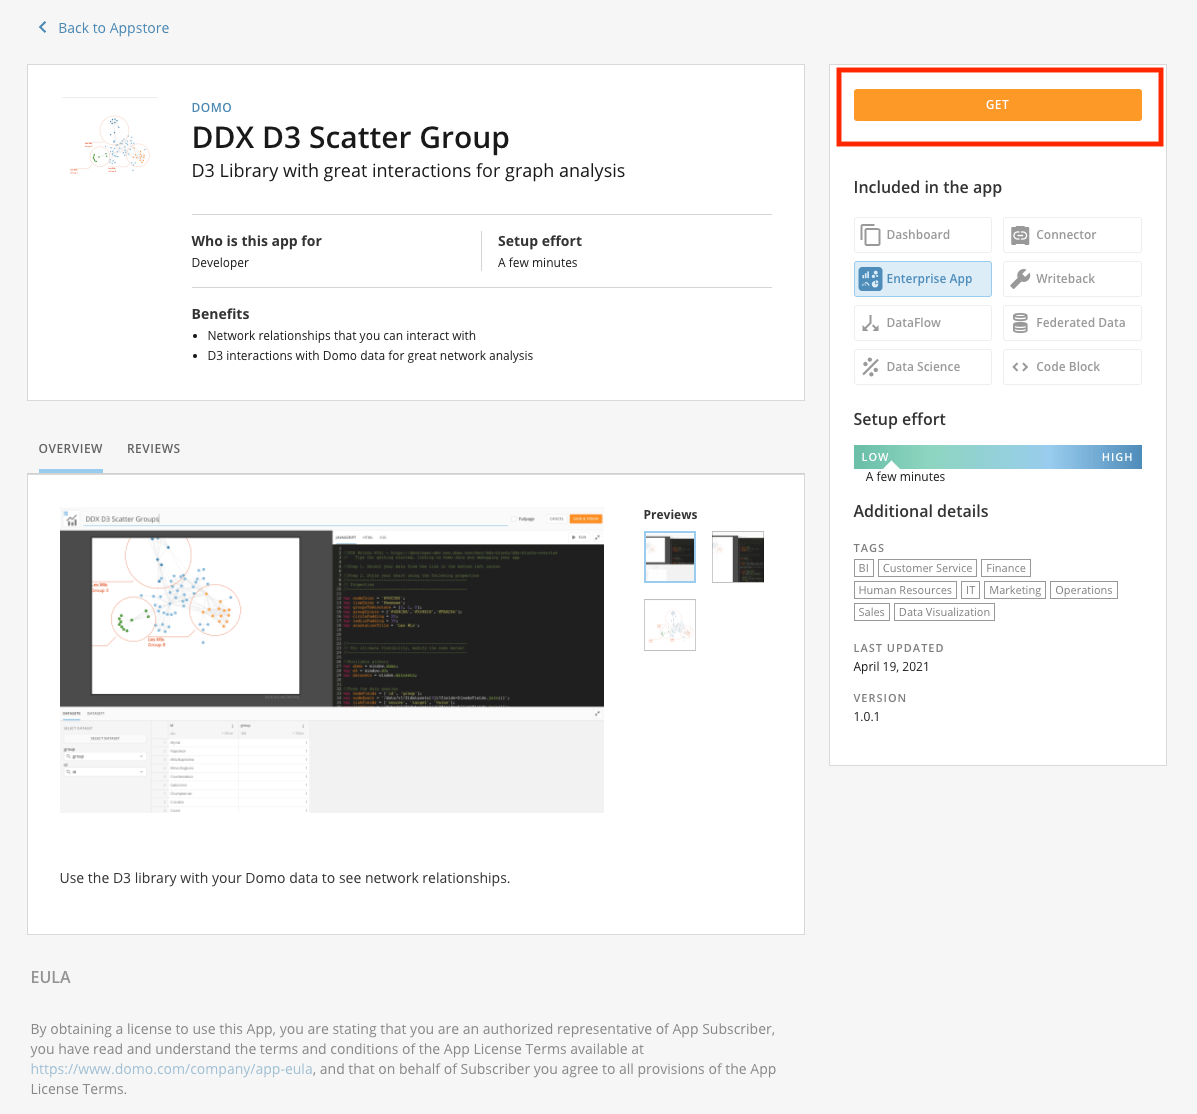
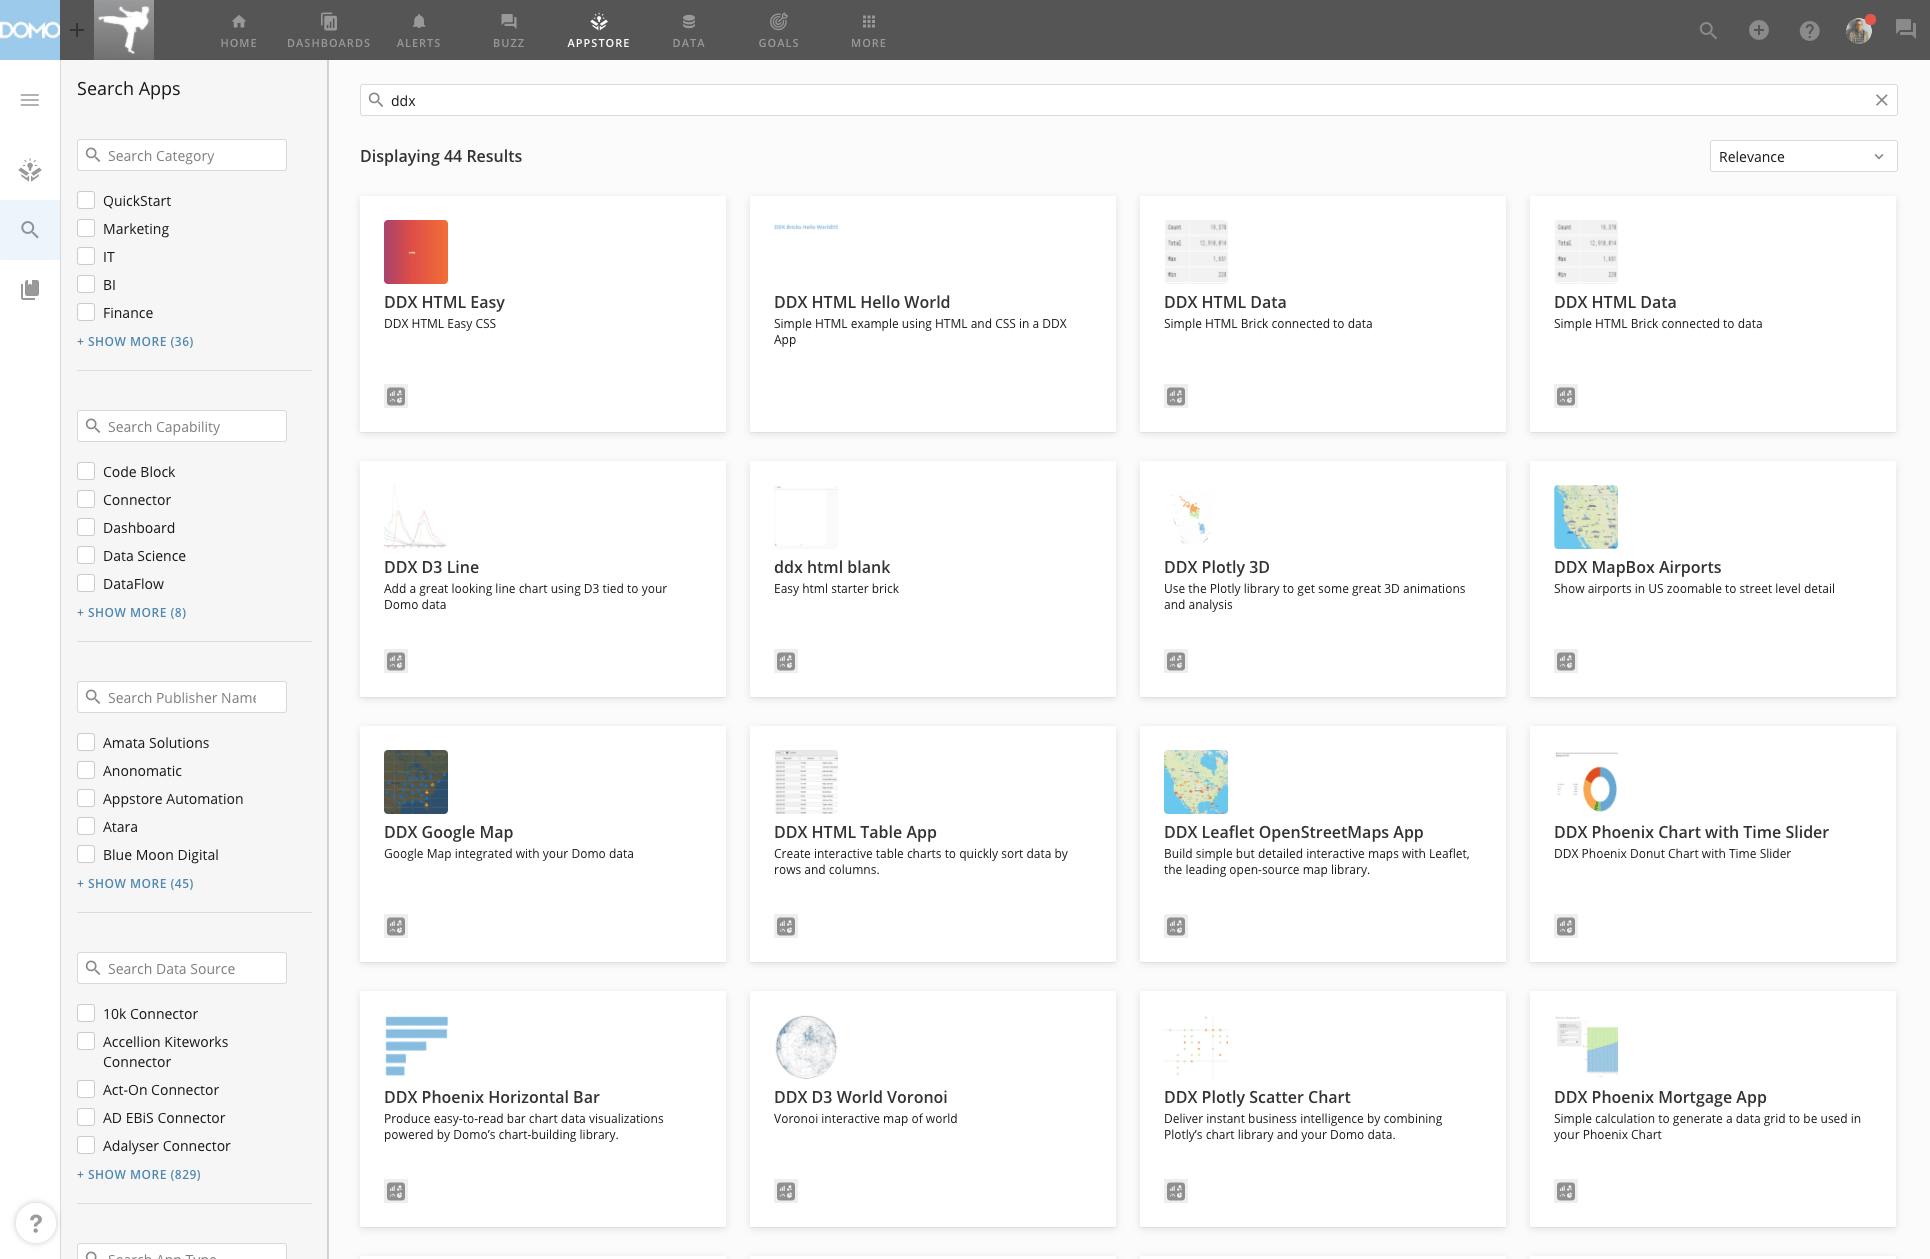 Click the app you like, then click “GET”
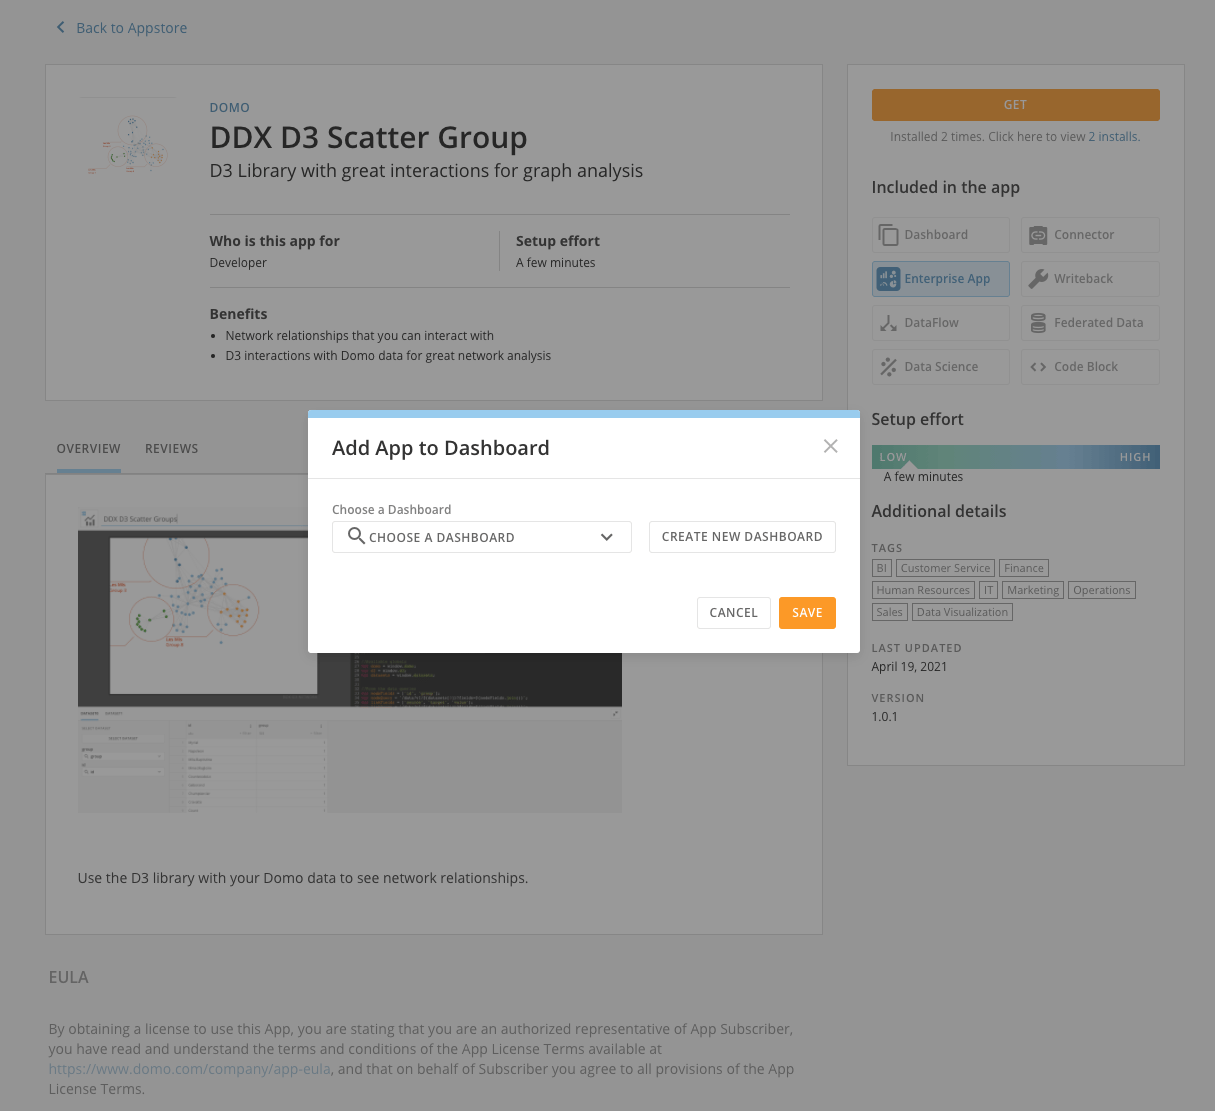
 Choose the Dashboard you would like to install the app on from the drop down menu
and click “Save”
Choose the Dashboard you would like to install the app on from the drop down menu
and click “Save”
 The Domo Brick app is now installed and ready for you to customize as needed.
### Edit and customize your app
***
After selecting “Edit Card” from the wrench menu, you can:
The Domo Brick app is now installed and ready for you to customize as needed.
### Edit and customize your app
***
After selecting “Edit Card” from the wrench menu, you can:
- Change the datasets or columns the app is using
- Change the style or colors through the CSS tab
- Add a link or import your favorite JS framework on the HTML tab
- Write your custom code on the JavaScript tab
### Things to remember
***
-
Only the person that installed the app is able to edit the app. You can use
“Save as” to make your own copy.
- You will need a token to use Google Maps or Mapbox.
-
Always be cautious when displaying user supplied or dataset data in HTML.
See tips on sanitizing below.
### Import Libraries
***
#### Using a CDN (Content Delivery Network)
Use a CDN to pull in your favorite libraries and frameworks (jQuery, d3, Vega, Phoenix, etc.)
*
[https://cdnjs.com/](https://cdnjs.com/)
*
[https://www.jsdelivr.com/](https://www.jsdelivr.com/)
#### Using fonts
Using custom fonts in your app, by loading them in the HTML tab:
 More info about using fonts from Google: [https://developers.google.com/fonts/docs/getting\_started](https://developers.google.com/fonts/docs/getting_started)
#### Charting examples
More info about using fonts from Google: [https://developers.google.com/fonts/docs/getting\_started](https://developers.google.com/fonts/docs/getting_started)
#### Charting examples
-
Easy to use d3 examples can be found{' '}
here
-
Vega chart examples can be found{' '}
here
### Sanitize Your Data
***
When you cannot 100% guarantee that the data you are working with is safe and that it will always be non-malicious in the future, you should take steps to first sanitize the data before you place it into HTML. You may consider doing something similar to the following to ensure the text you are displaying is safe to use:
```js theme={"dark"}
// Create a safe version of an input value before it is displated in HTML or stored to the database
// Transforms: "salt & pepper
" => "<h1>salt & pepper</h1>"
function makeSafeText(text) {
var element = document.createElement('div');
element.innerText = text;
return element.innerHTML;
}
```
Read more about sanitizing data here:
### Debug Your App
***
-
You can place a “debugger” line in your code to tell the browser “stop
here”, when it gets to executing that line. See line 42 below for an
example. This allows you to see what the variables have stored in them at
that point in time.
-
You can also use a “console.log” to print out something to the console when
it gets to executing the code at that line. An example is shown on line 44
below.
```js theme={"dark"}
41 domo.post('/sql/v1/dataset0' query, {contentType: 'text/plain'}).then(function(result) {
42 debugger;
43 var dataGrid = getDataGridFromQueryResult (result);
44 console.log(dataGrid);
45 chartIt (dataGrid);
46 });
```
### Get the Data
***
#### Method 1 – Using the SQL Endpoint
This method allows you to use traditional SQL to query. This method currently only returns an “array-of-arrays” (see output formats below):
```text theme={"dark"}
var query = 'SELECT SUM(amount) as Sales FROM dataset0';
domo.post('/sql/v1/myDatasetAlias', query, {contentType: 'text/plain'}).then(function(result) { … });
```
To use a column name with spaces in your query, wrap the column name with back-ticks, for example:
```text theme={"dark"}
var query = 'SELECT SUM(`Store Sales`) as Sales FROM dataset0';
```
#### Method 2 – Using the Data Endpoint
This is the traditional method for getting data out of Domo:
```text theme={"dark"}
var query = `fields=amount&sum=amount`;
domo.get('/data/v1/myDatasetAlias?' + query).then(function(result) { … });
```
Here are some references and examples to get you started:
* [Data Queries example code](/portal/Apps/App-Framework/Guides/querying-data)
* [Data API deep dive](/portal/API-Reference/app-framework-apis/Data-API)
#### Output formats
The default data endpoint output format may not always be the format you need. Supported formats are:
```text theme={"dark"}
array-of-objects (default)
array-of-arrays
excel
csv
```
You can specify the format like this:
```text theme={"dark"}
domo.get('/data/v1/dataset?' + query, {format: 'csv'}).then(function(result) { … });
```